Stacking Software
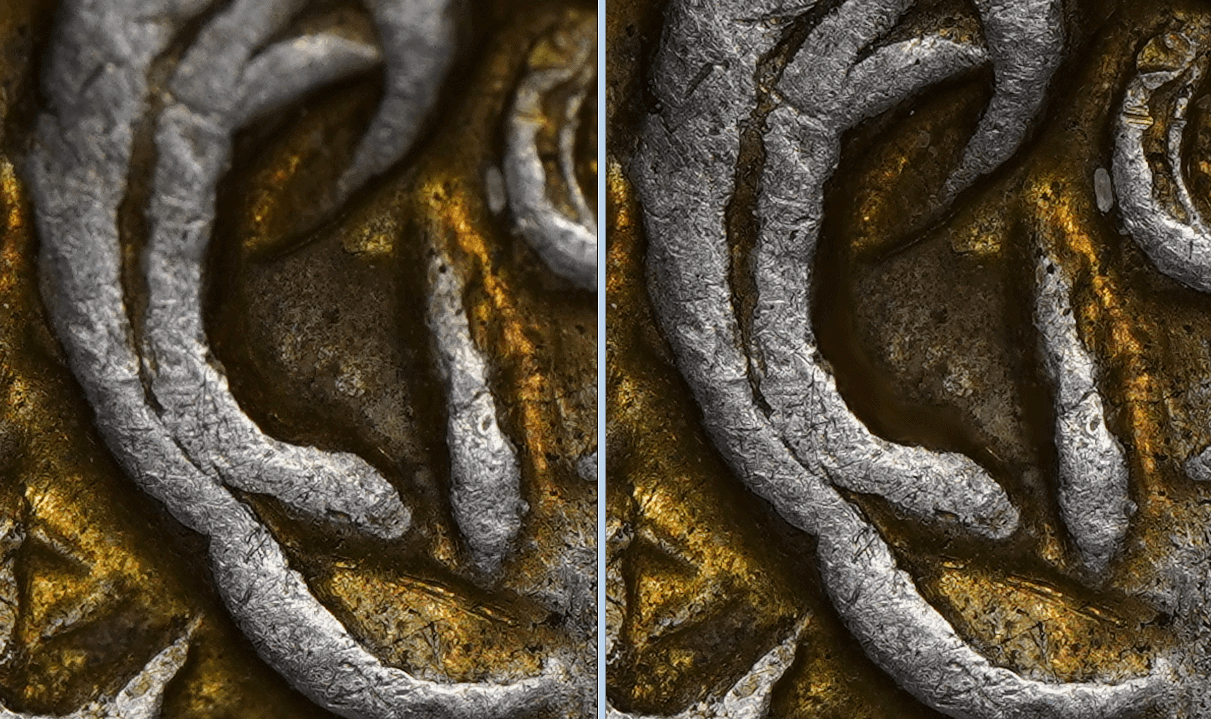
Now that I have created my focus stack of both the obverse and reverse of a coin, I need to combine the images into one per side. For an average stack that I shoot, this may be 30-50 photos for a denarius and up to 80 or 90 photos for a tetradrachm with high-relief. There are several options when it comes to focus stacking software, two common ones are Zerene Stacker and Helicon Focus – both of which have free and paid versions. In terms of which is better, I find both to be good but am more familiar with Zerene. If you’re interested in the differences, you can read a good scientific article that compares Zerene and Helicon, as well as other software, here for free. The article also shows their camera and lighting setup, an interesting setup style which I had not come across before.
In Zerene I load in all my photos from one side of the coin and Zerene will automatically arrange them in reverse order. It should not matter much if the first few and last few photos in a stack have no parts of the coin in-focus, Zerene should be able to ignore these for the most part. I almost always use the DMAP stacking option as it results in a final image that has less contrast and better colour control than PMAP. Both of these options are also discussed in the aforementioned article. Upon starting, Zerene will go through each photo one-by-one and build a fully-stacked image on the right side. For the DMAP option, it will require user input about 2/3 of the way through to acknowledge a contrast setting, just click OK to let it proceed.
Once finished you’ll have an opportunity for “retouching”. Zoom in the final image to either 50% or 100% and look for any spots that are out of focus. One issue of DMAP is that it can leave some tiny parts of the coin blurry, this typically occurs for me when a particular part of the coin is too dark or lacks contrast and Zerene has trouble telling when it is in focus. If you have a noticeable number of these out-of-focus spots, go into the edit menu to start retouching. You will be able to use the individual images from the original stack to fill in any small blurry spots.
Photo Editing
Once I have the two stacks of both the obverse and reverse, I will import them into Adobe Lightroom for some touching up and background removal. I try to keep the editing fairly limited and restrained. My first task is to correct the white balance. I mentioned in the “Lighting” section that I sometimes use a grey card to record a reference to a known grey colour under the same lighting conditions and setting at which the coin was shot. If you took one of these reference photos, Lightroom lets you correct the white balance for that reference photo and you can then copy that white balance adjustment and apply it to the obverse and reverse photos of the coin. If I didn’t take a reference photo, I will adjust the white balance by eye. This can be tricky as your mind can think a photo looks more balanced than it really is without any reference so I will typically compare it to another photo of mine to ensure it doesn’t look too red, blue, green, or yellow.
Next, I will look to adjust the exposure, contrast, highlights, shadows, blacks, and whites. I’m not making significant adjustments here, often increasing the exposure a tad, decreasing contrast and blacks slightly, decreasing highlights (particularly if the coin is quite shiny), and upping the whites if I want help make the surface pop. Sometimes, but not always, I will increase the vibrancy but never the global saturation. Instead I will modify the saturation for each colour separately. With pseudo-axial lighting you can sometimes get too much saturation from well-toned coins and I will decrease the saturation of those colours slightly. If you’re getting light bleed from any nearby object reflecting onto the coin, this is also a chance to remove that colour. I almost always adjust the hue of the colours slightly too, often making them warmer and more rich. Sometimes the yellow tones can appear too green and you’ll want to bring them back to a deeper yellow colour. The only other setting I will frequently change is the sharpness, increasing it only a modest amount.
Lastly, it is time to touch up the background. Normally all my coins shot on a black background already have good separation and a consistent black colour, however they’re often not a deep enough black and this will stand out when shared online next to any colours that are truly black. For this I will use Lightroom’s adjustment brush and set contrast high and highlights, shadows, whites, and blacks to their lowest values. I will also decrease the exposure one or two stops. Now, when you apply the brush to the “black” background you will see that area turn to a much darker black than you had previously. Before continuing the last step is to modify the brush setting: increase the feather to 30 or 40%, decrease the flow down to 60%, and enable “auto mask”.
The “auto mask” setting is key for helping to remove the background near the edges of the coin. It will try to create a virtual mask around the edge of the coin when you apply the brush over it. It will then only apply the brush to areas outside of the mask, in other words to the background and not to the edge of the coin. If you enable “show selected mask overlay”, the areas you’ve applied the brush to will appear red and it is much easier to keep track of your progress. Make your way around the edges of the coin with the brush and try to ensure the centre of the brush circle never crosses over onto the coin’s edge; only allow the outer feathering circle to be applied over the edge. Once that is done, make sure to go over the rest of the background with the brush so it is a consistent black.
Composition
Composition is the final part of the process. I will export the edited images from Lightroom into Photoshop with the aim of combining the two so I can have them side-by-side on the same image. I increase the canvas side to about 11,500px wide by 6000 px high, this normally gives me enough room to fit both sides of the coin in the one photo. I will crop the photos to remove as much of their background as possible but I won’t go around the edges of the coin – I only need to ensure the backgrounds of one photo doesn’t overlap the coin in the other photo. I also add a third layer at the bottom which has an entirely black background, this will serve as the primary background that the two other photos sit on top of.
Once the two coins are arranged side-by-side, I will rotate them if necessary to ensure their correct orientation. I will place the two coins close together but not so close that they are touching. I judge this by eye and am not particularly consistent from one photo to the next. The last bit of editing is to crop the photo so that I remove most of the unnecessary background and again I do this by eye. The final step is to export a fullsize image and a 6000×3200 image that I use for uploading on this website.
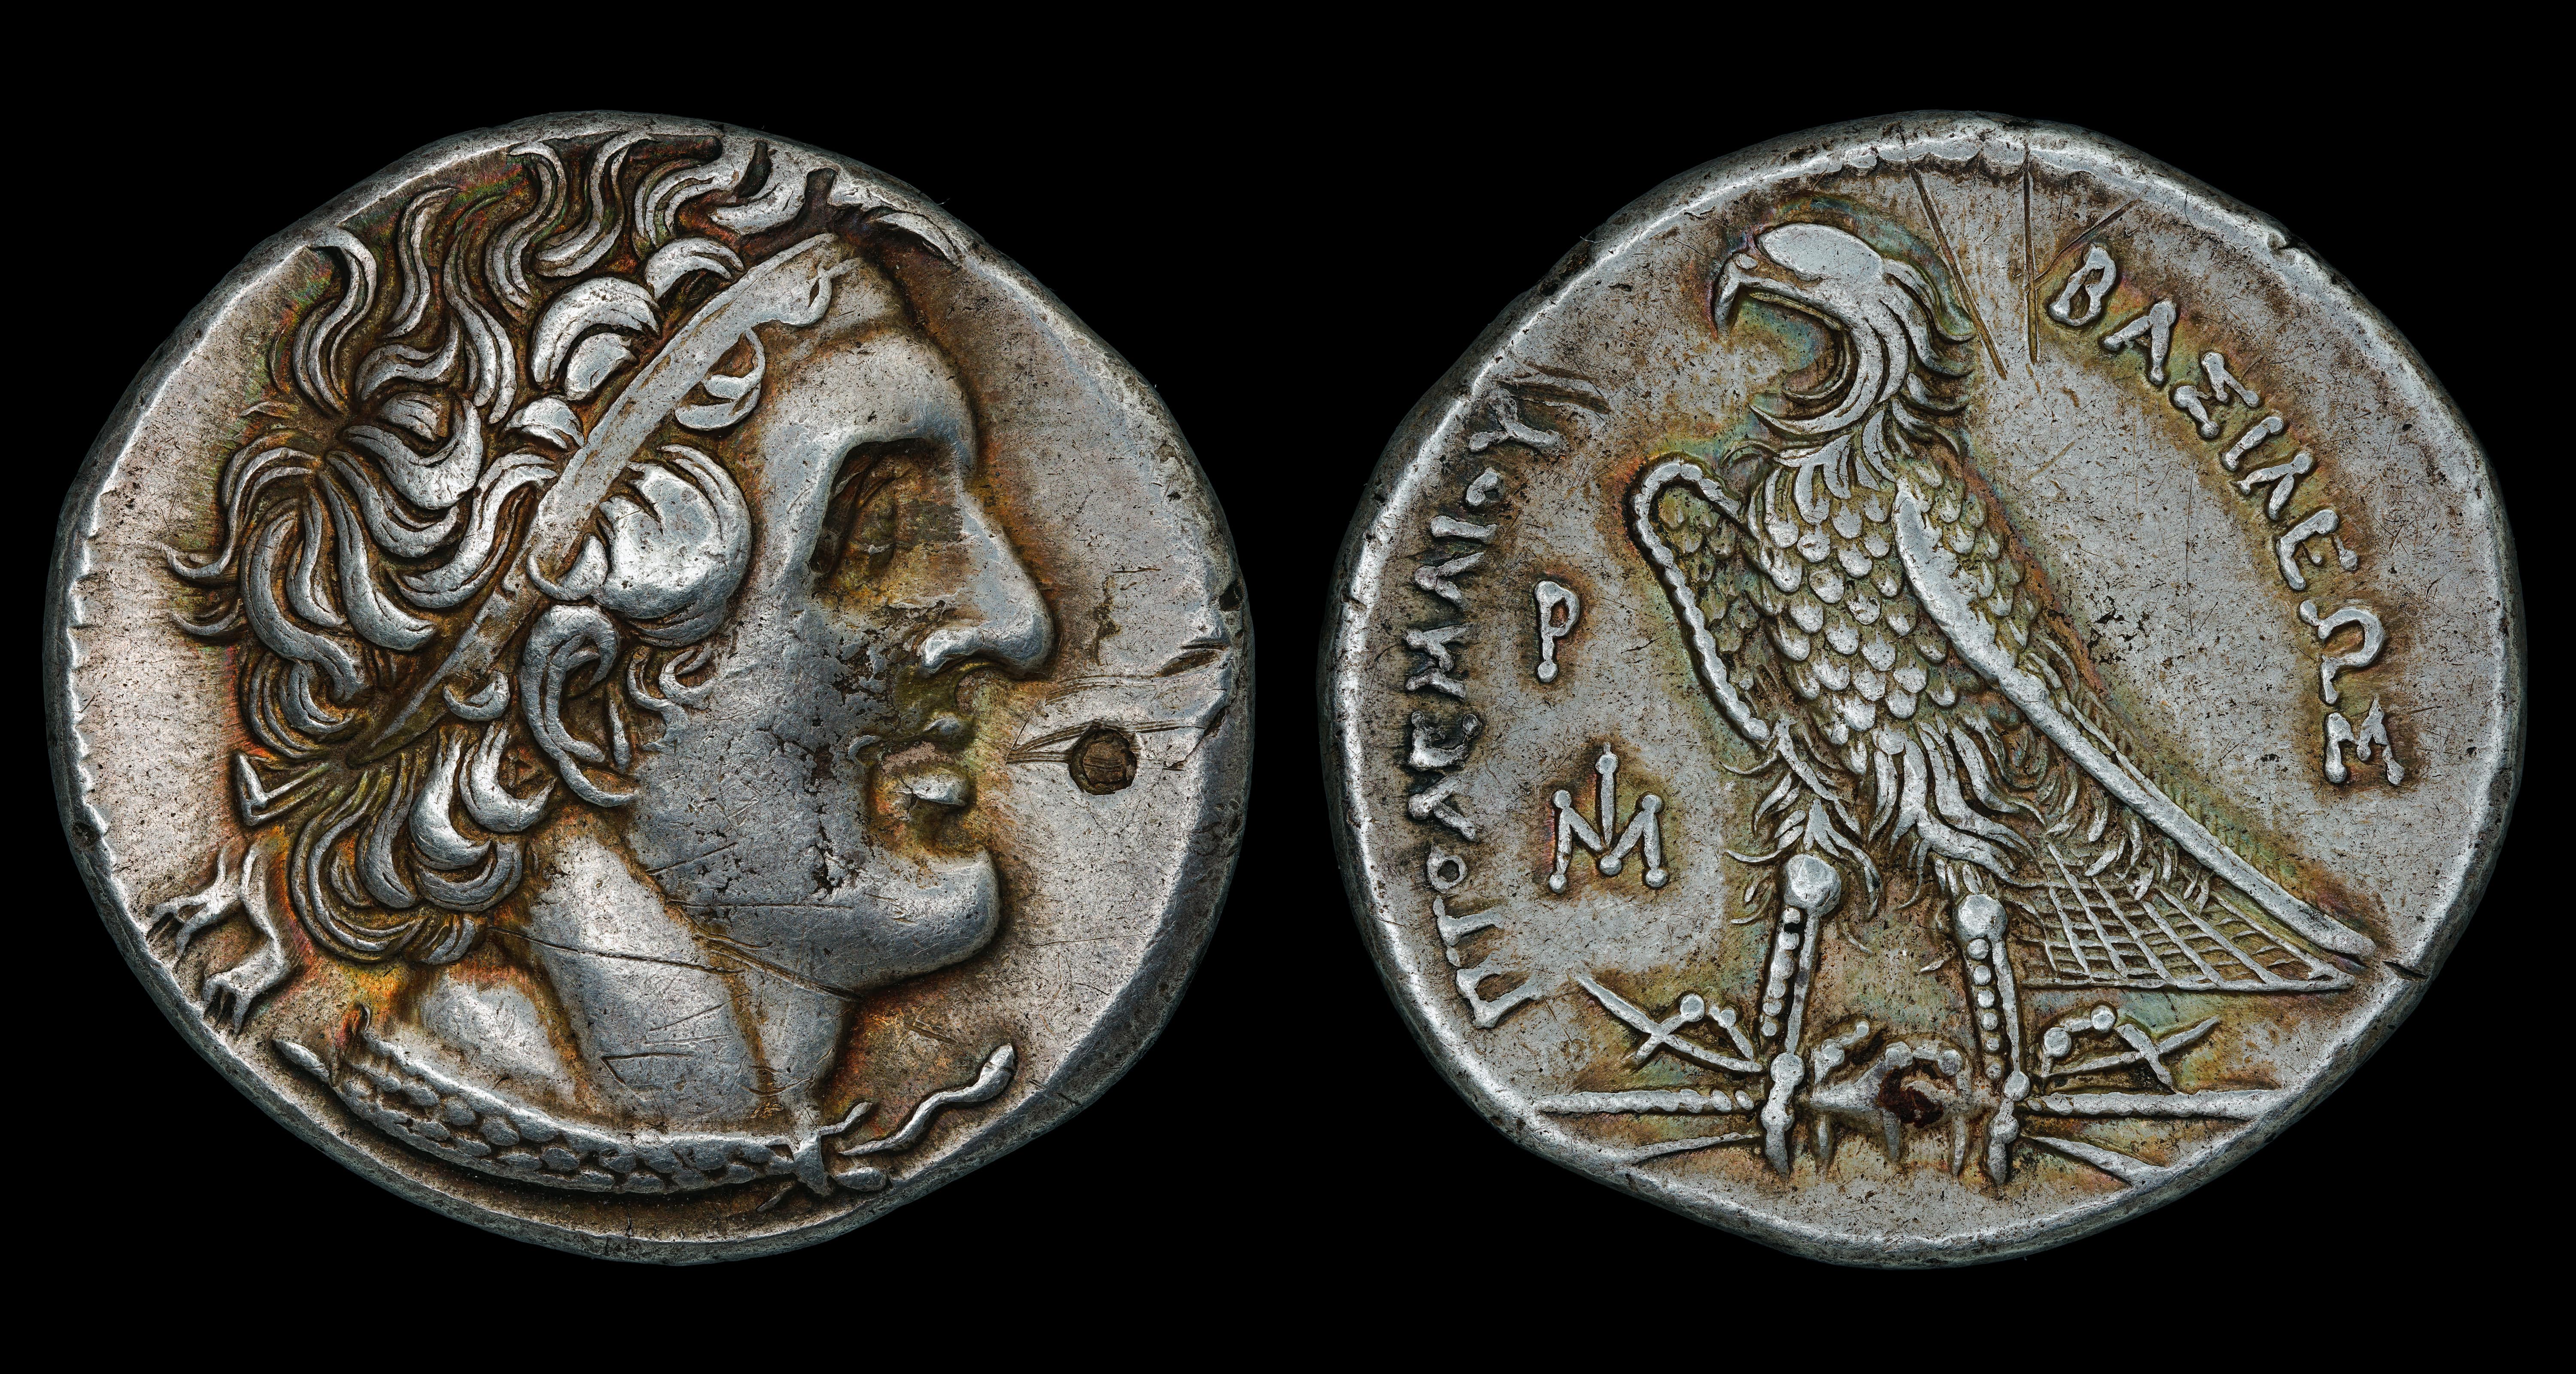
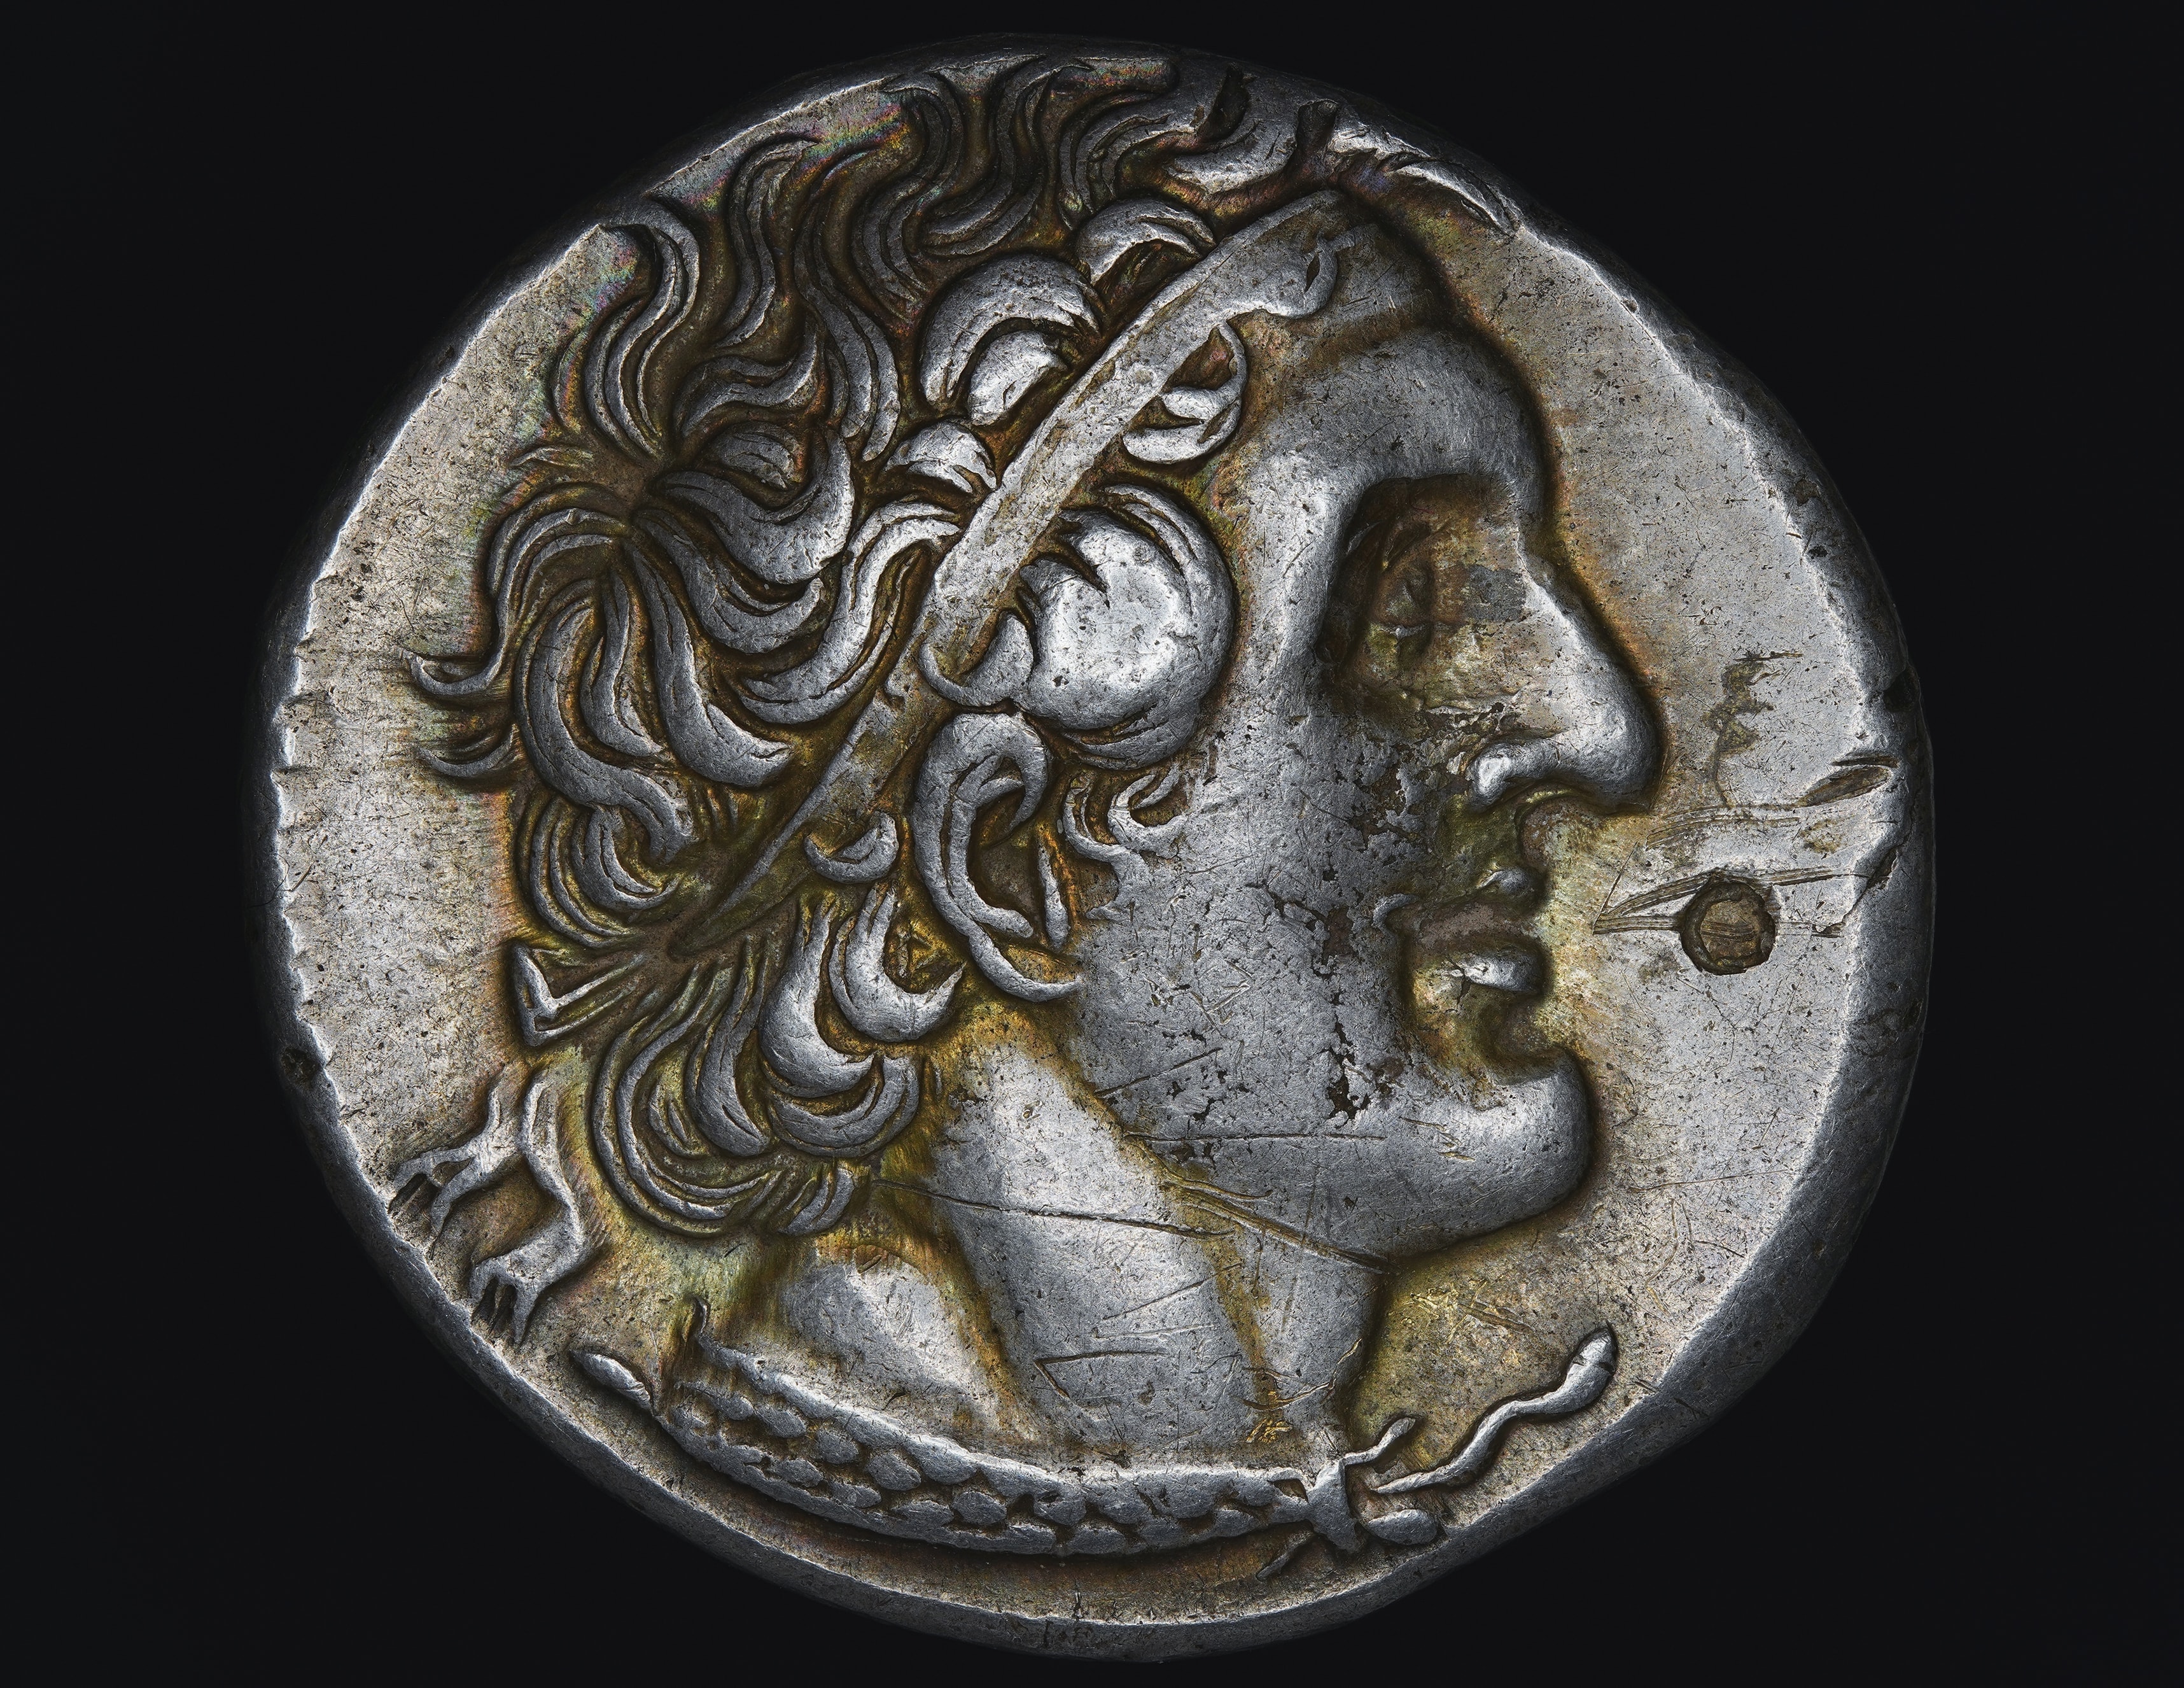
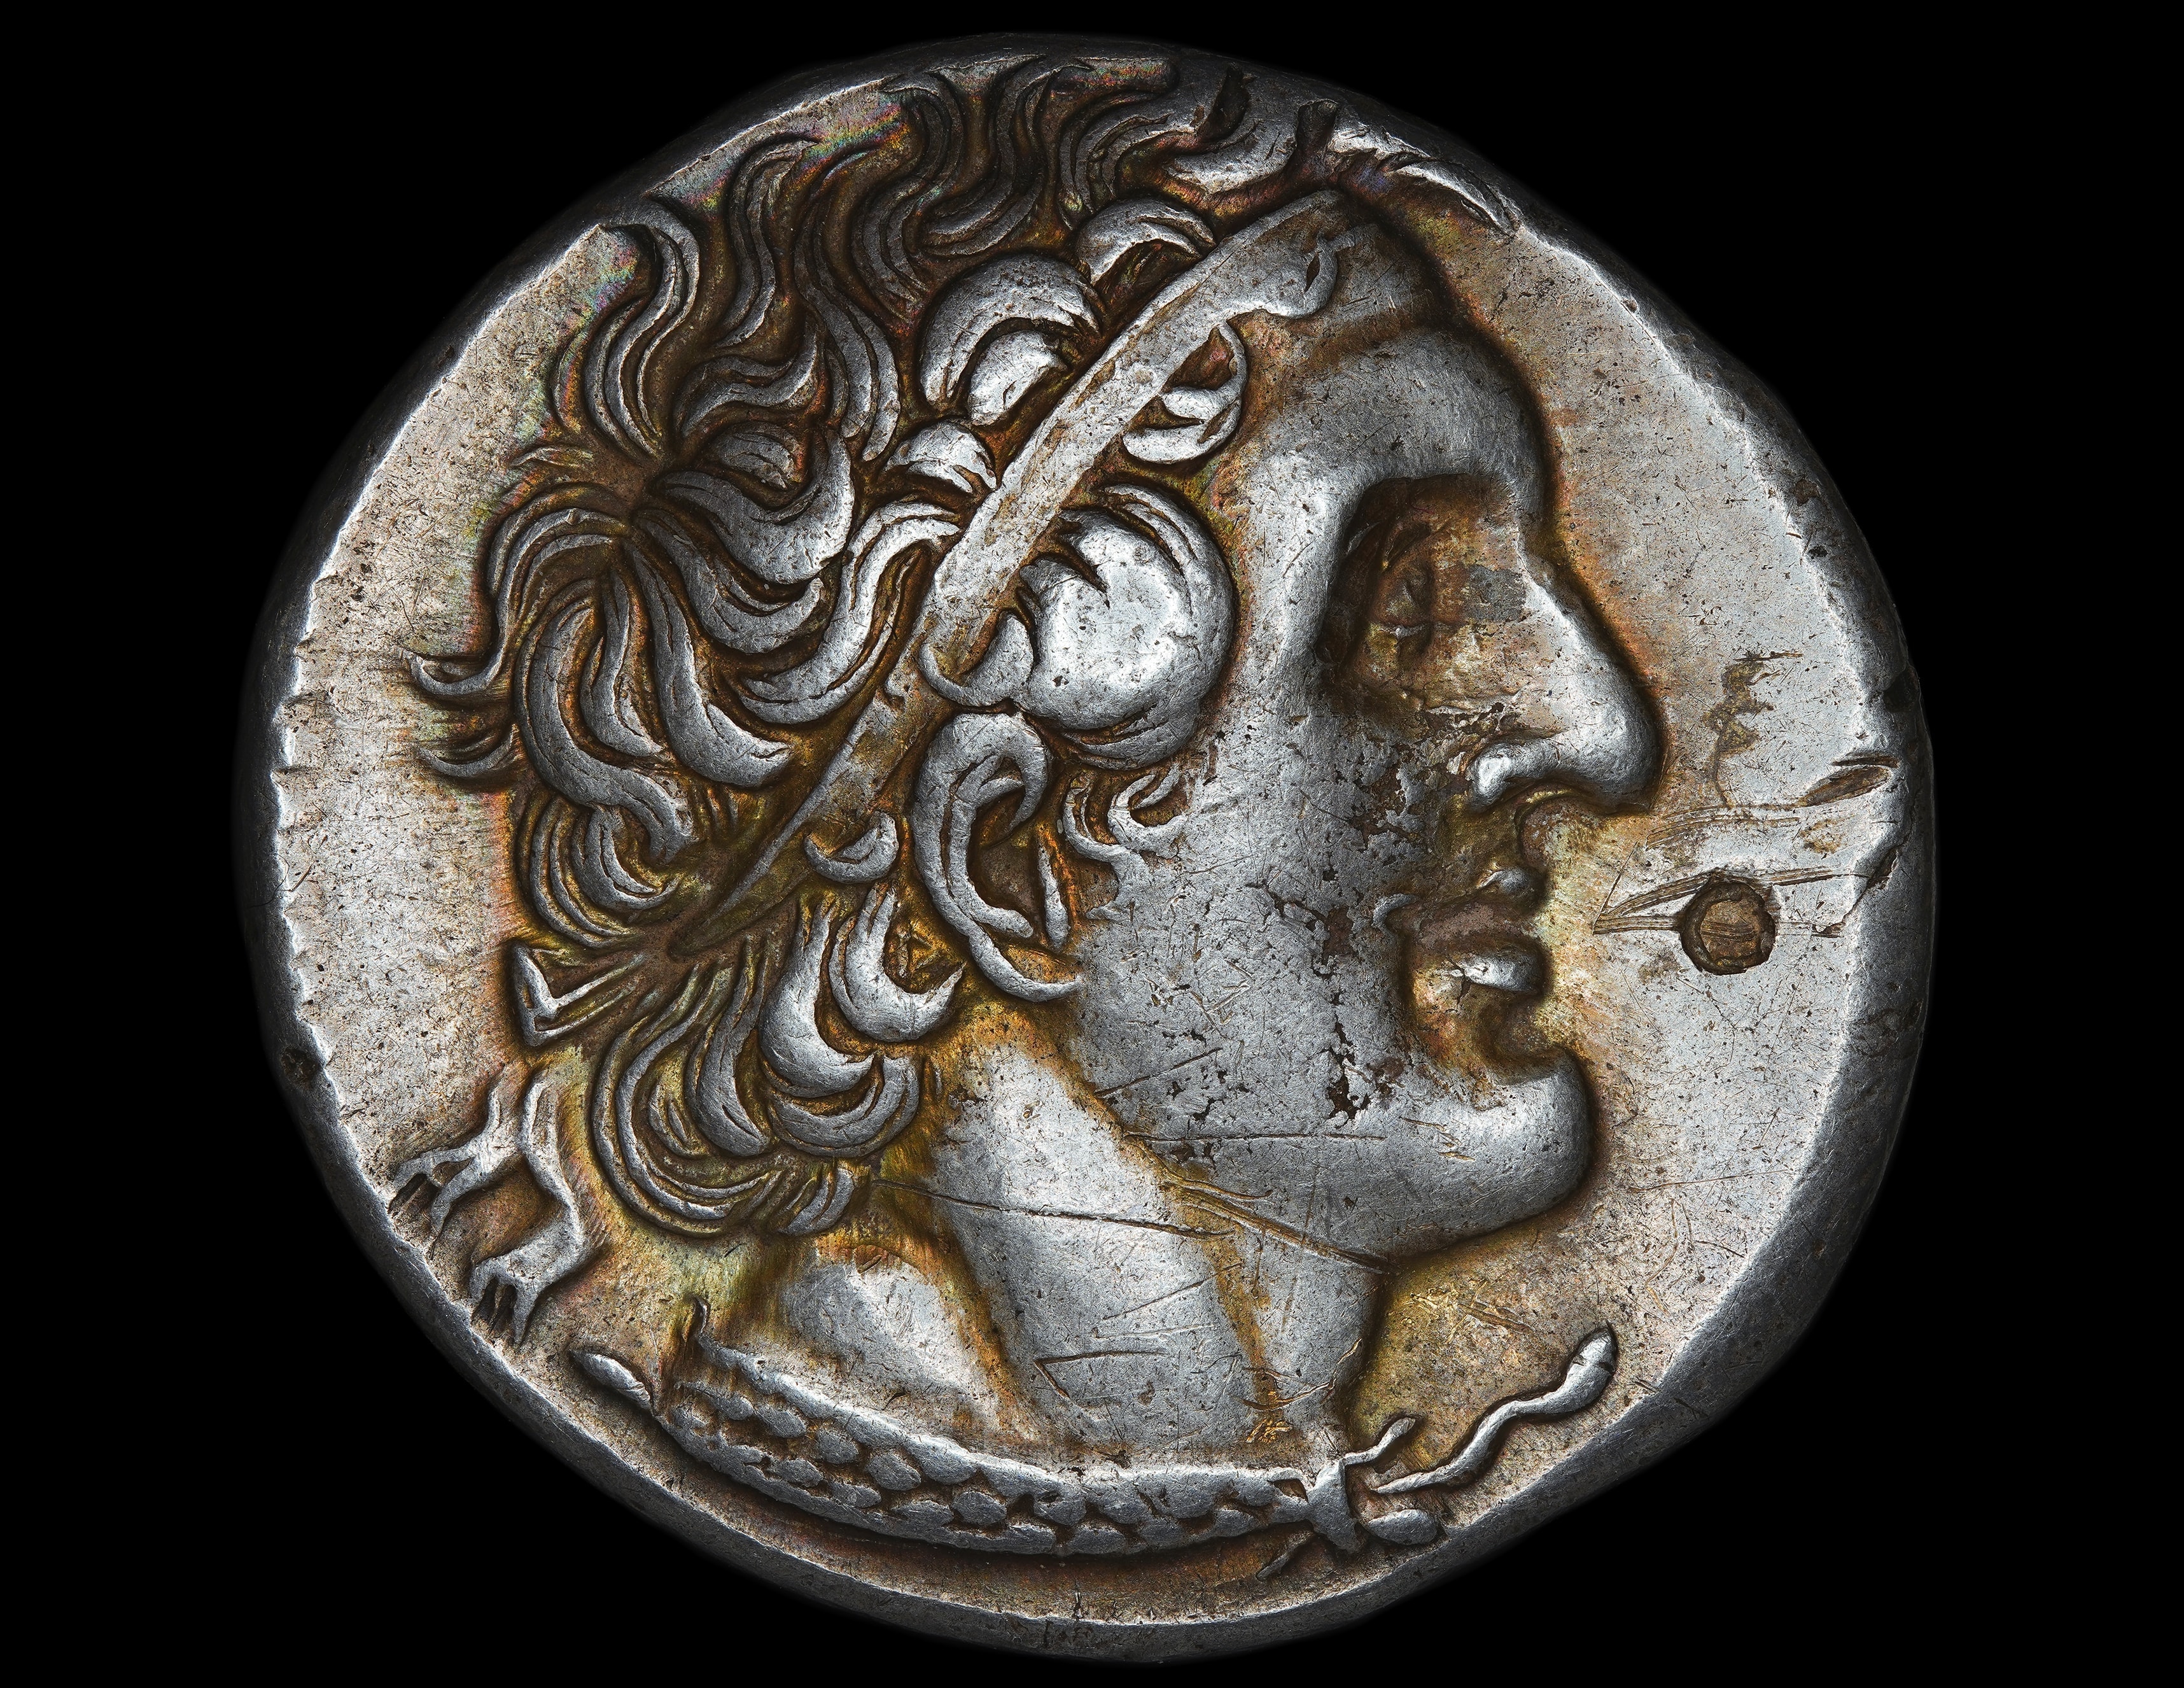
The Finished Photo