Once I have the lighting setup correctly, I next make the fine adjustments to the camera and lens settings. This part is relatively brief for me as I use Sony’s memory recall function to save most of my settings so that they are ready every time I go to photograph a new coin. The main settings I am adjusting here include:
- ISO
- Shutter Speed
- Aperture
- Metering
- Magnification
- White Balance
ISO & Shutter Speed
Starting with ISO and shutter speed, I try to aim for the fastest shutter speed and lowest ISO possible given my lighting. In terms of whether to prioritise shutter speed over ISO or vice versa, I usually go for a balance between the two with some minimum and maximum thresholds. For example, I prefer to shoot with a shutter speed of at least 1/200 when using a constant light source such as an LED ring. If you shoot at slower speeds, it’s possible that small amounts of vibration present in the system – either external (e.g. a busy road outside your house) or internal (e.g. the camera’s shutter moving) – can result in decreased sharpness. When using a flash or strobe, this is less of an issue and you can shoot at slower speeds as the flash “freezes” any motion. When shooting with a flash you probably won’t want to exceed a 1/250s shutter speed as this would put you into “High Speed Sync” territory.
While many flashes can do HSS, I advise against it (as well as the flash manufacturer) for focus stacking as it draws a lot of power from the battery and can quickly heat up the flash when taking a large number of photos in quick succession. For ISO, I try to stick to below 600-800 and if possible in the 50-250 ISO range. This isn’t always possible, particularly if your light source is not very powerful, so I may decrease the shutter speed or lower the aperture before adjusting the ISO above 800.
Aperture
All lenses have an optimal aperture at which they are the sharpest, i.e. resolve the most detail. This is typically above the lowest aperture setting of the lens but well below the maximum. In the case of the Laowa 100mm f/2.8 2x macro lens, it is probably in the range of f/4 to f/8. You will want to shoot your focus stacks in this aperture range to ensure you’re getting the most detail out of your photos but it’s OK if you shoot 1 or 2 stops away from the optimal aperture. In my case, I almost always shoot at f/5.6 but I could also shoot at f/6.3 or f/8 without a noticeable difference in quality. Changing the aperture to f/8 will increase the depth of field and means I would need fewer photos for the focus stacking, speeding up the process, but lowering the available light.
Magnification
If you have a macro lens with variable magnification (most macro lenses) you can play around with the magnification to help balance your other settings. For example, a magnification of 0.5x would have a higher depth of field than a magnification of 1x and thus you can shoot fewer photos for your focus stack. To achieve the same depth of field at 1x you would need to increase the aperture, reducing available light and possibly nudging your lens into diffraction territory. However, a lower magnification would resolve less detail as the object (the coin) would take up less space on your sensor and thus have fewer available pixels representing that object. I personally shoot at which ever magnification is required to fit the coin perfectly in frame and therefore maximise the available pixels of the sensor to ensure I’m capturing the most detail.
Metering
Metering is not a super important setting to dial in but can help ensure you’re adequately exposing your image. On Sony cameras, there is a metering readout on the display that tells you how many stops of exposure you’re above or below a correctly exposed photo. If you’re under the correct exposure, your photo will be too dark, and if you’re over, it will be too bright. What determines this metering readout is the metering mode. This mode determines how the camera calculates correct exposure and there’s usually many options available. Some of the common ones include multi, centre, and spot.
- Multi metering divides the image into chunks and takes a light reading in each chunk to determine the proper exposure for the whole image
- Centre metering takes an average reading of the entire image but prioritises the readings in the centre of the frame
- Spot metering only takes readings in a spot of a specific size that you can manually place anywhere within your image.
I tend to use either Centre or Spot (Large) metering as when shooting coins with a black background, a large portion of the image should be completely black. You have to be careful with Spot metering that the spot itself isn’t too small, if it only takes readings from a small area of the coin you risk getting the exposure wrong if your entire coin is not lit evenly.
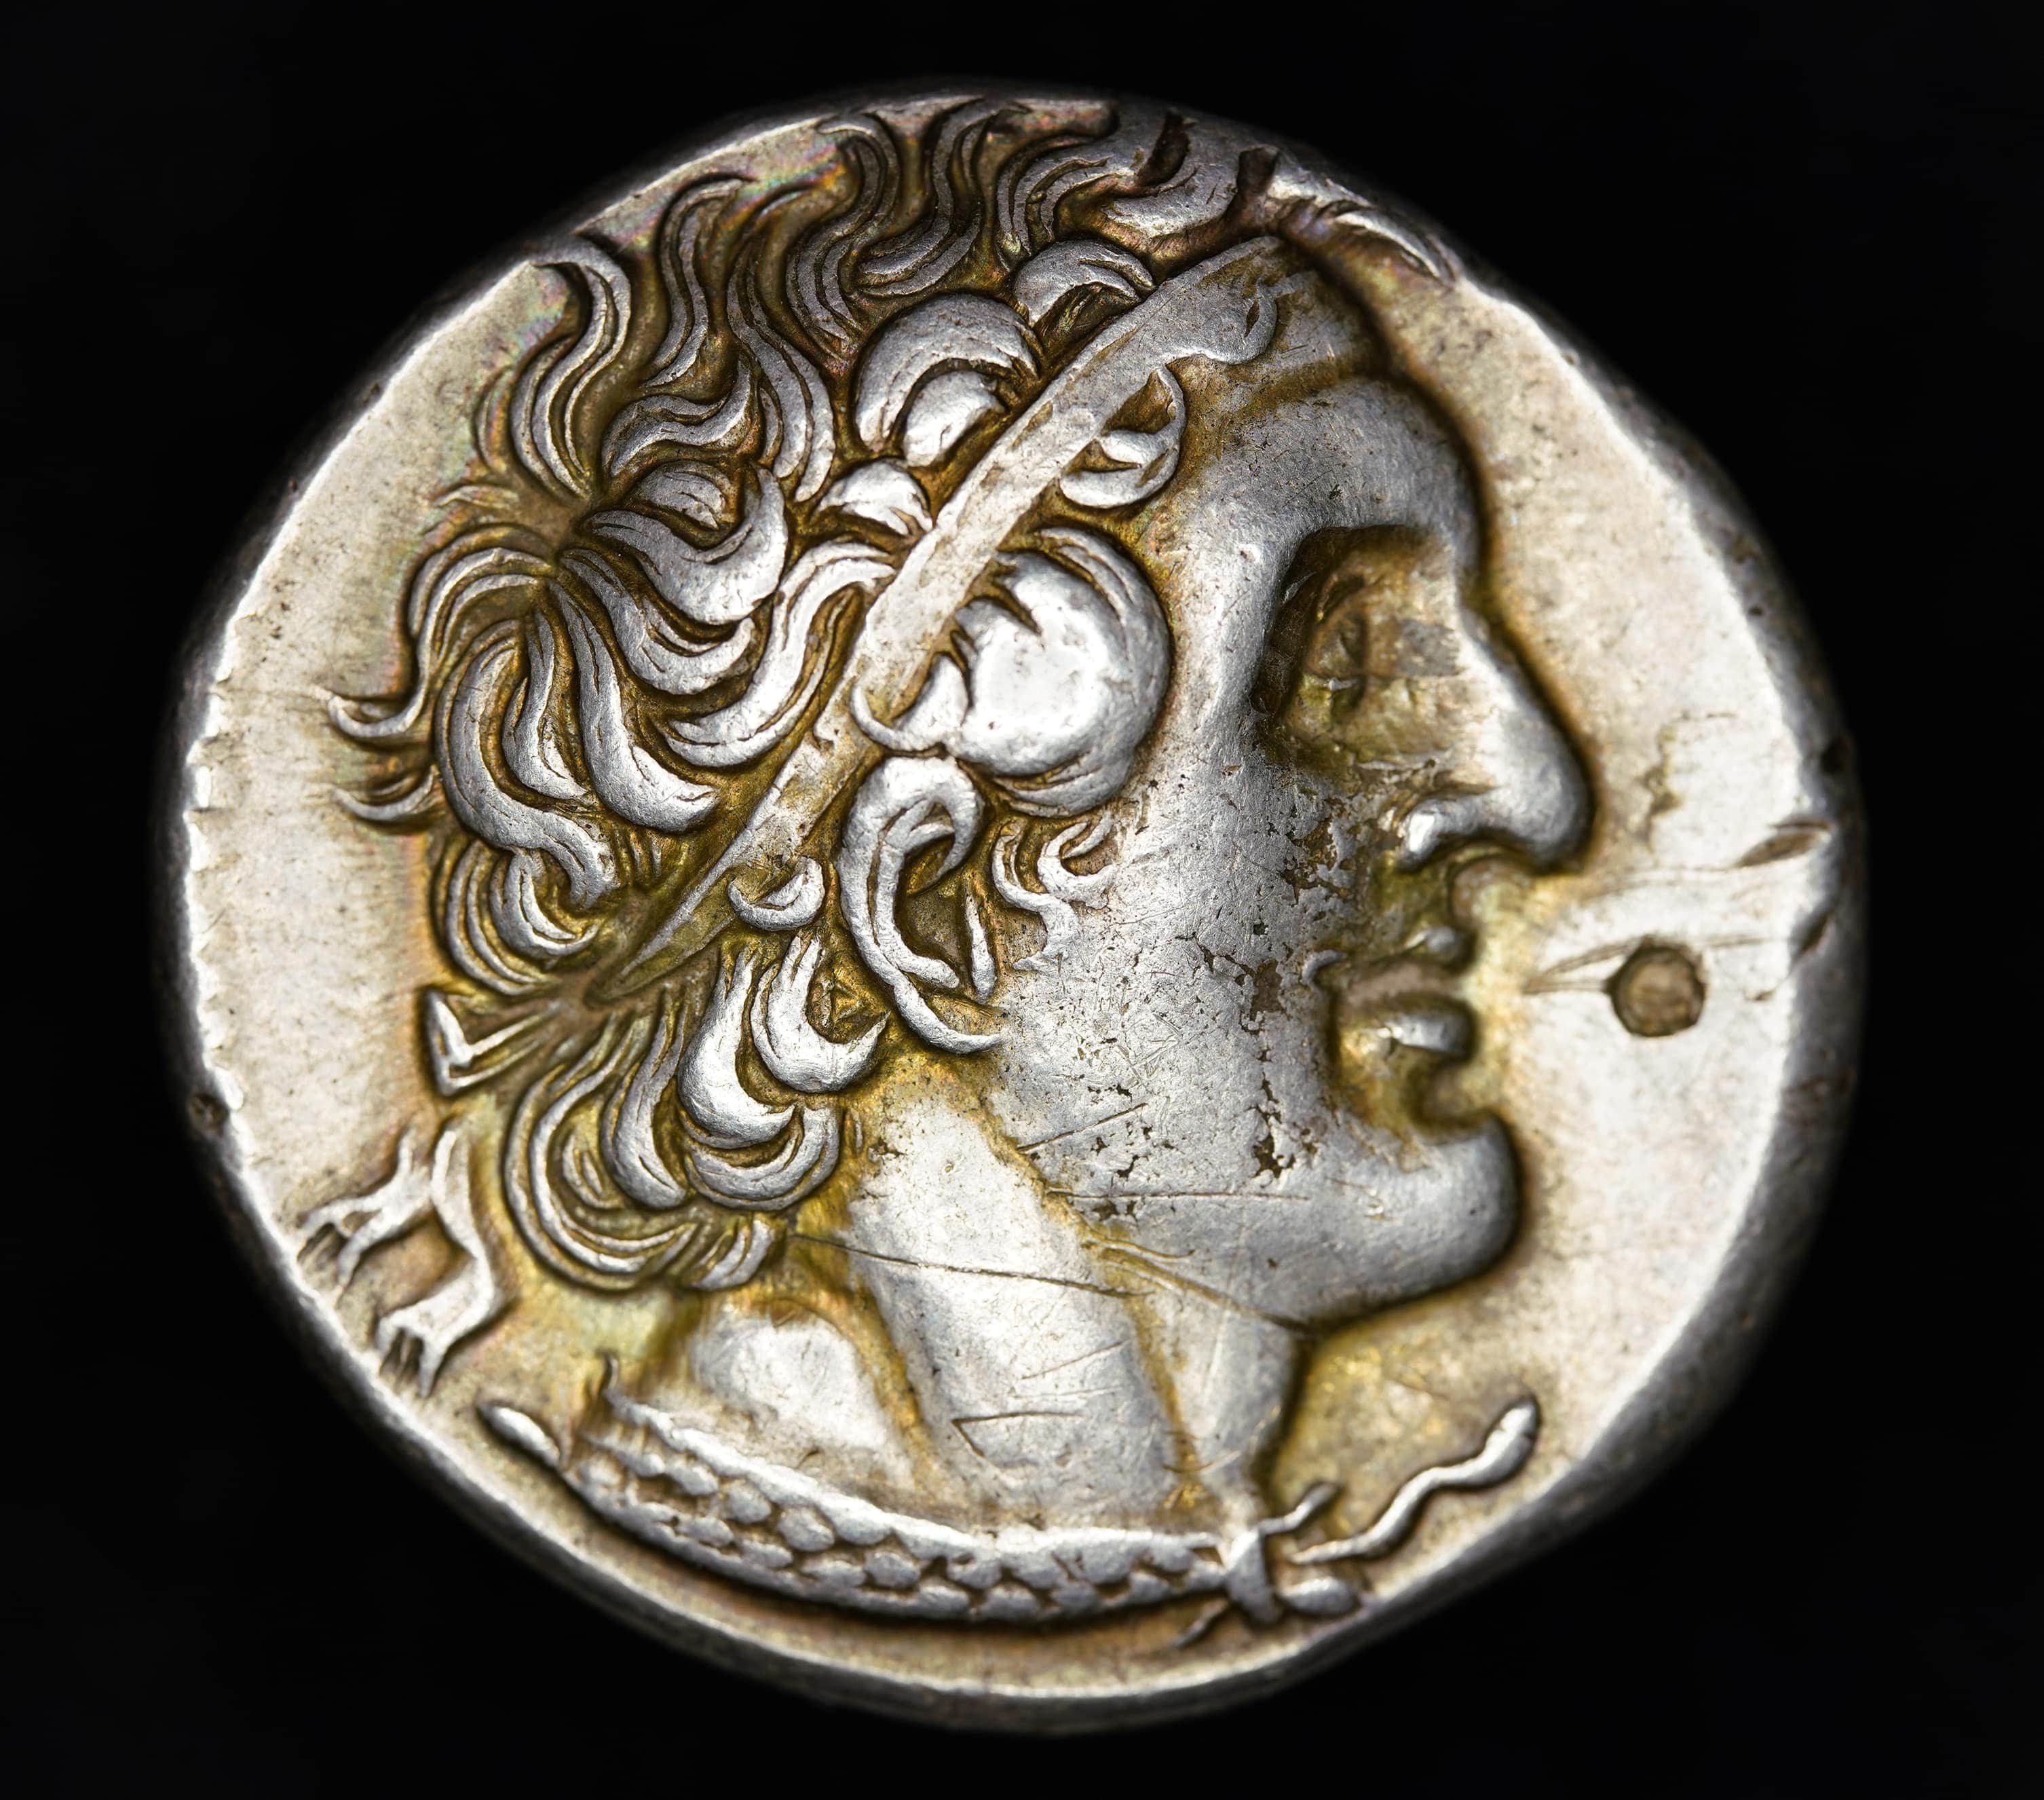
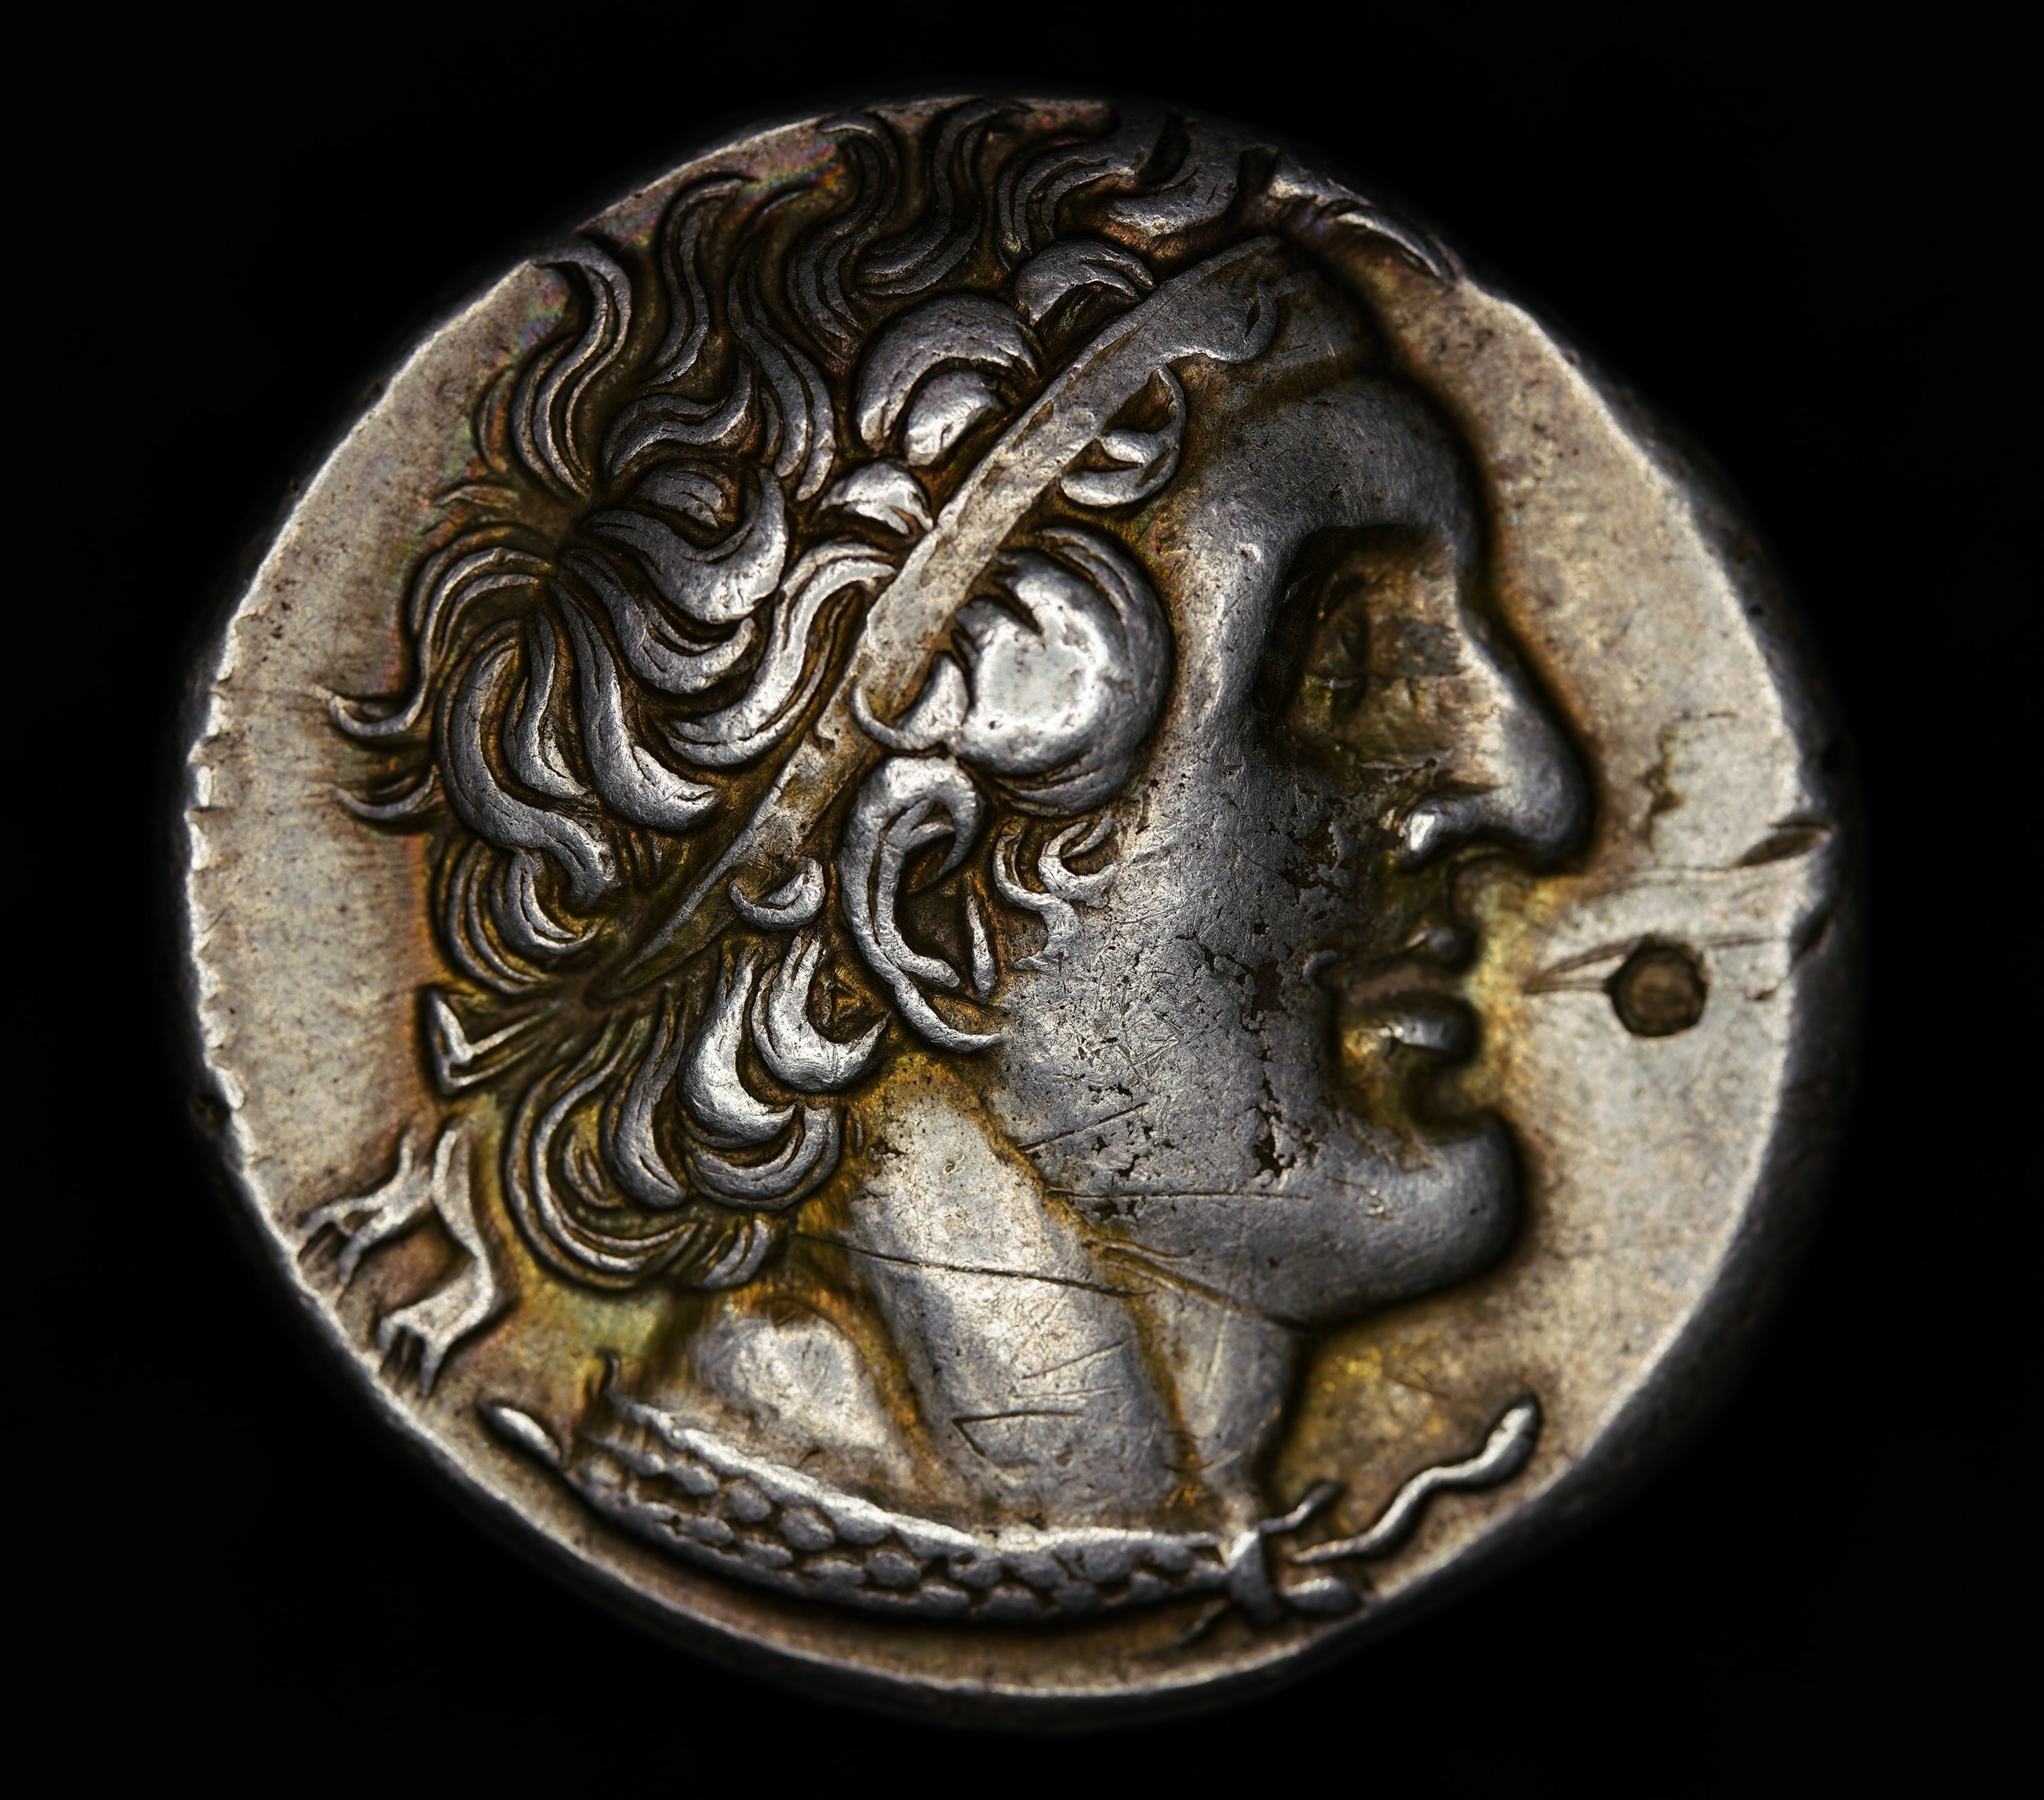
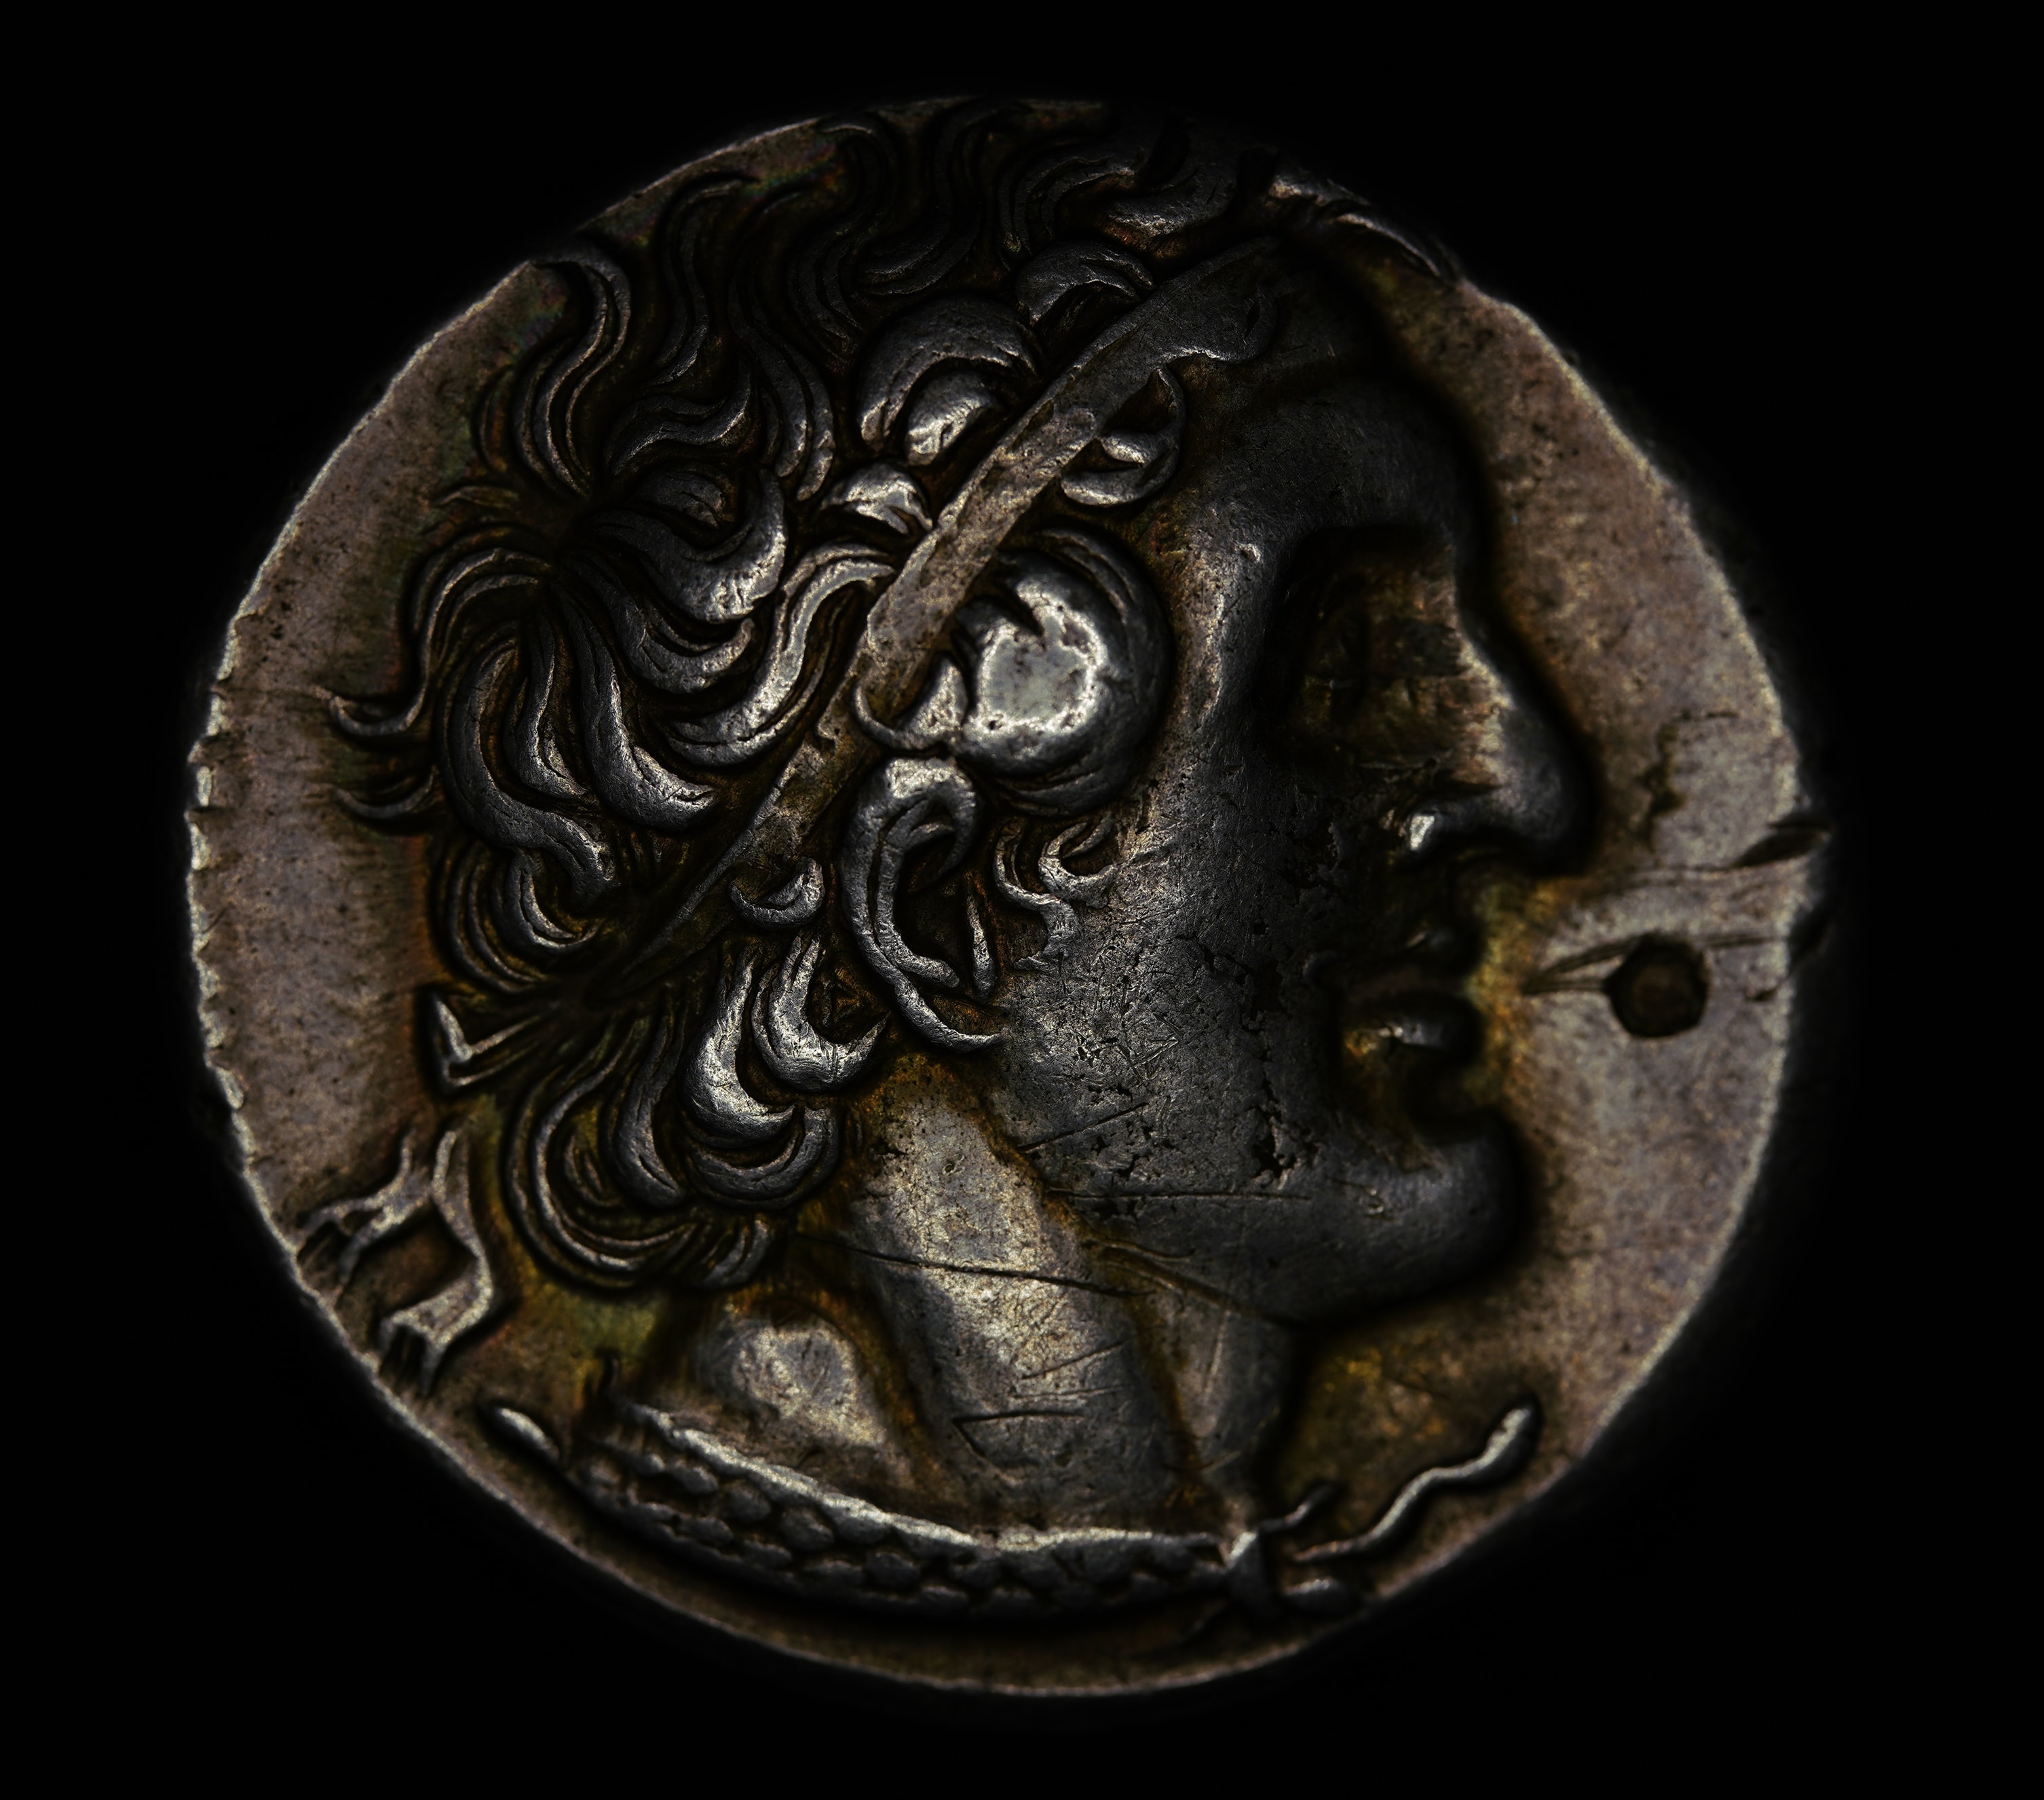
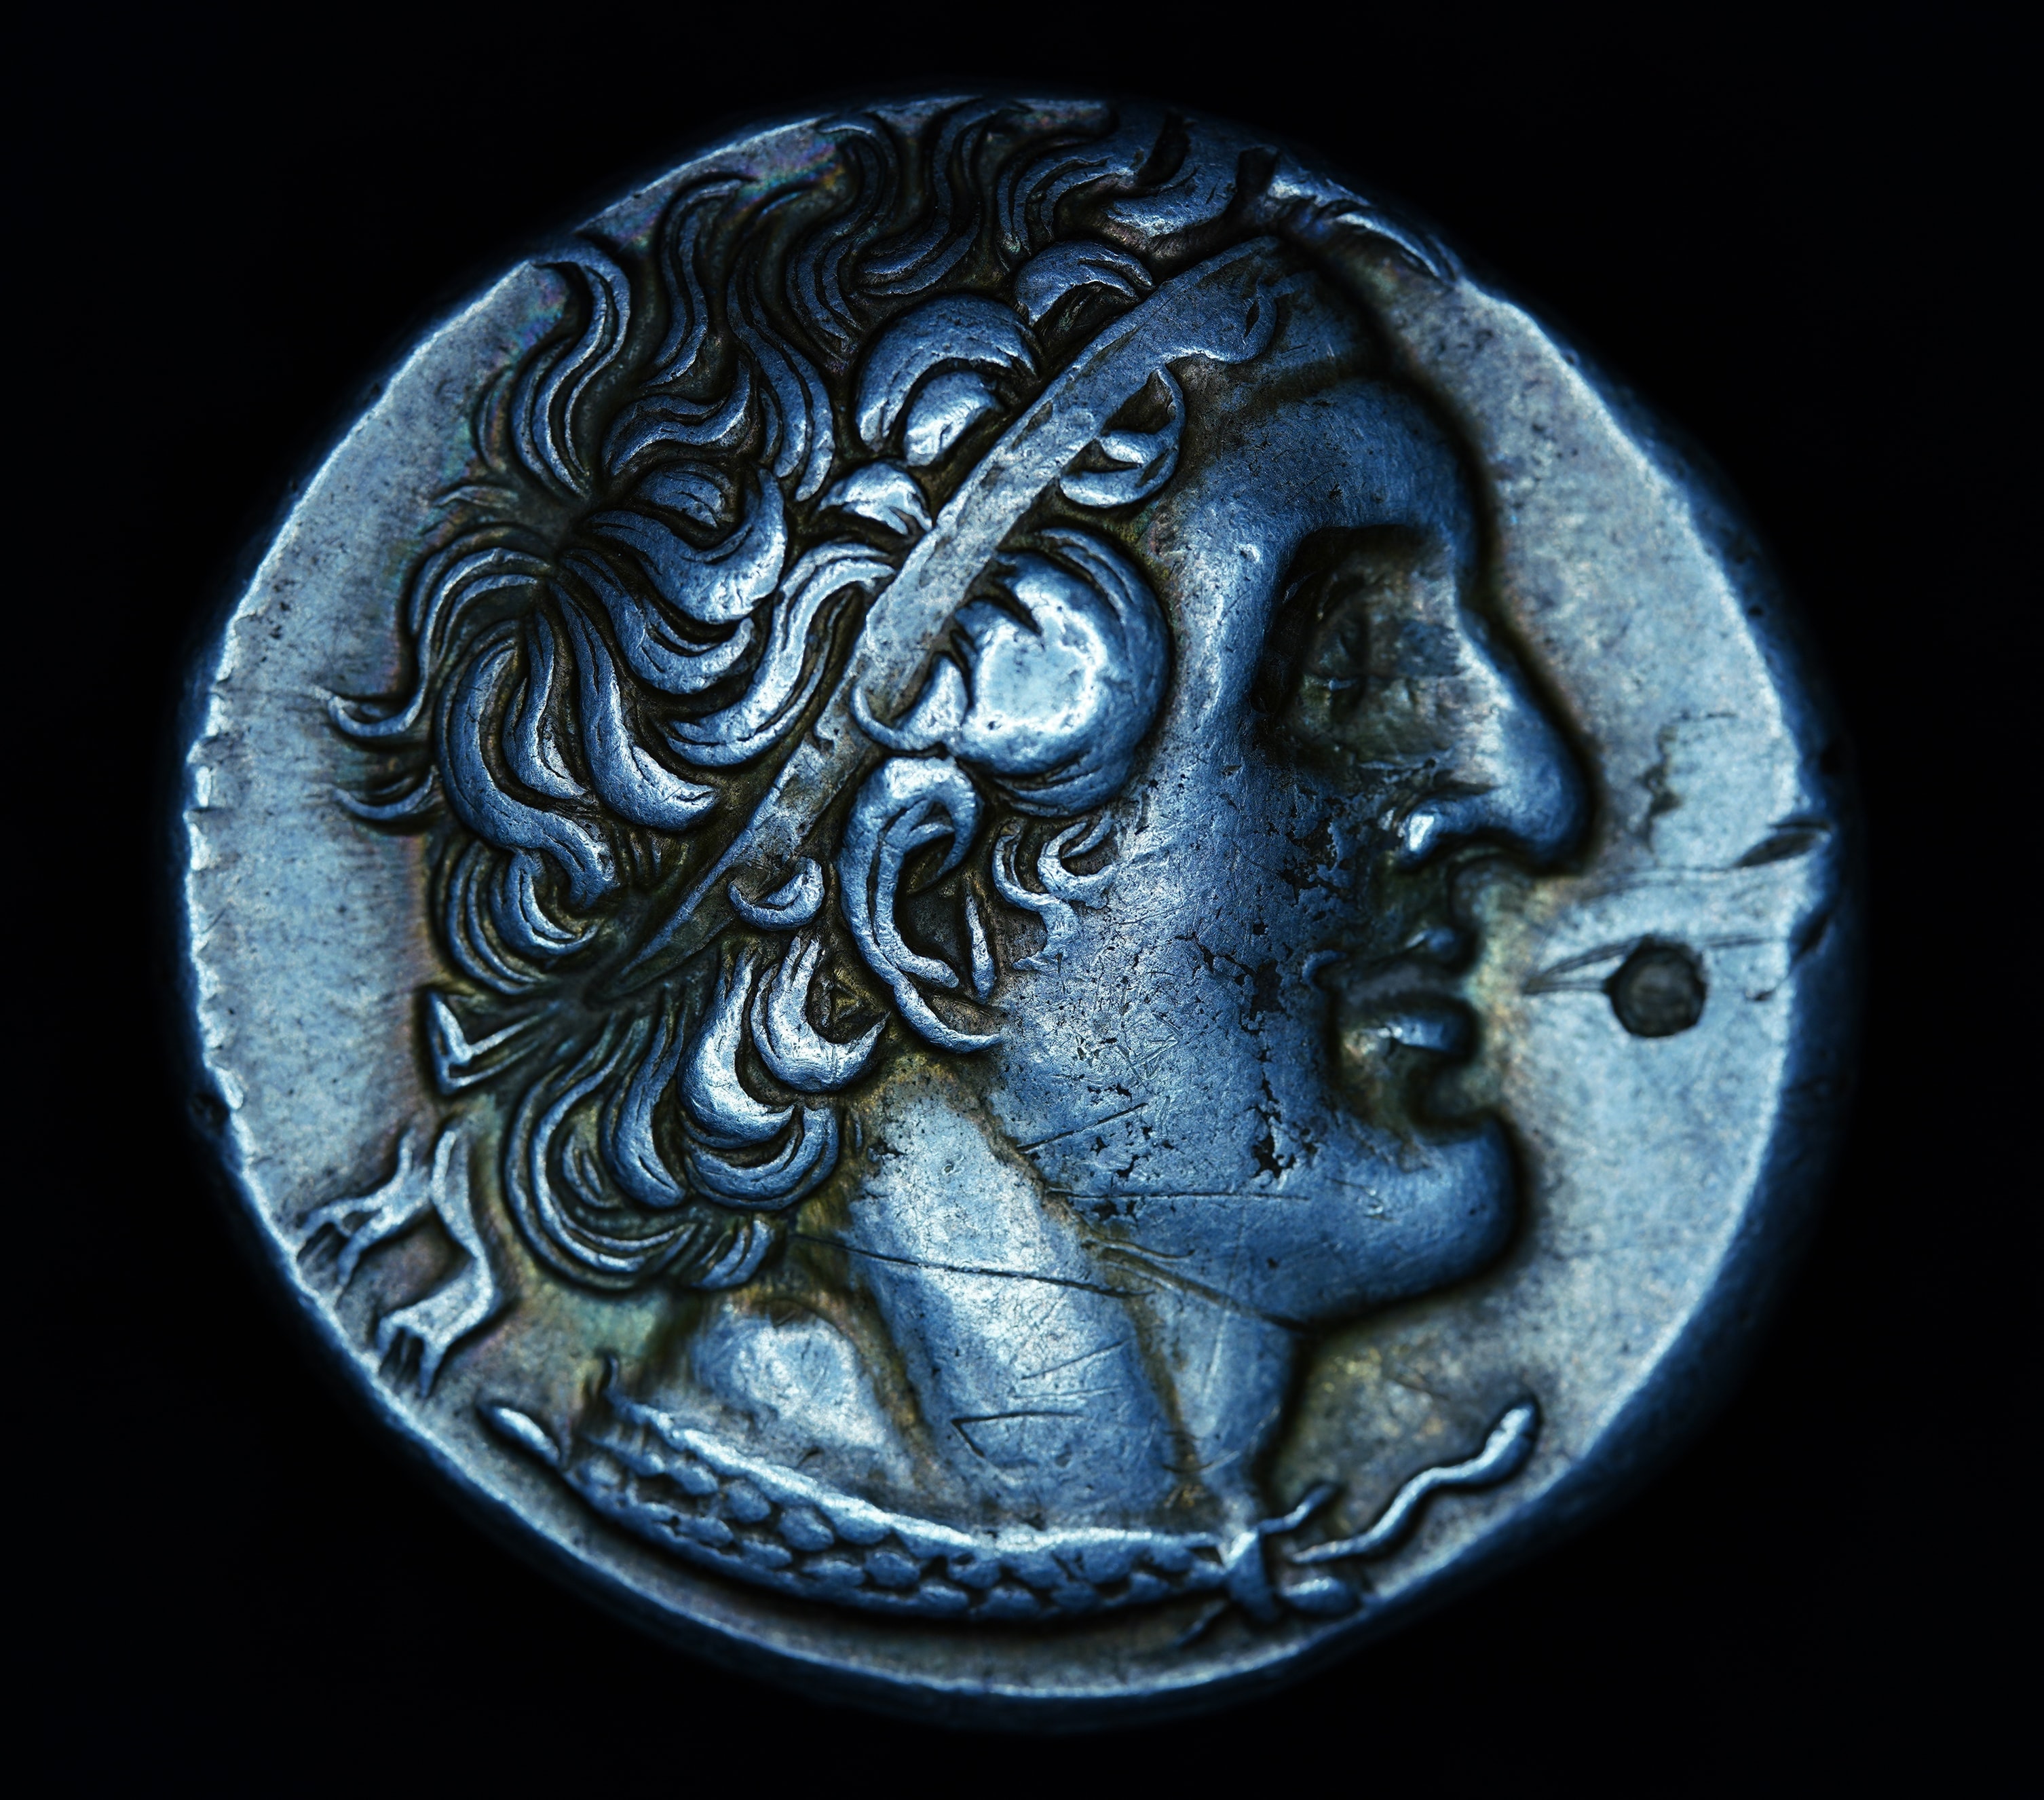
White Balance
I typically set White Balance to Auto and then depending on whether I’m using a warm (yellowish) or cool (blueish) light source, I choose the Auto White Balance (AWB) setting with an optional bias towards either warm or cool. I use AWB as Sony cameras don’t let you use the custom white balance reading when in Memory Recall mode. Instead, I take a photo of a “grey card” in the AWB mode and adjust for white balance during editing. A grey card is simply a reference of a specific colour of grey that allows you to set your white balance correctly. I will discuss in the post-processing page how I make these adjustments in Adobe Lightroom.
Use the arrows to swipe through the photos below.