This guide will walk through some easy steps you can take to try and improve the quality of your coin photos. While I use a Sony A7R III mirrorless camera, not everyone has access to one nor wants to buy one (especially when you can spend that money on a coin!), so I will be using my phone camera. I have a Samsung Galaxy S9+ but any phone camera from the last couple of years should be capable of achieving similar results.
All photos shown below are straight from off the phone: except for cropping they have not been edited and no filters or similar have been applied.
Getting Started
The easiest way of taking photos of your coins is to use what you have on hand, and there’s a perfect source of light available to most of us throughout the year: the sun. Natural light from the sun is surprisingly good for coin photography as you tend to replicate the natural colour and tone of the coin, are able to evenly light it from all sides, and don’t need to worry too much about intensity. Having a bit of cloud cover on an overcast day works even better as the sunlight is more diffused and thus less harsh.
Some limitations are that the sun is not available throughout the entire day, it can be of inconsistent brightness and colour when it is available, and it moves throughout the sky and is not always in the best position for your needs. You may also find yourself blocking the sun with your body, hand, or phone, and need to angle the coin to catch the sunlight just right.
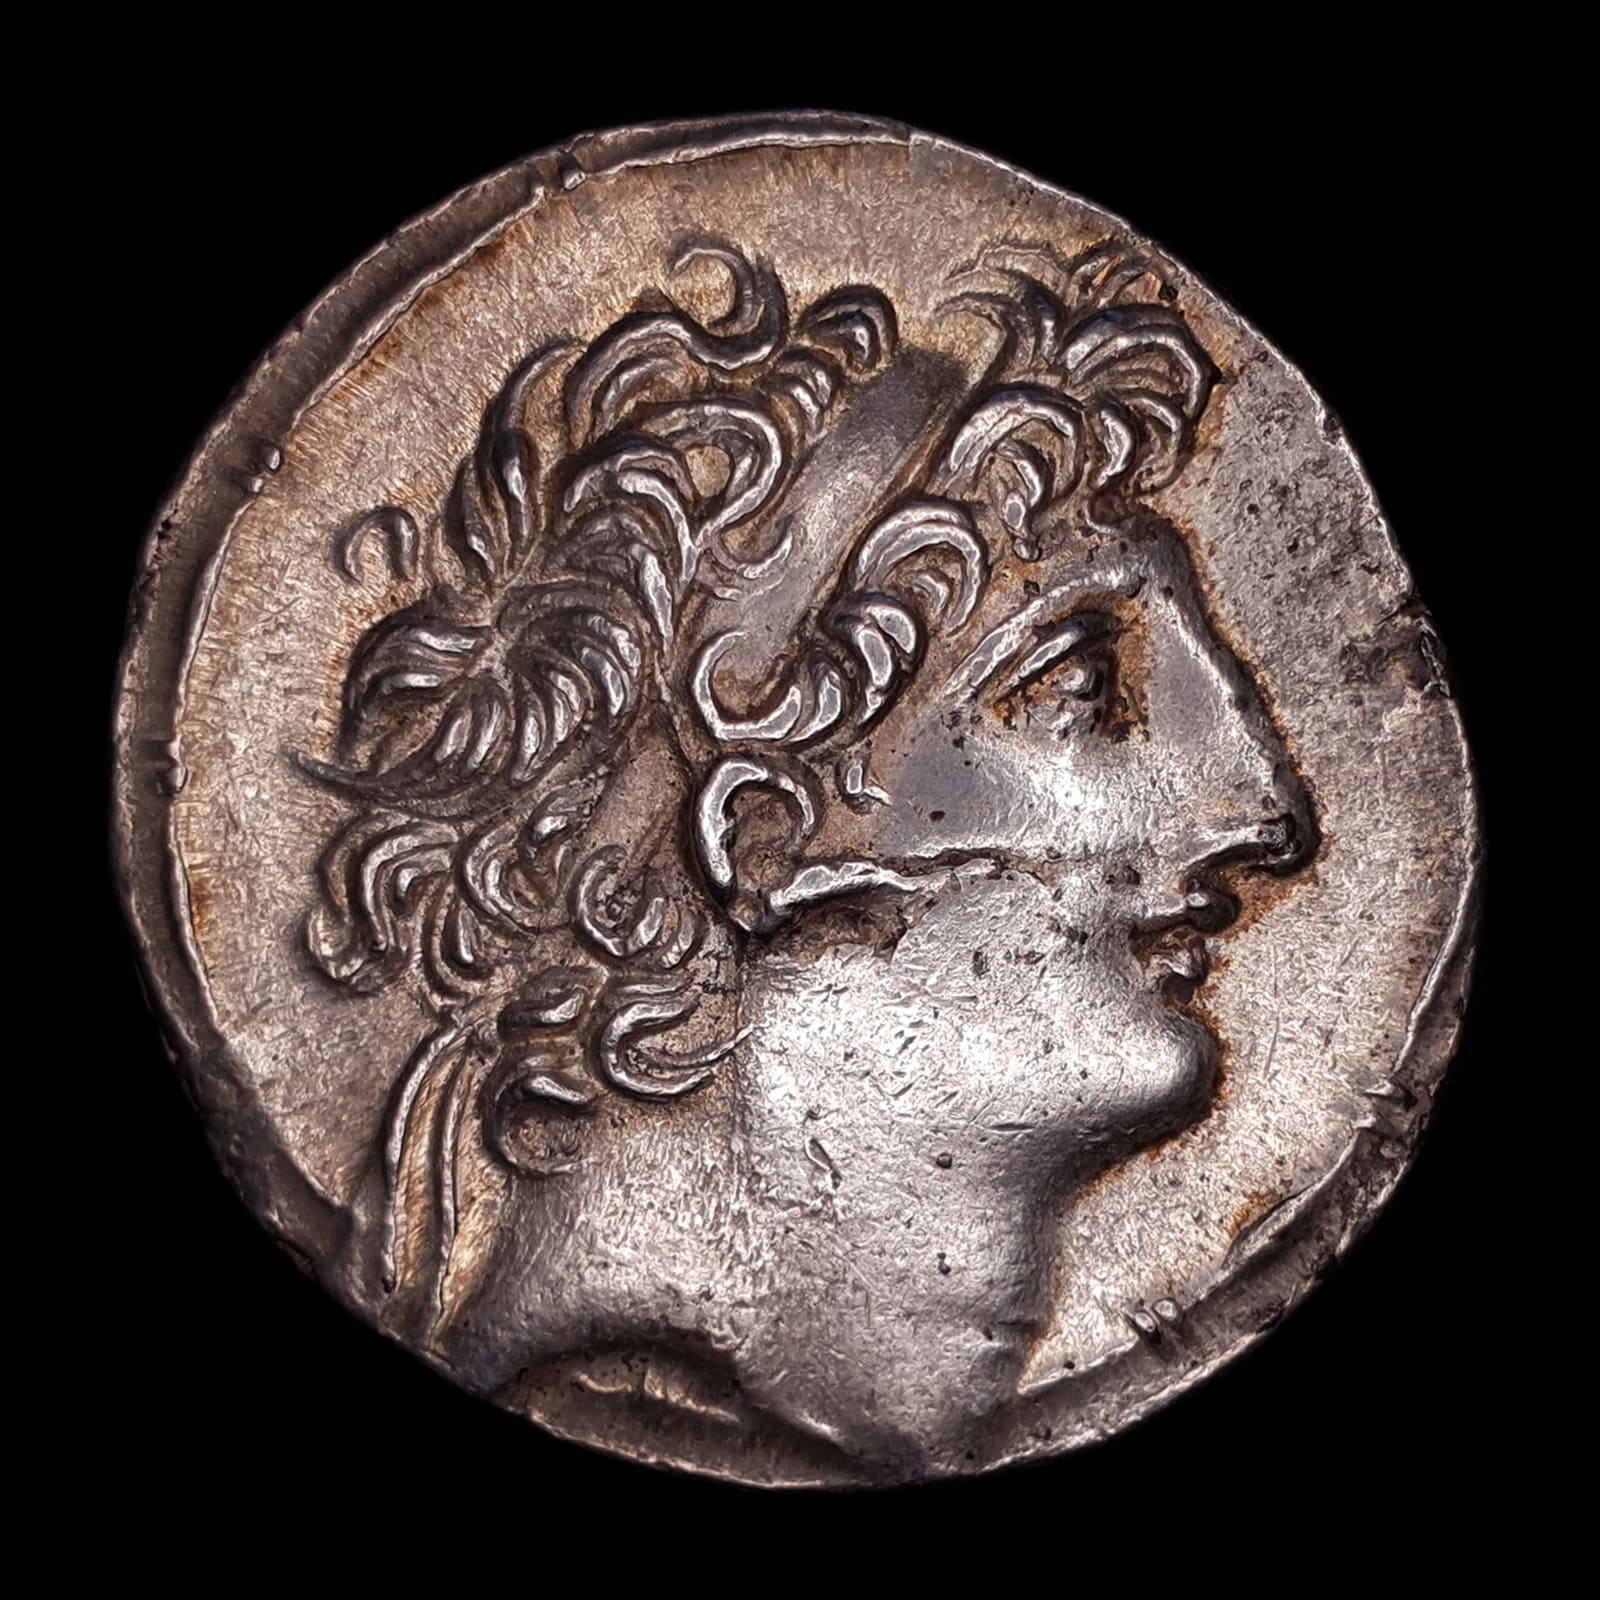
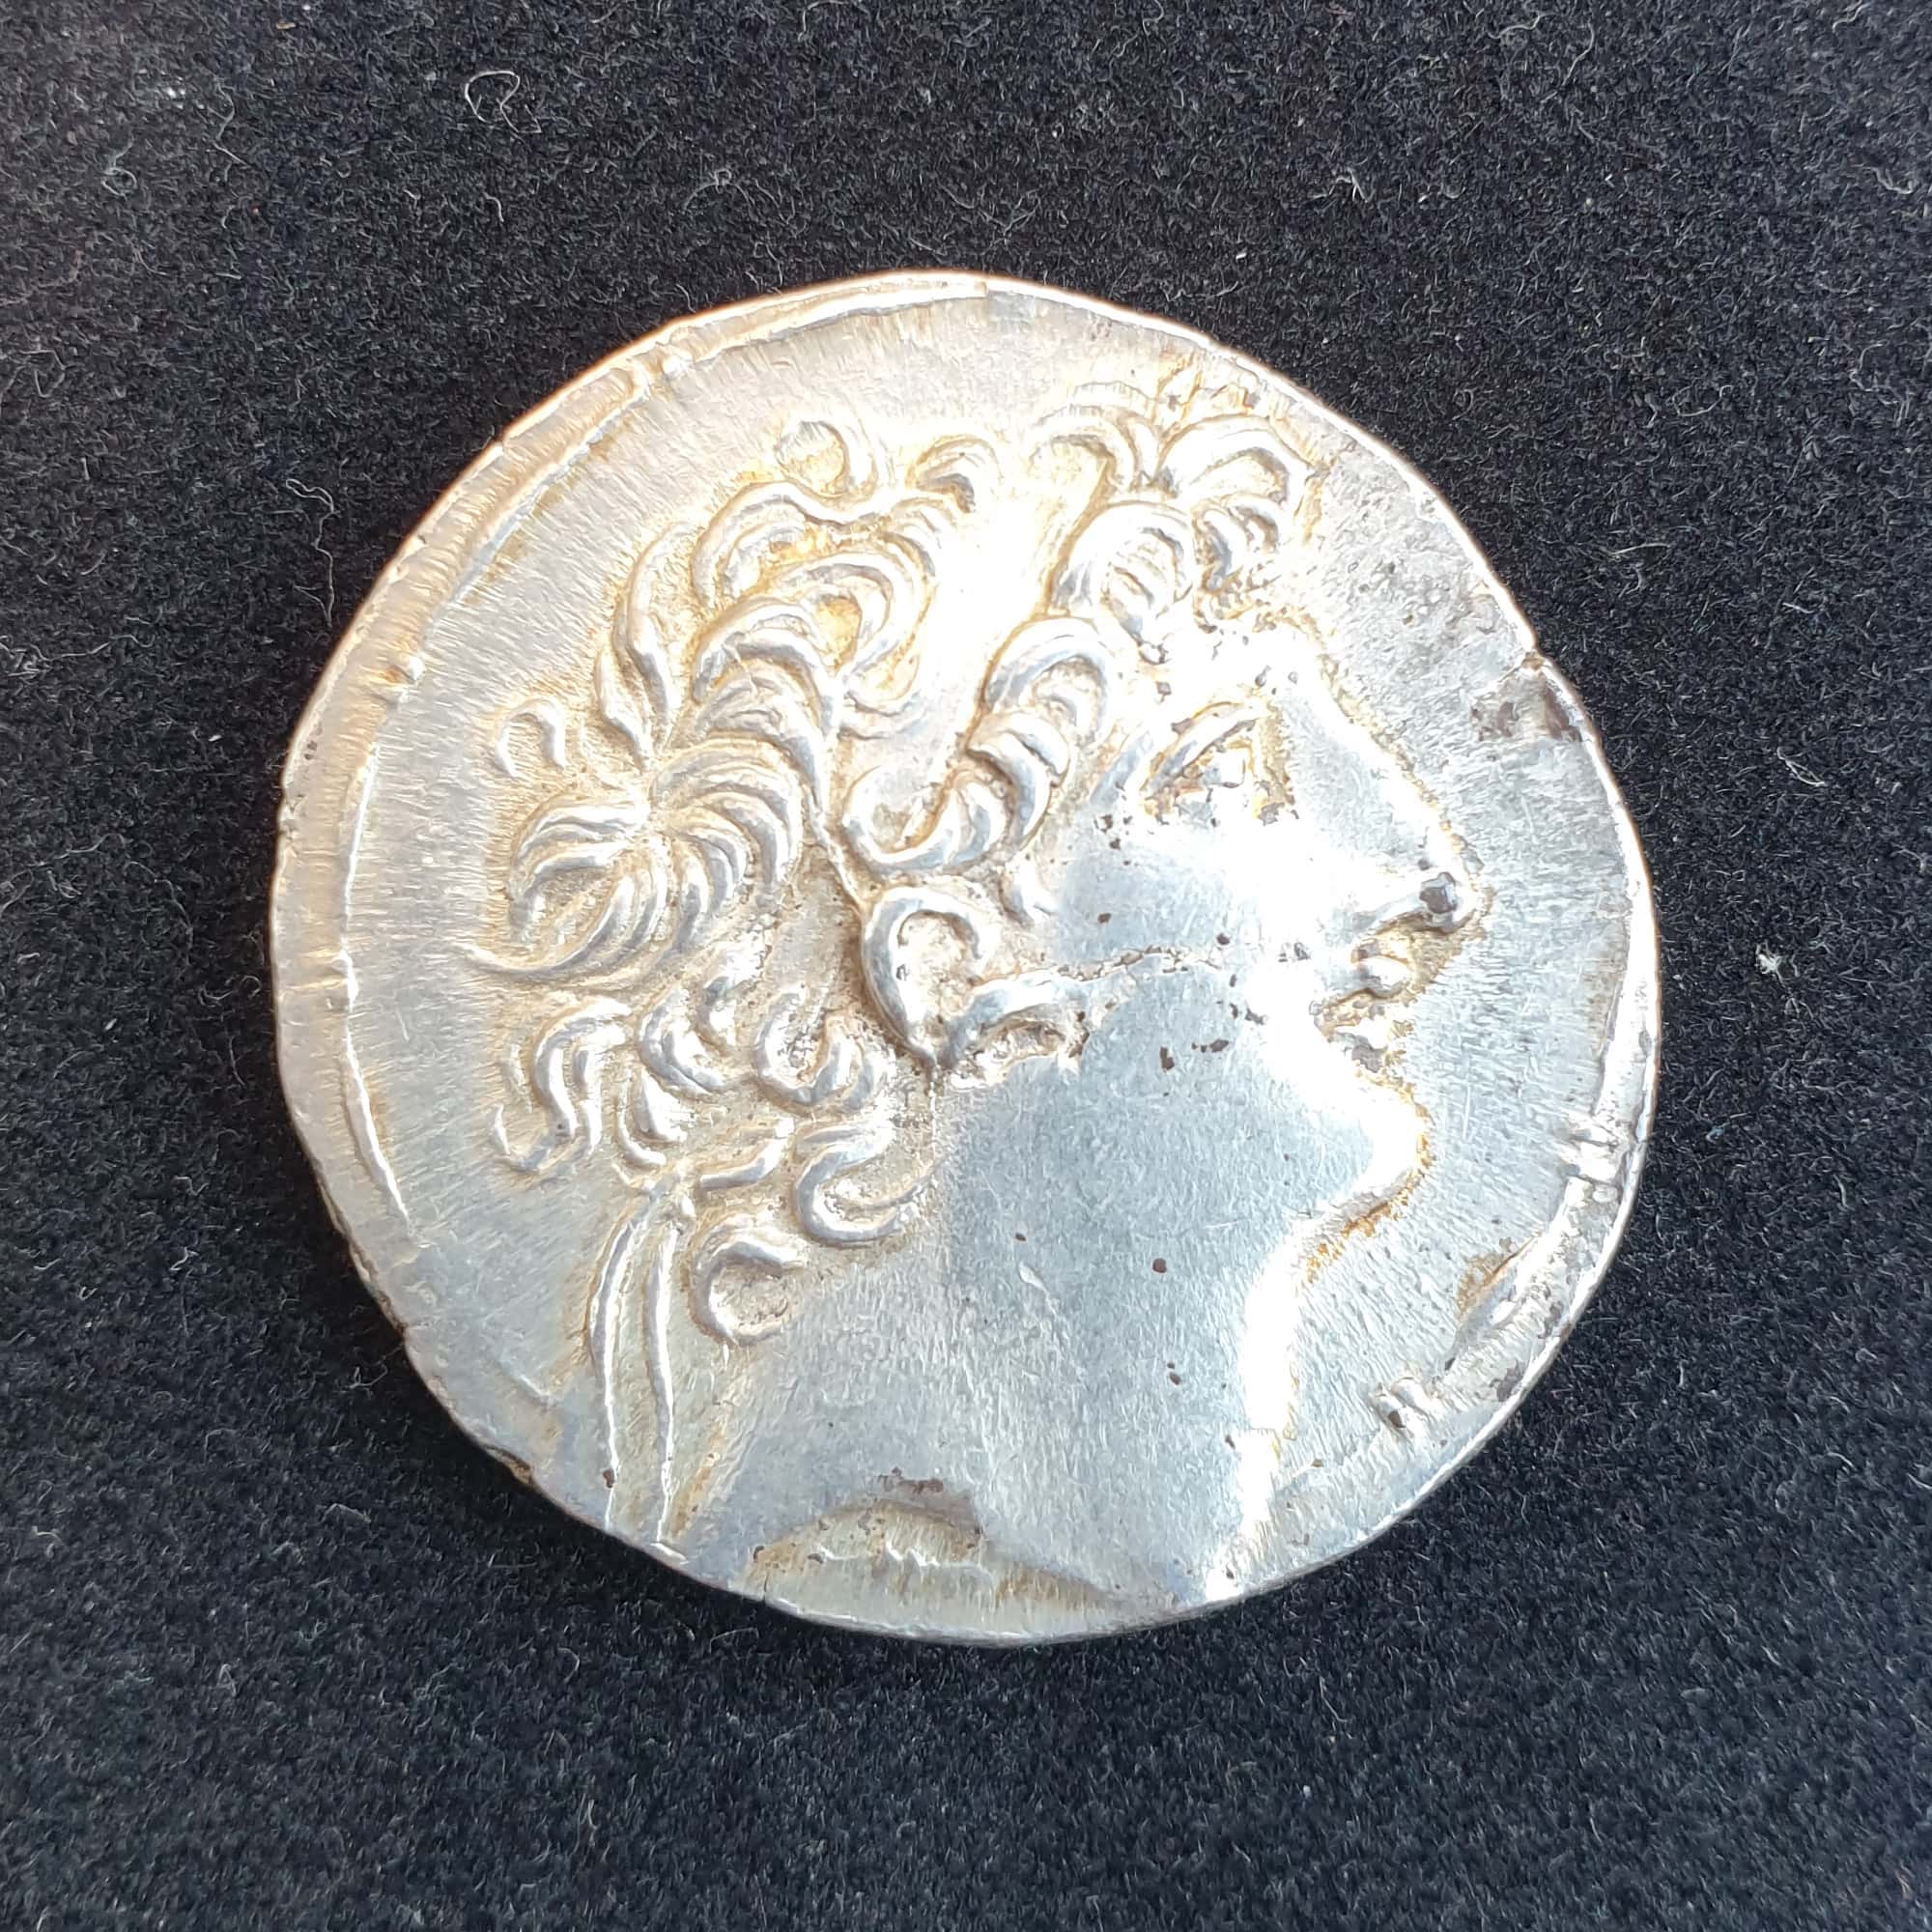
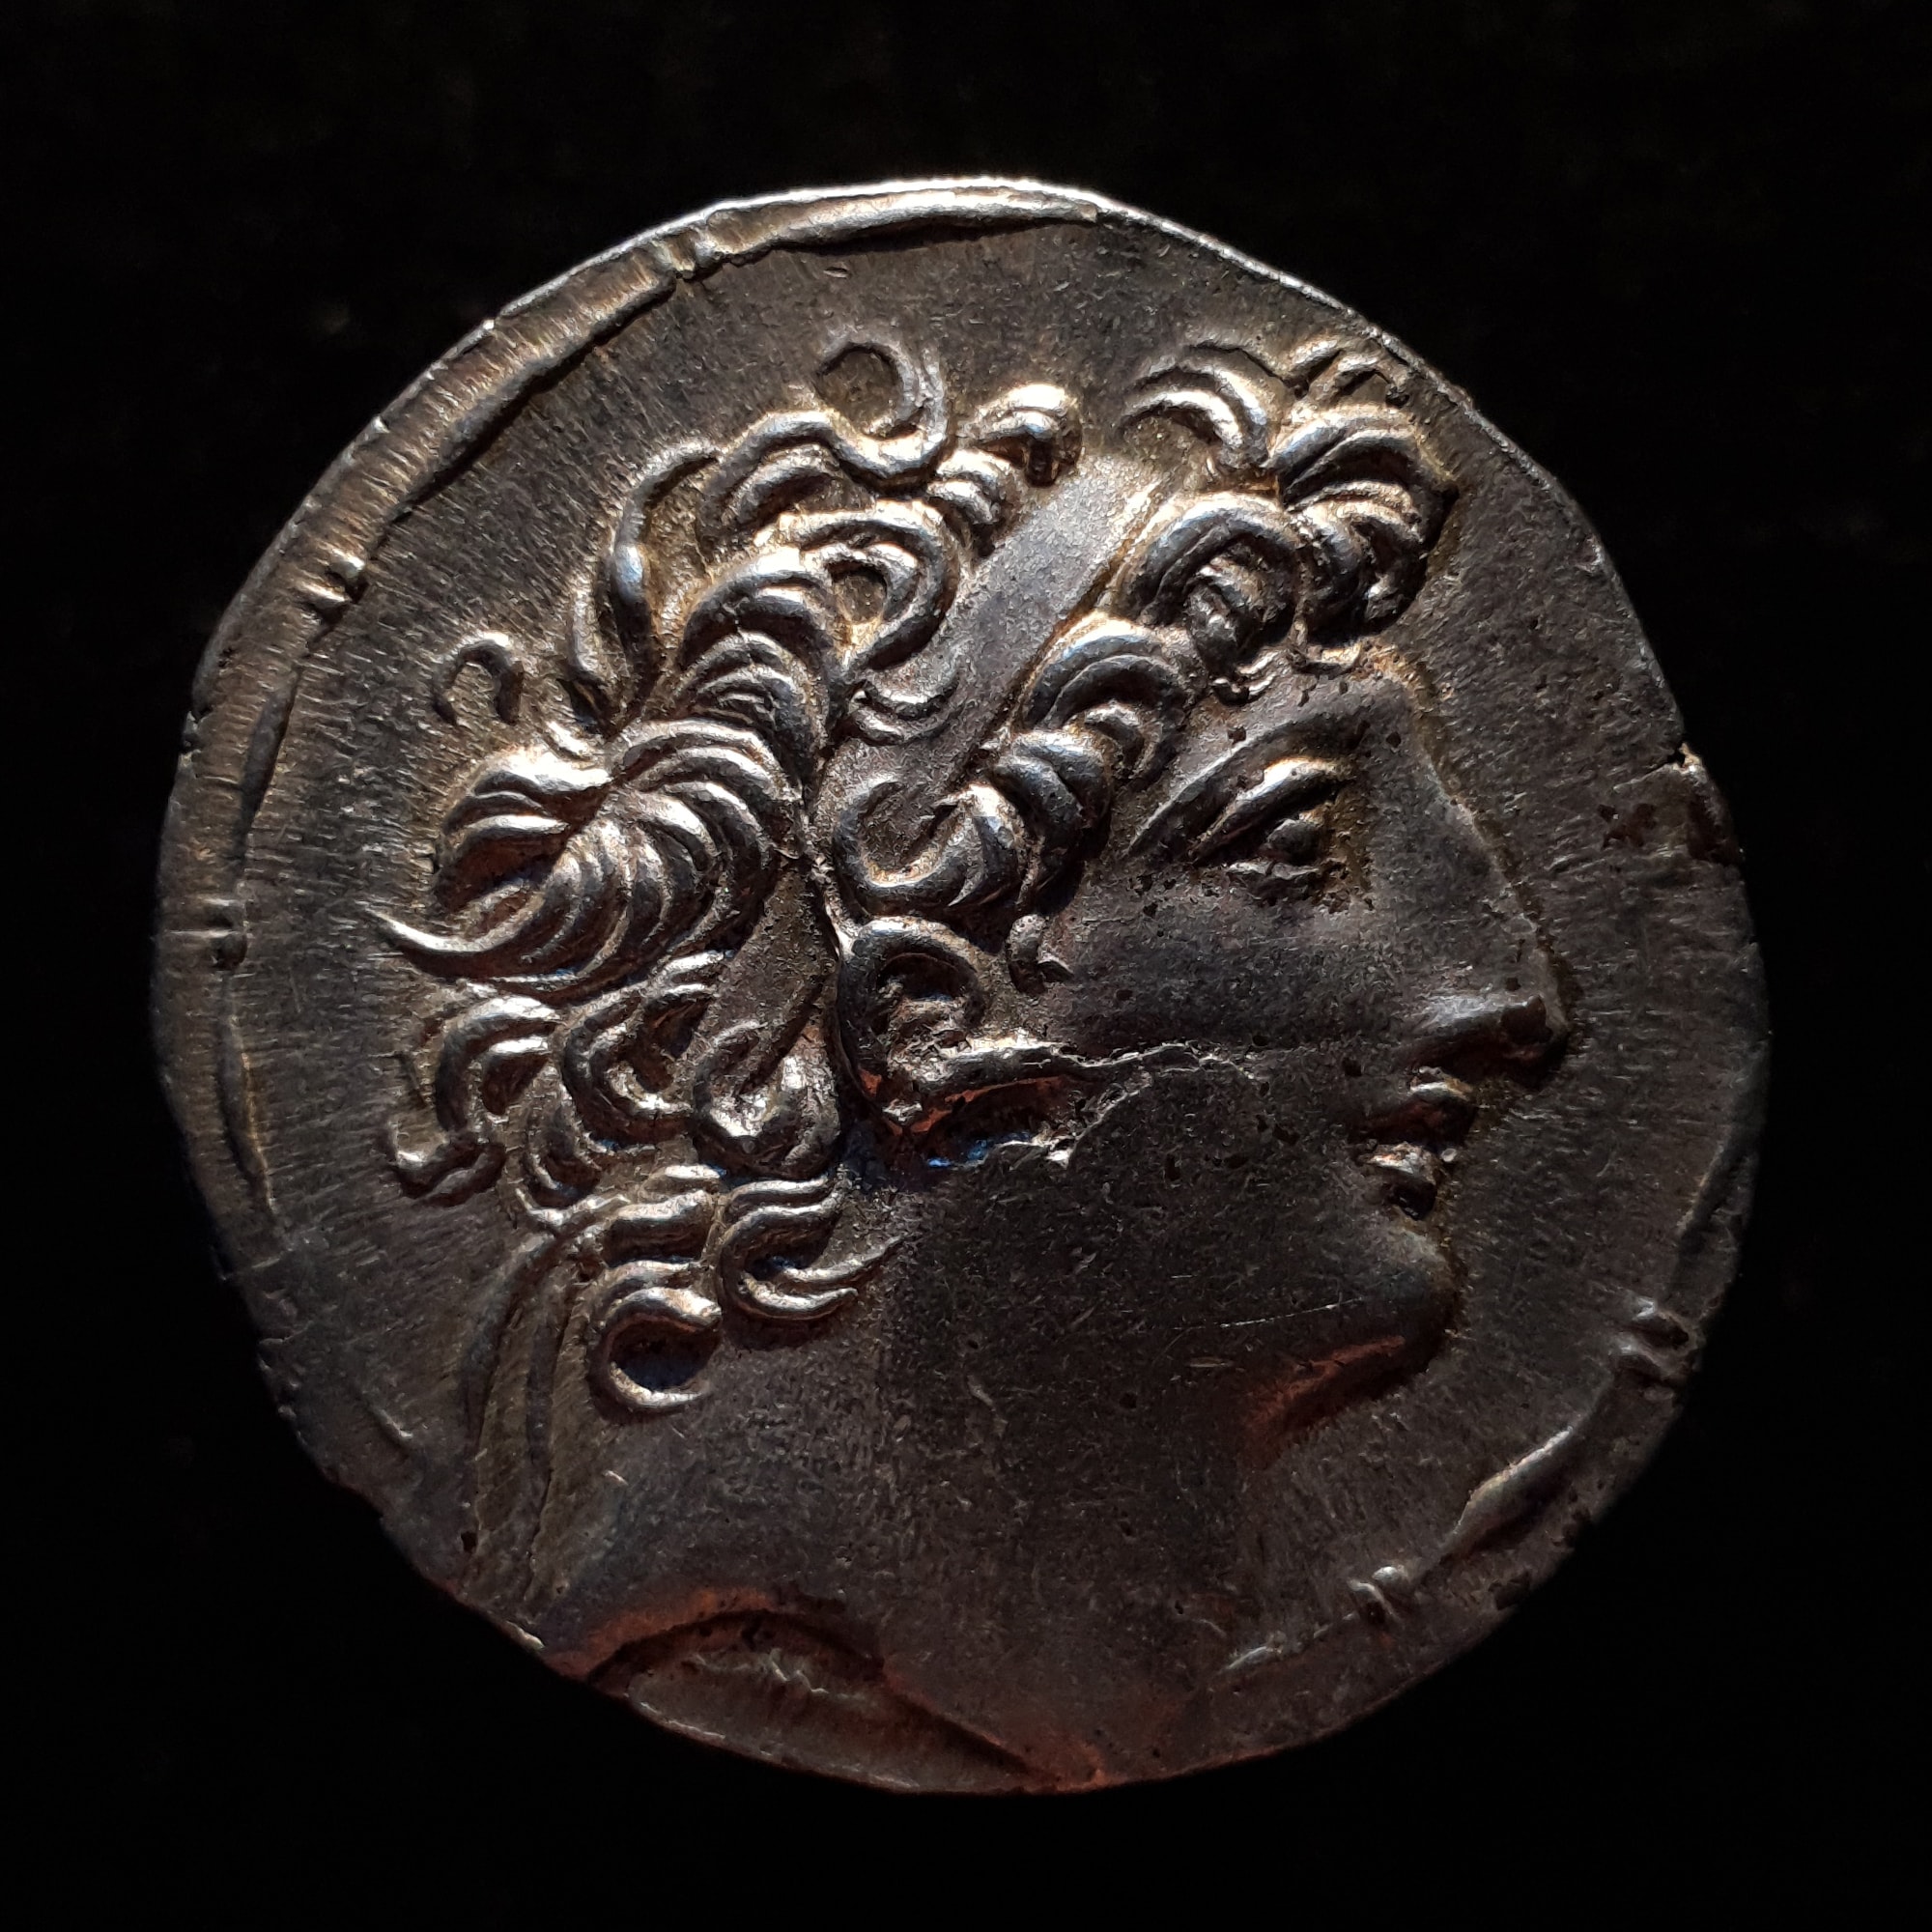
Illustrating this, the first example image shows that one side of the coin has caught the light much better than the other. The top left shows great toning and detail in the surface but the bottom right shows a dull, flat-looking coin. This can happen when the sun is lower in the sky during the morning or evening and lighting the coin from an angle. You may need to tilt your coin or change its orientation to achieve the best light. Nonetheless, as the first example photo shows, you can still achieve a decent photo of a coin with only the sun and a camera phone.
Choosing a Background
I would always recommend shooting on a plain black or white background. If you want to add a more stylised background afterwards, it is easier to do this when editing the photo. This will make it much easier to be consistent across all of your photos and also will allow you to change the background at a later time.
As for whether you should go with black or white, this depends on preference. If your aim is to have a black or dark background then shoot with a black background. If you want a white background or one of a different colour, it is probably easier to shoot with a white background and then edit the photo afterwards to separate the coin edges from the background and change the colour. My preference is for black backgrounds unless I want to take a photo for selling a coin, in which case I use white.
It is possible to achieve near-complete background separation without any editing. By this I mean that the entire background of the image appears to be one solid colour. In many cases, while the background may appear to be pure white or pure black, it is slightly off and placing the image next to actual white or black (e.g. when embedding it into a website) you will quickly realise it’s not quite the same. Luckily it’s pretty easy to fix this in a tool like Adobe Lightroom where you can selectively darken the background without needing to draw around the edges of the coin.
Use the arrows to swipe through the photos below.
Background Separation
Another key component to getting the background perfect is separating it from the coin. This can be done in editing software afterwards but there is much you can do before taking the photo that will save you a lot of time in the editing the room. The goal here is to put the background out of focus and soften the shadows of the coin on the background.
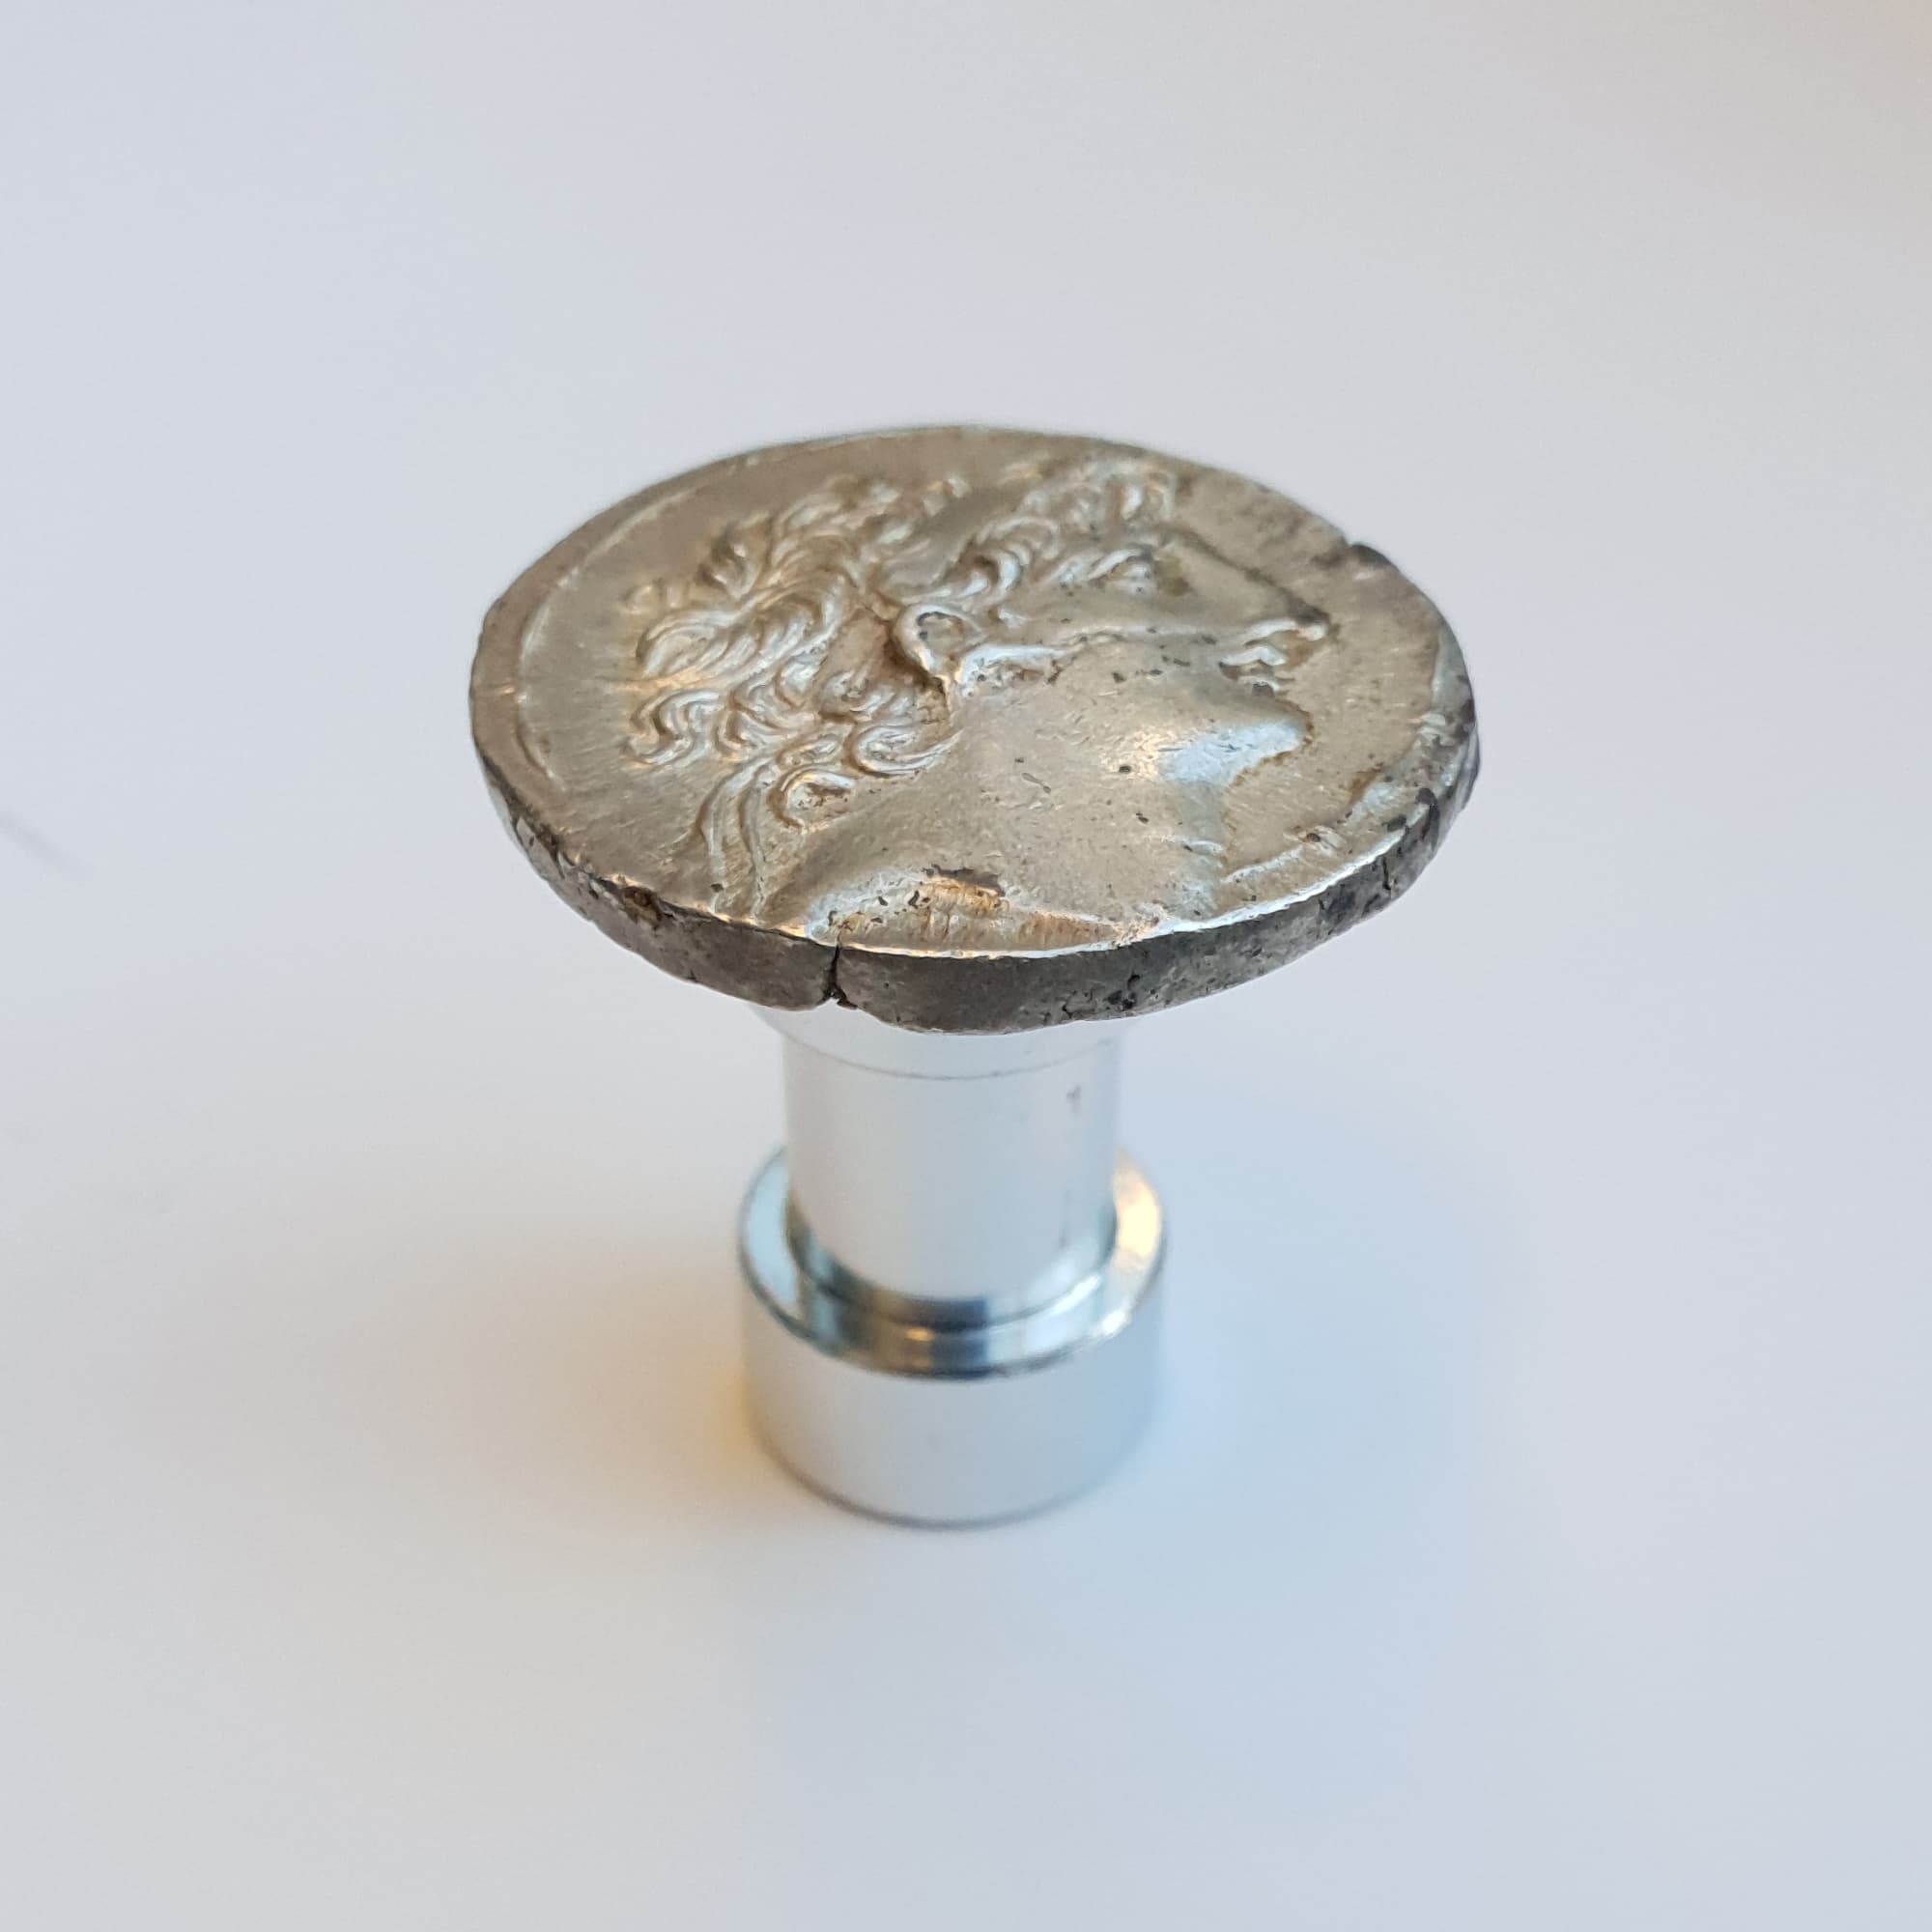
The easiest method is to simply raise the coin off the background by a few centimetres or an inch. The background should now be far enough away from the coin that it is slightly blurry and any fibres, dust, or similar are less noticeable and easier to remove in editing. The edges of the coin should also now have a more distinct separation from the background – if the coin is sitting on a cloth or piece of felt, it may sit slightly below the surface and the edges become partially obscured by the background material.
Lastly, raising the coin off the background should soften or sometimes even completely remove the shadows cast by the coin. These shadows reduce the contrast between the edge and background and can make it difficult to separate the two during editing, particularly with software that attempts to do this automatically.
LED Lighting
LED lights are affordable and widely available so make for a good first choice when looking to move away from the constraints of natural light. There are several popular LED lights commonly using for photographing coins, one of which is the IKEA Jansjö light. This is a small LED lamp attached to a flexible gooseneck that allows for easy positioning of the lamp. It has a warm tone and is reasonable powerful for the size. Many alternatives to this lamp are available but we can use this one as an example as the lessons are applicable to most LED lamps.
When you have your LED light you may be wondering how to position it. Generally you want to have high-angled lighting, this means the light is coming from the top and pointing directly down on the coin, rather then lighting it from the side as in low-angled lighting. You will want to experiment with the exact angle but high-angled lighting tends to work well as it helps ensure the entire coin is well-lit and the high angle ensures a lot of the light hitting the coin is reflected back to the camera. Low-angled lighting will tend to illuminate one side of the coin more than the other, reduce the amount of light being reflected back to the camera and thus obscuring any toning the coin might have, and for high-relief coins it can cast large shadows in the direction of the light and hide detail.
Sometimes you can combine low-angled lighting with high-angled lighting to add extra shadow while still ensuring the coin is well-lit. This is particularly effective for showing the depth or relief of a coin but it can be difficult to master. Low-angled lighting can also be better for studying details in the surface as it highlight any small scratches, markings, graffiti, or legends on the coin by creating contrast relative to the surface of the coin.
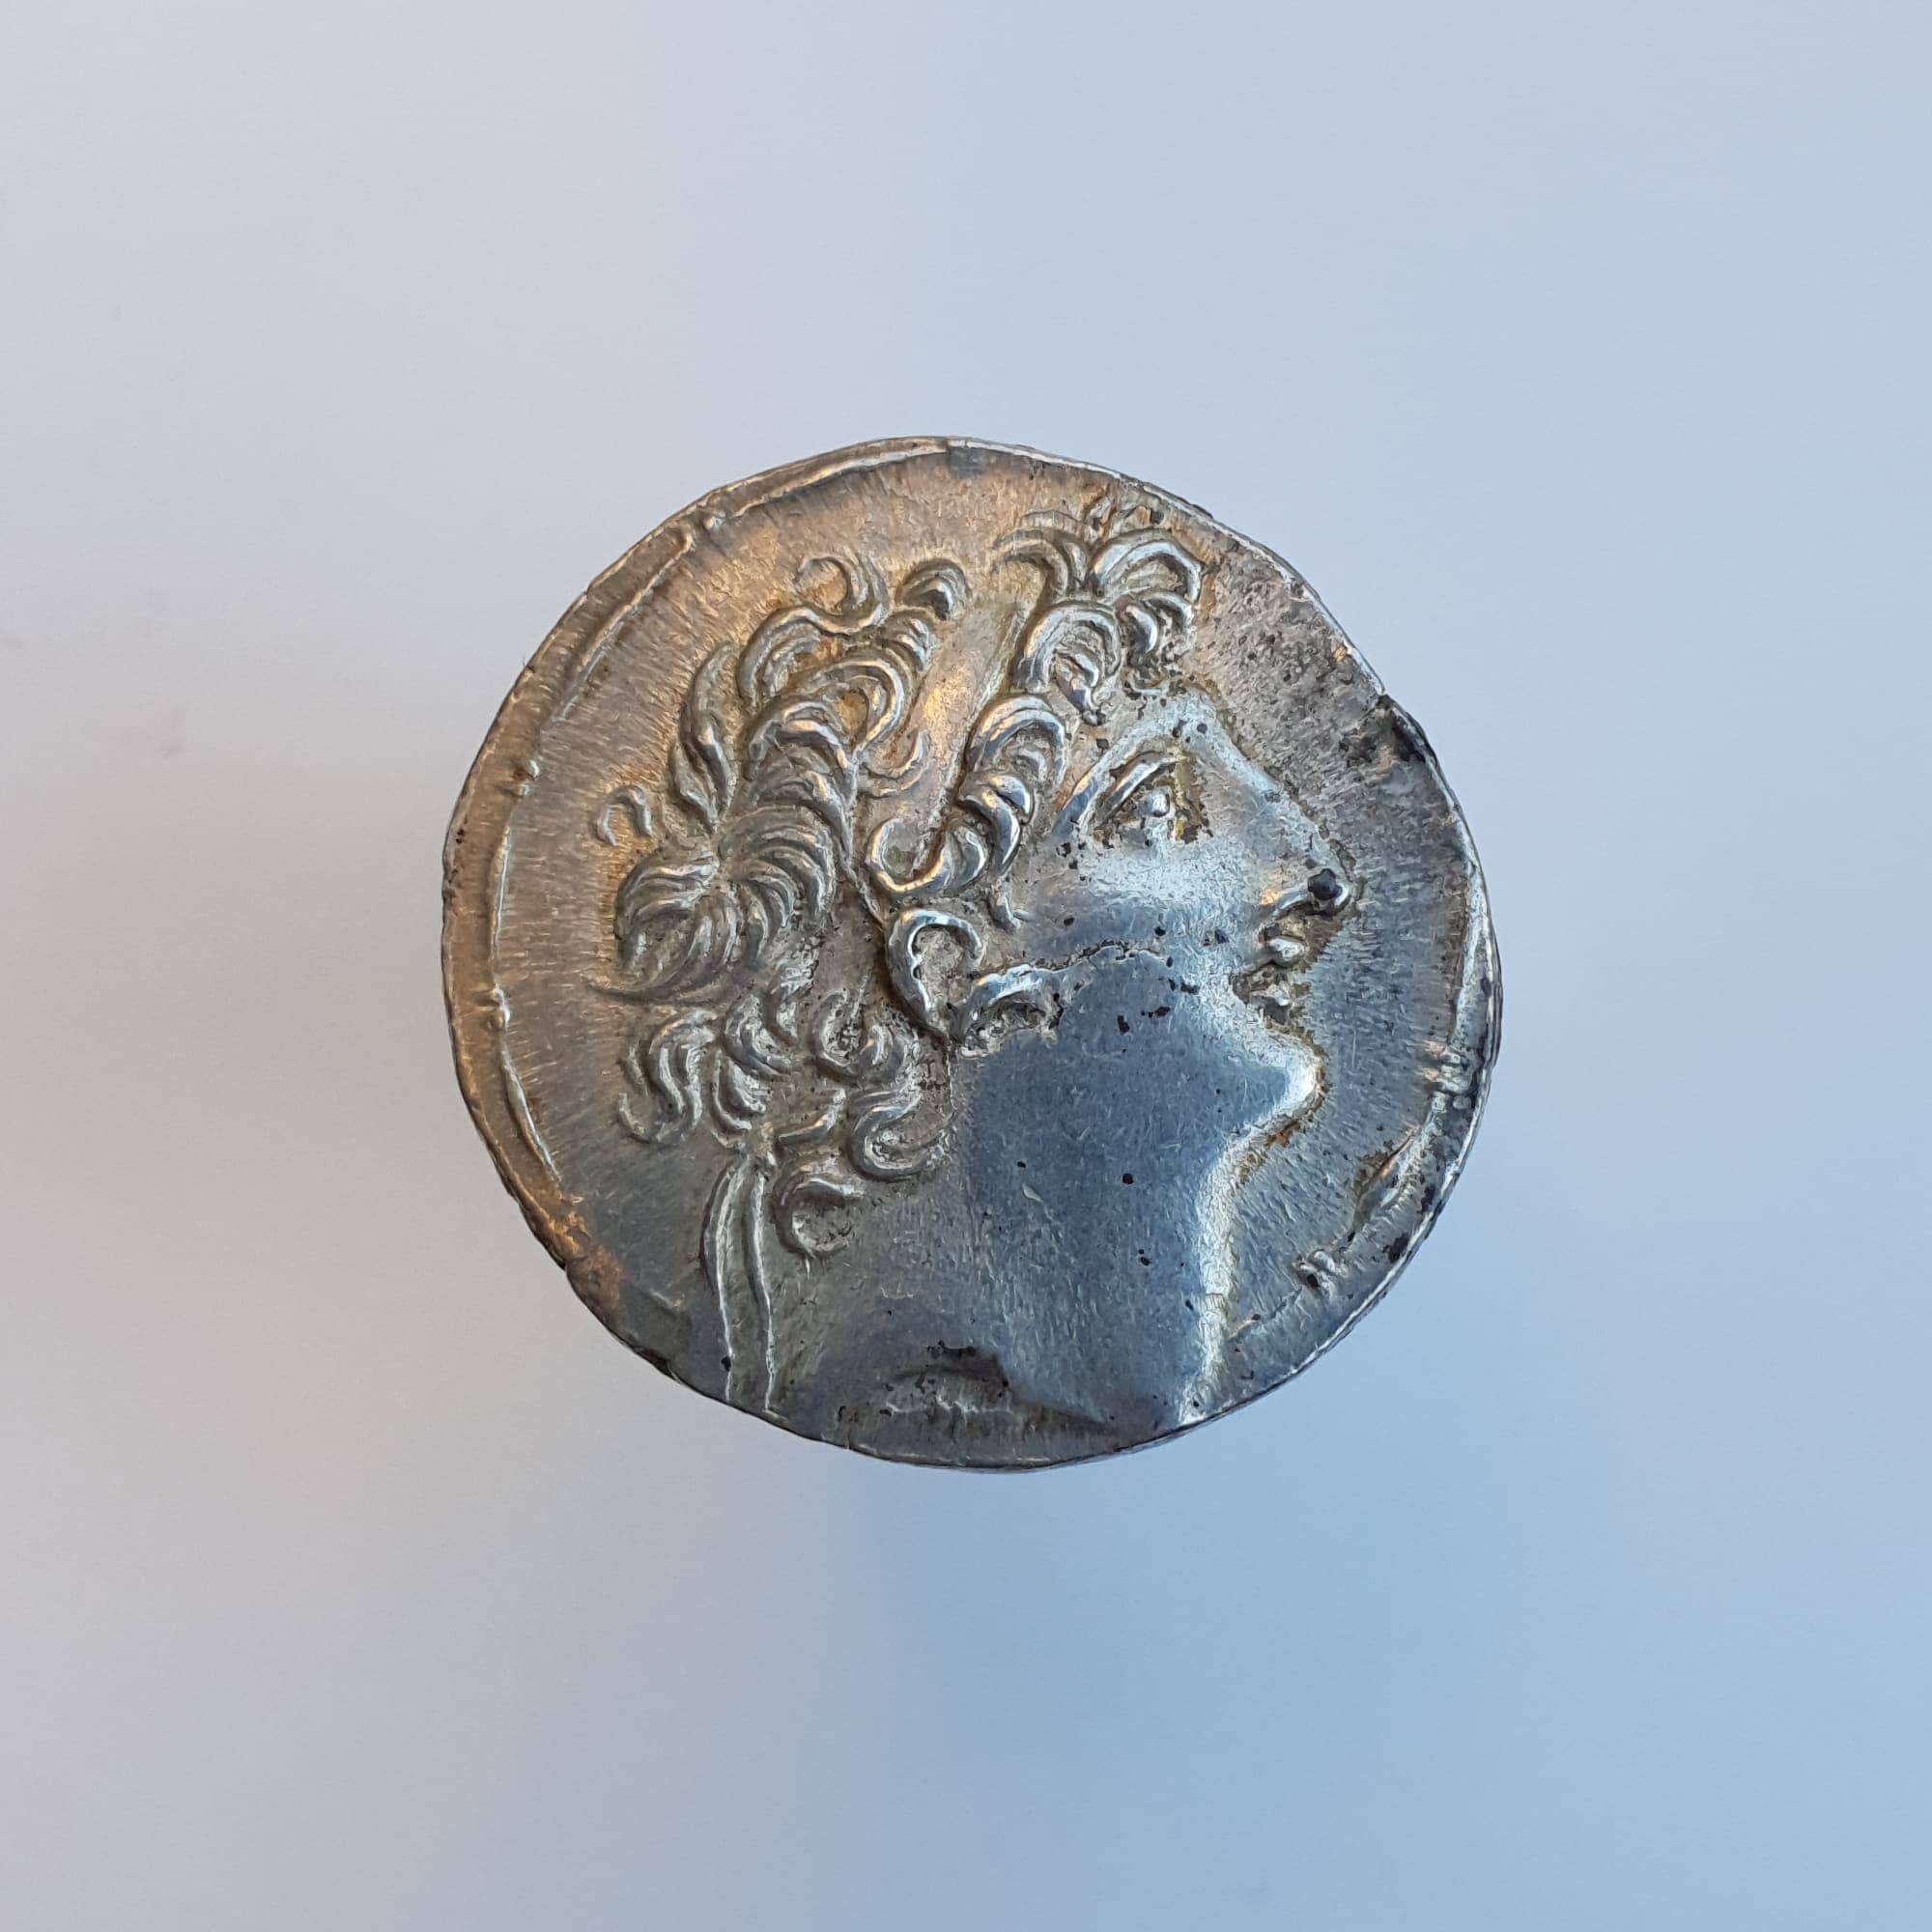
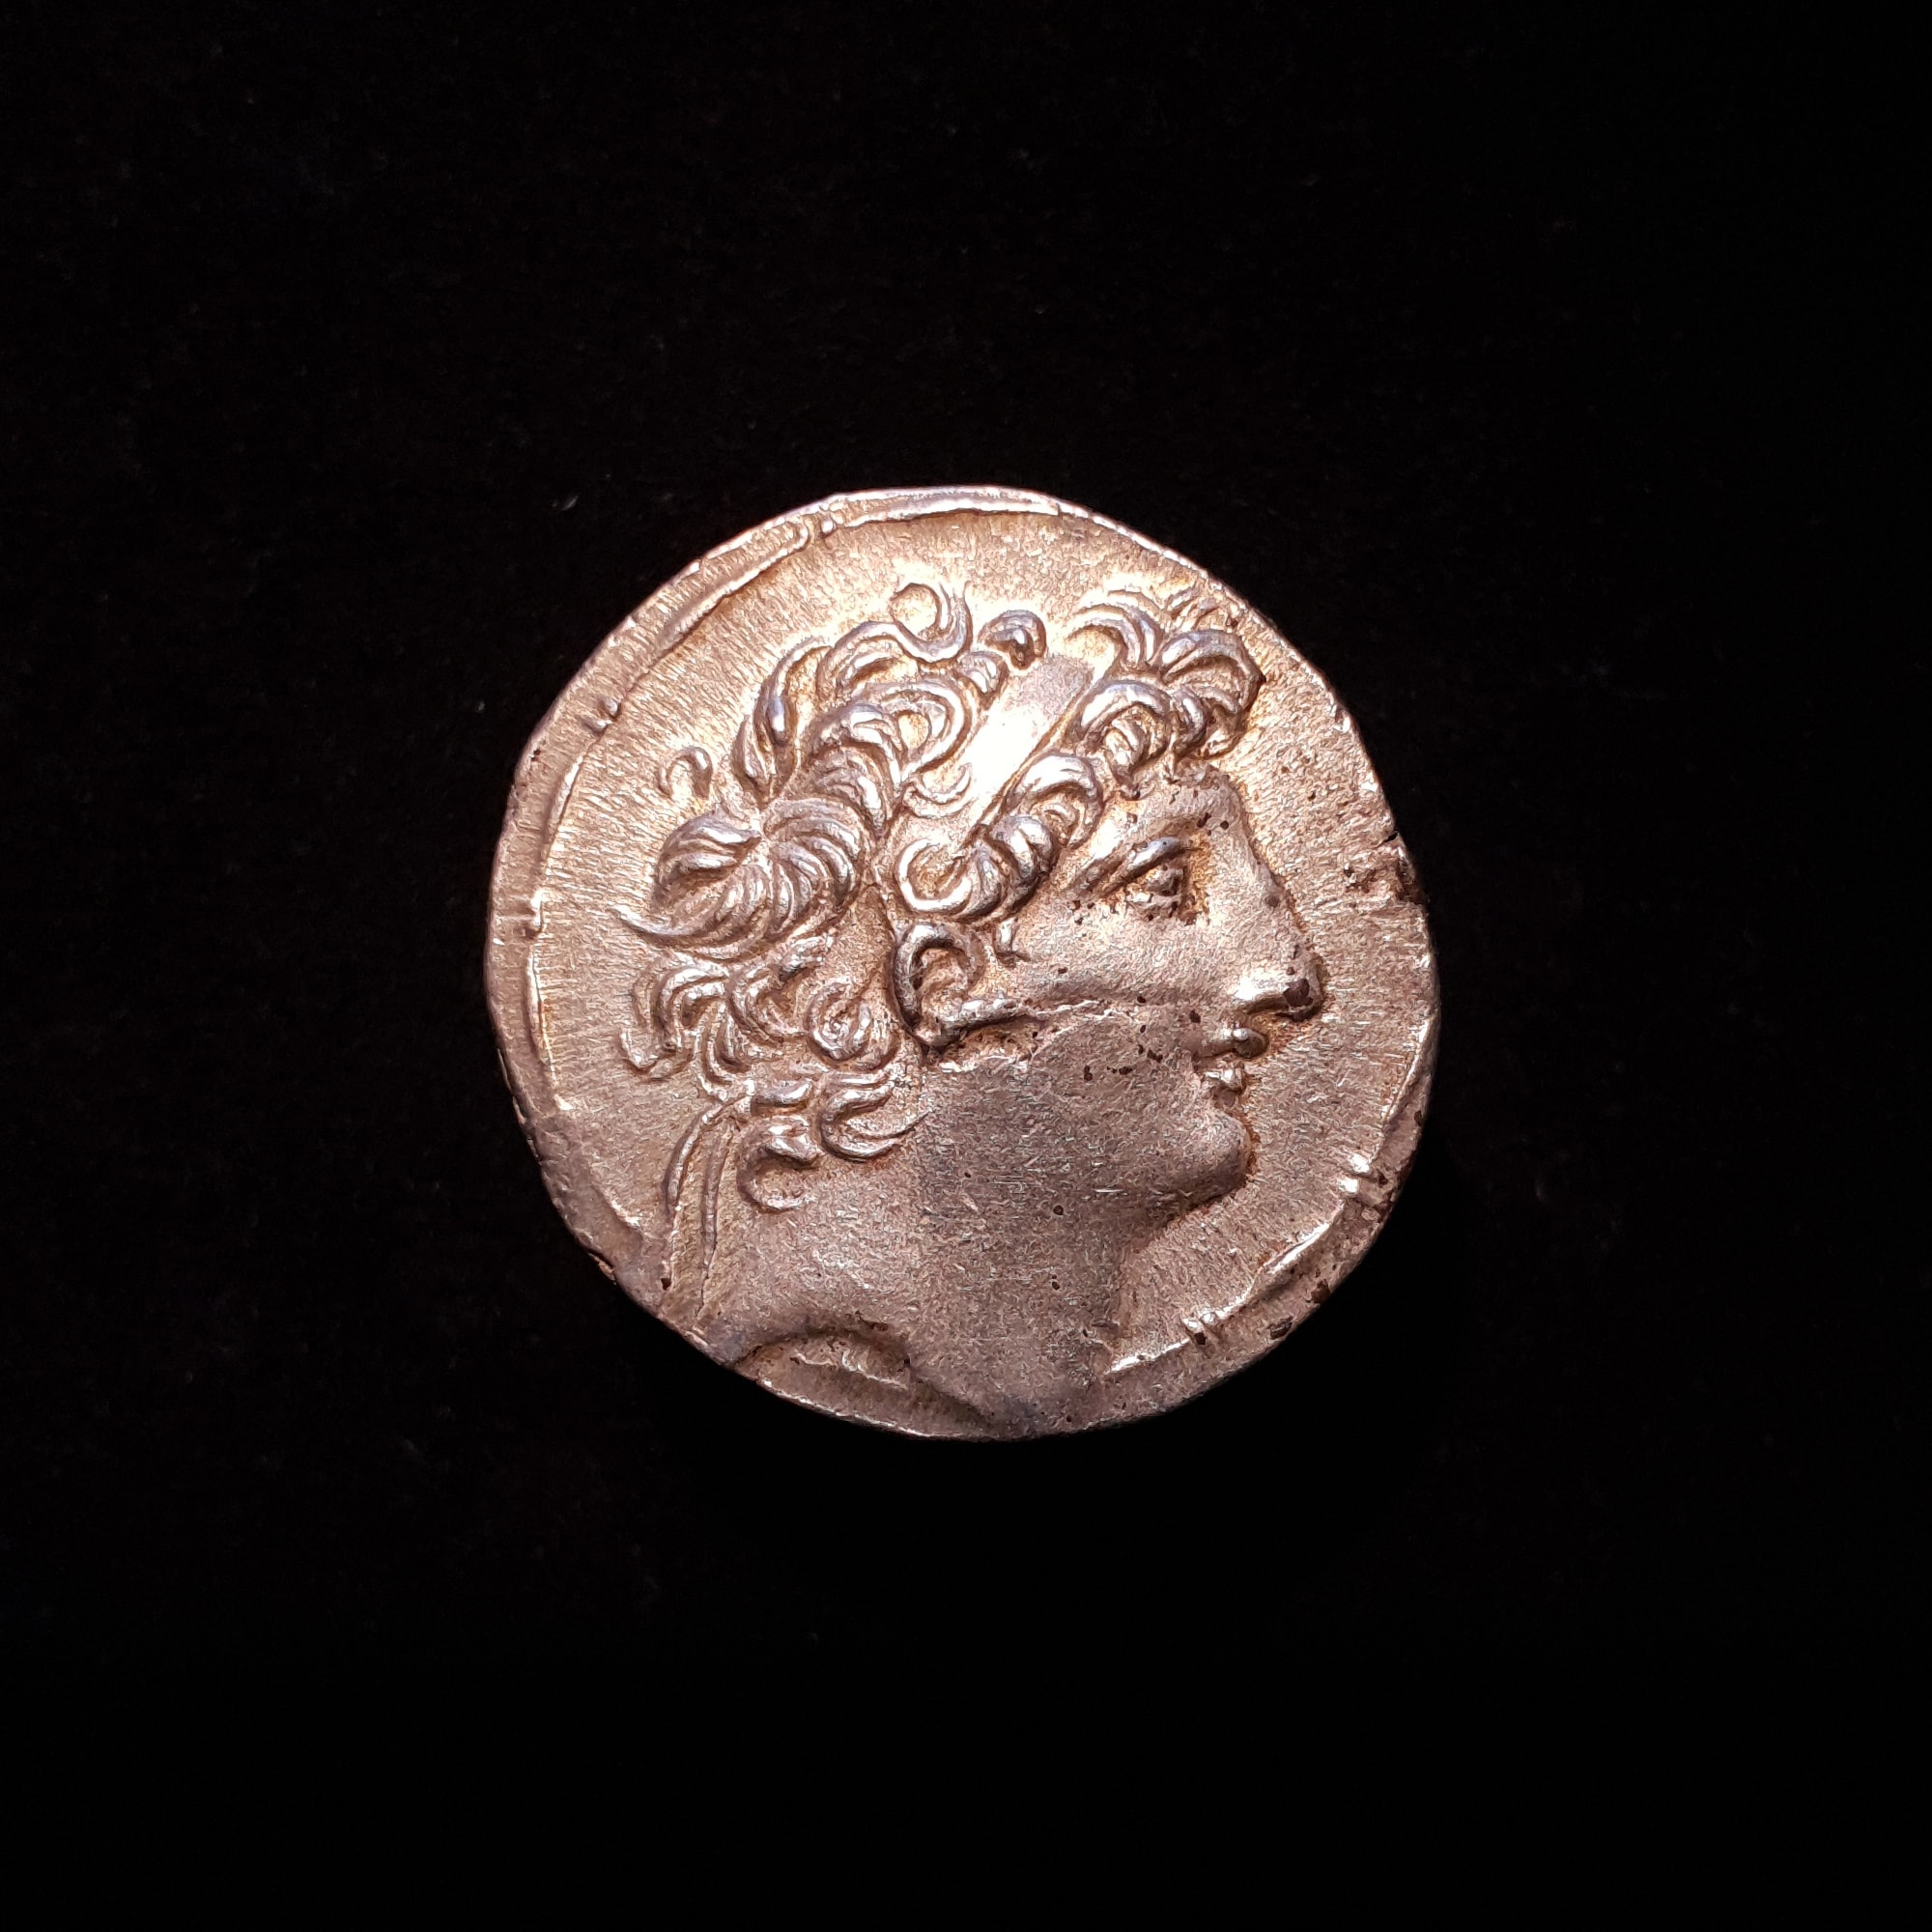
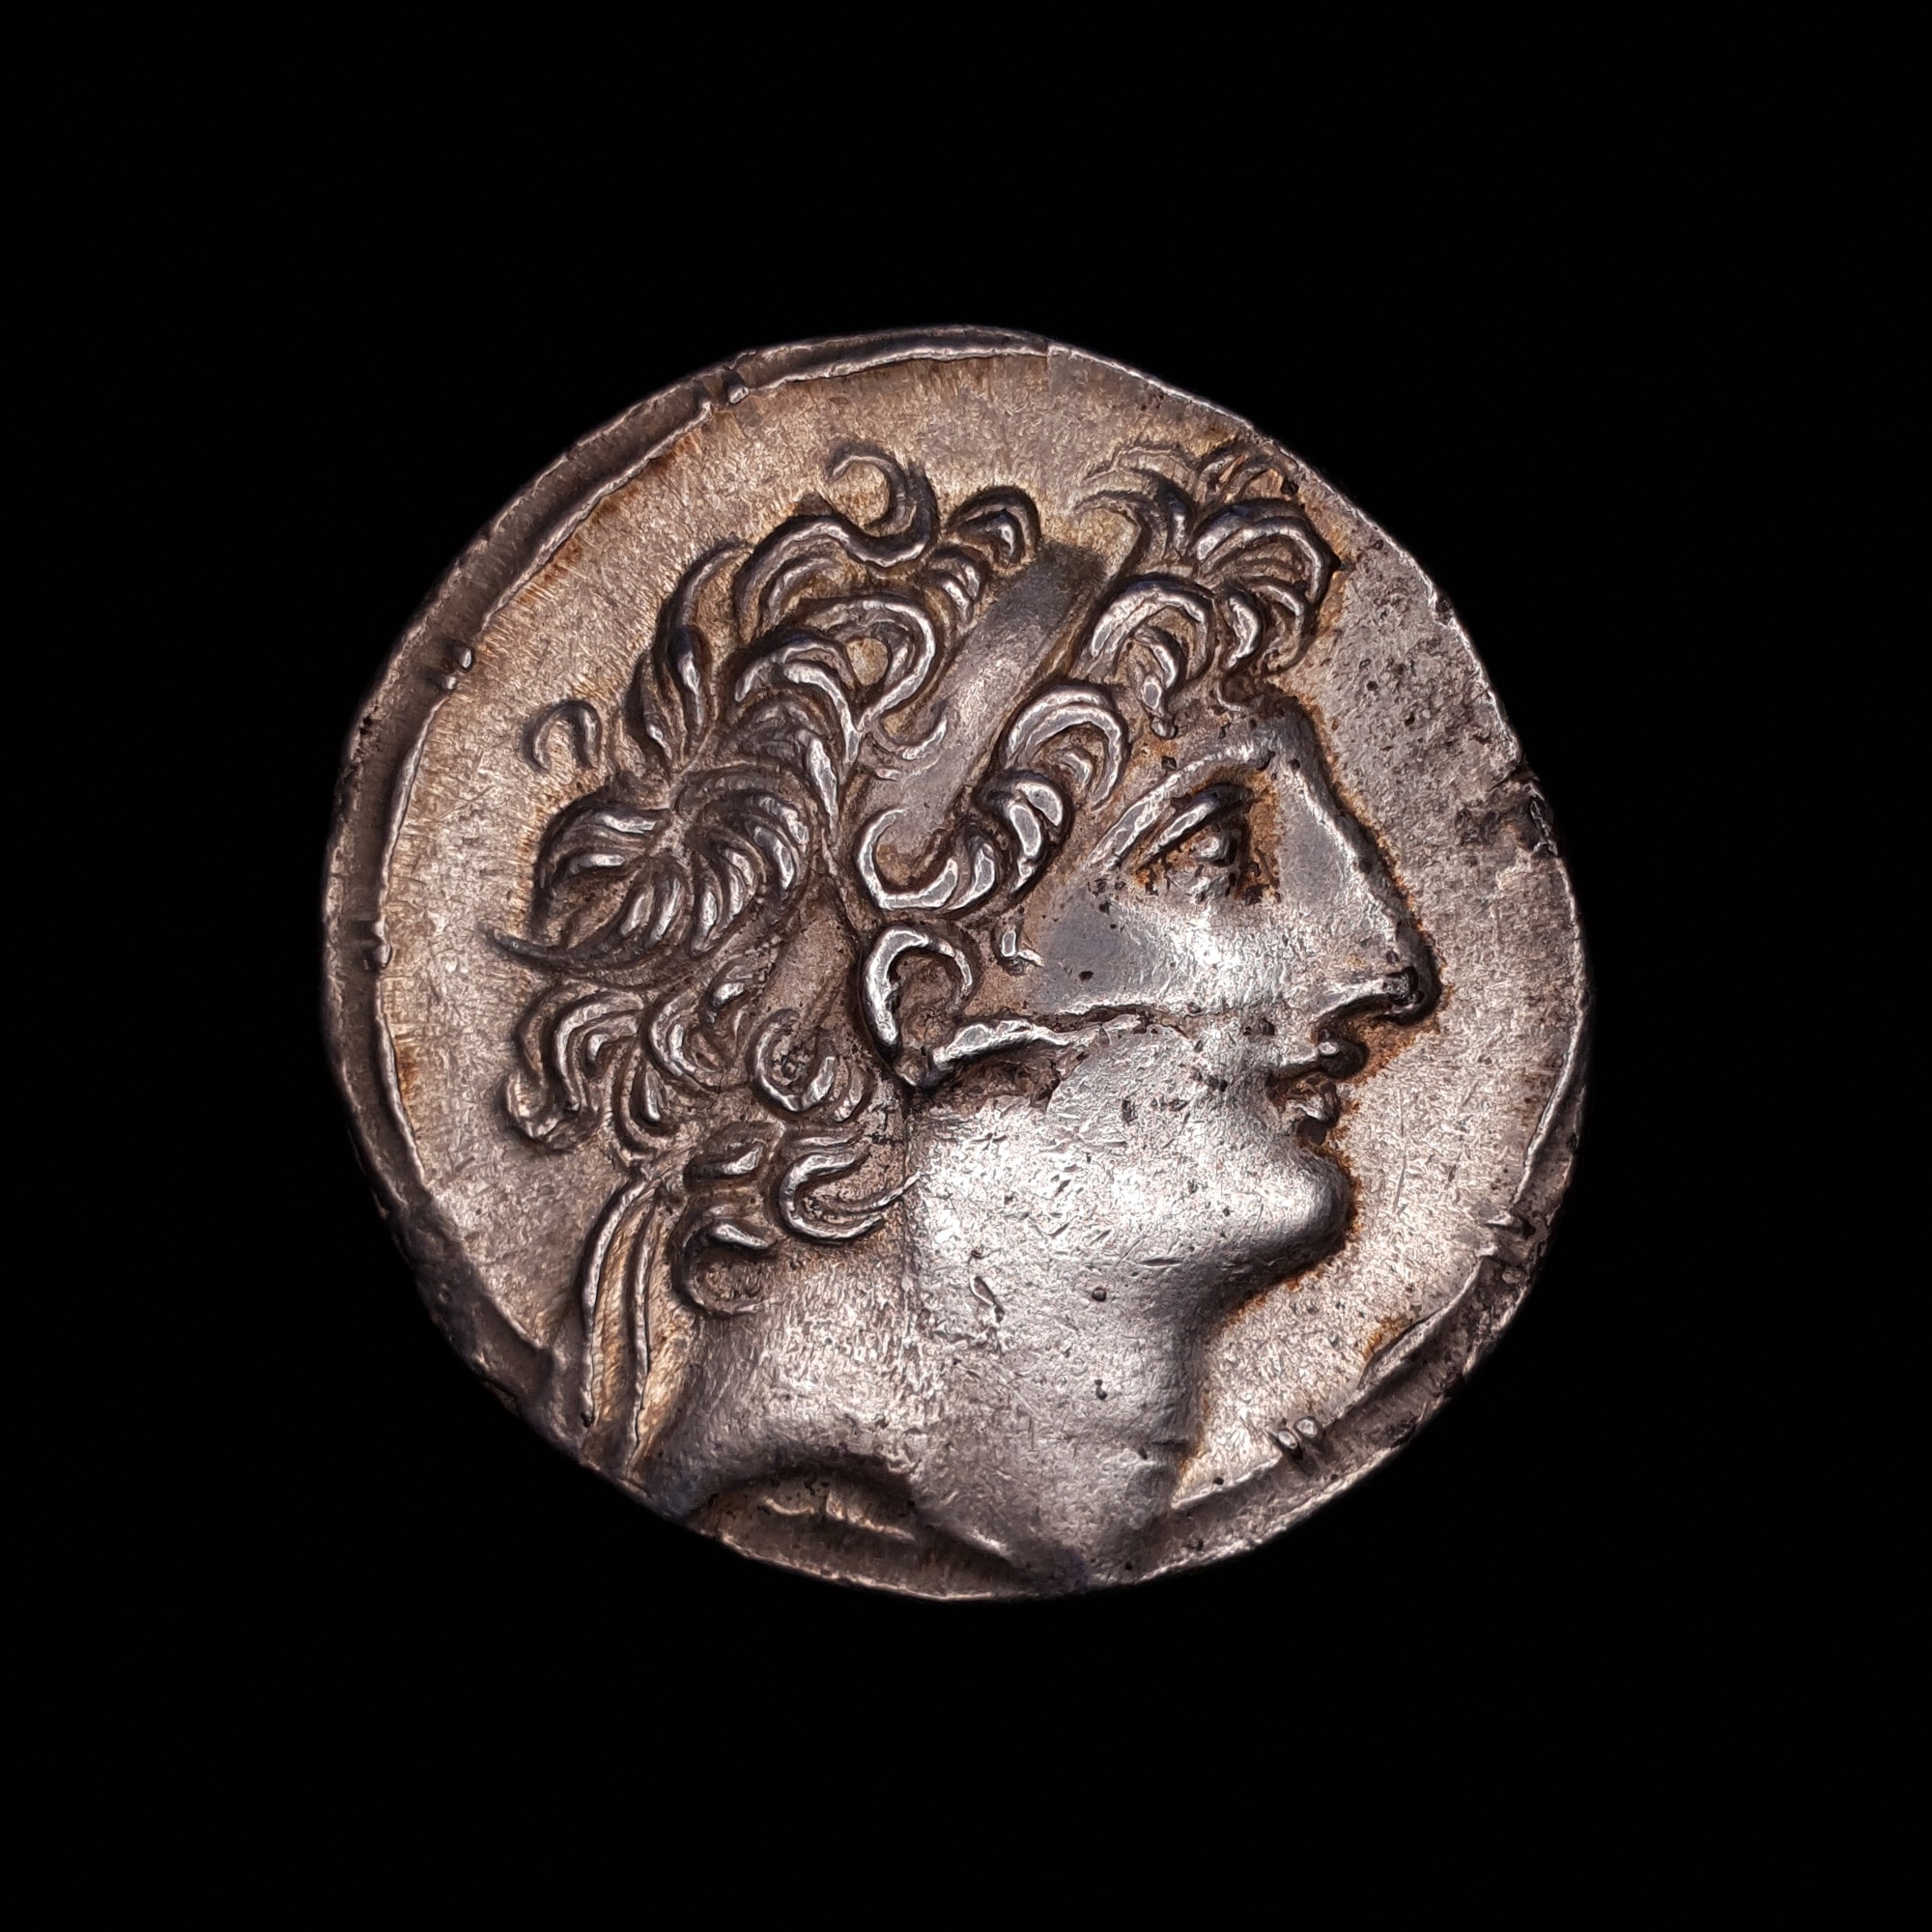
High-angled lighting has many benefits but can be difficult to perfect, often due to a lack of space. The light needs to be placed far enough away from the coin that it doesn’t cause blown out highlights, which obscure detail with harsh bright spots. By placing the light further away but at a high angle, you may also need to have the camera further away from the coin to prevent blocking the light and casting a shadow. This is demonstrated in the two example images where the low-angled photo was taken at a much closer distance to the coin since the light was off to the side and out of the way.
In both cases, you may notice the black background is nearly completely black – a large improvement from when we were photographing outside in the sun. With artificial lighting we have much better control over the light, we can ensure it is primarily illuminating the coin and nothing else. The sun is so bright outside, even in overcast weather, that both the coin and background are very well lit. Indoors, there is much less ambient light available that the coin is many times brighter relative to the background. The camera will then adjust to decrease the average exposure of the image so the coin is not overexposed and this will cause the background to get even darker. This is the opposite effect to what we saw when shooting outside where the camera tried to brighten the image so the background was as bright as the coin.
Pseudo-Axial Lighting
Axial lighting is a technique that involves reflecting light onto an object in perfect axial alignment with the camera lens; in other words, the light is directed straight down, perpendicular to the object’s surface. This method is common in modern coin photography but can be difficult to get right, requires a lot of light, and can decrease sharpness or cause other optical problems. Pseudo-axial lighting can be thought of as an approximate to axial lighting that retains most of the benefits while doing away with most of the limitations.
My favourite way to achieve pseudo-axial lighting is using an LED ring. This is a donut-shaped LED light with a large hole in the centre, where the camera lens can shoot through. The LED light is thus in approximate axial alignment with the camera lens, achieving near-90 degree angled lighting. With an IKEA Jansjö light or similar, the angle at which the light hits the coin may be only 60-80 degrees and thus a lot of light is reflected off the coin’s surface. Another benefit of an LED ring is that it goes around the camera lens so you can shoot through its centre, making it impossible for your camera to get between the light and the object. You can now get as close to the coin as you need without casting any shadows.
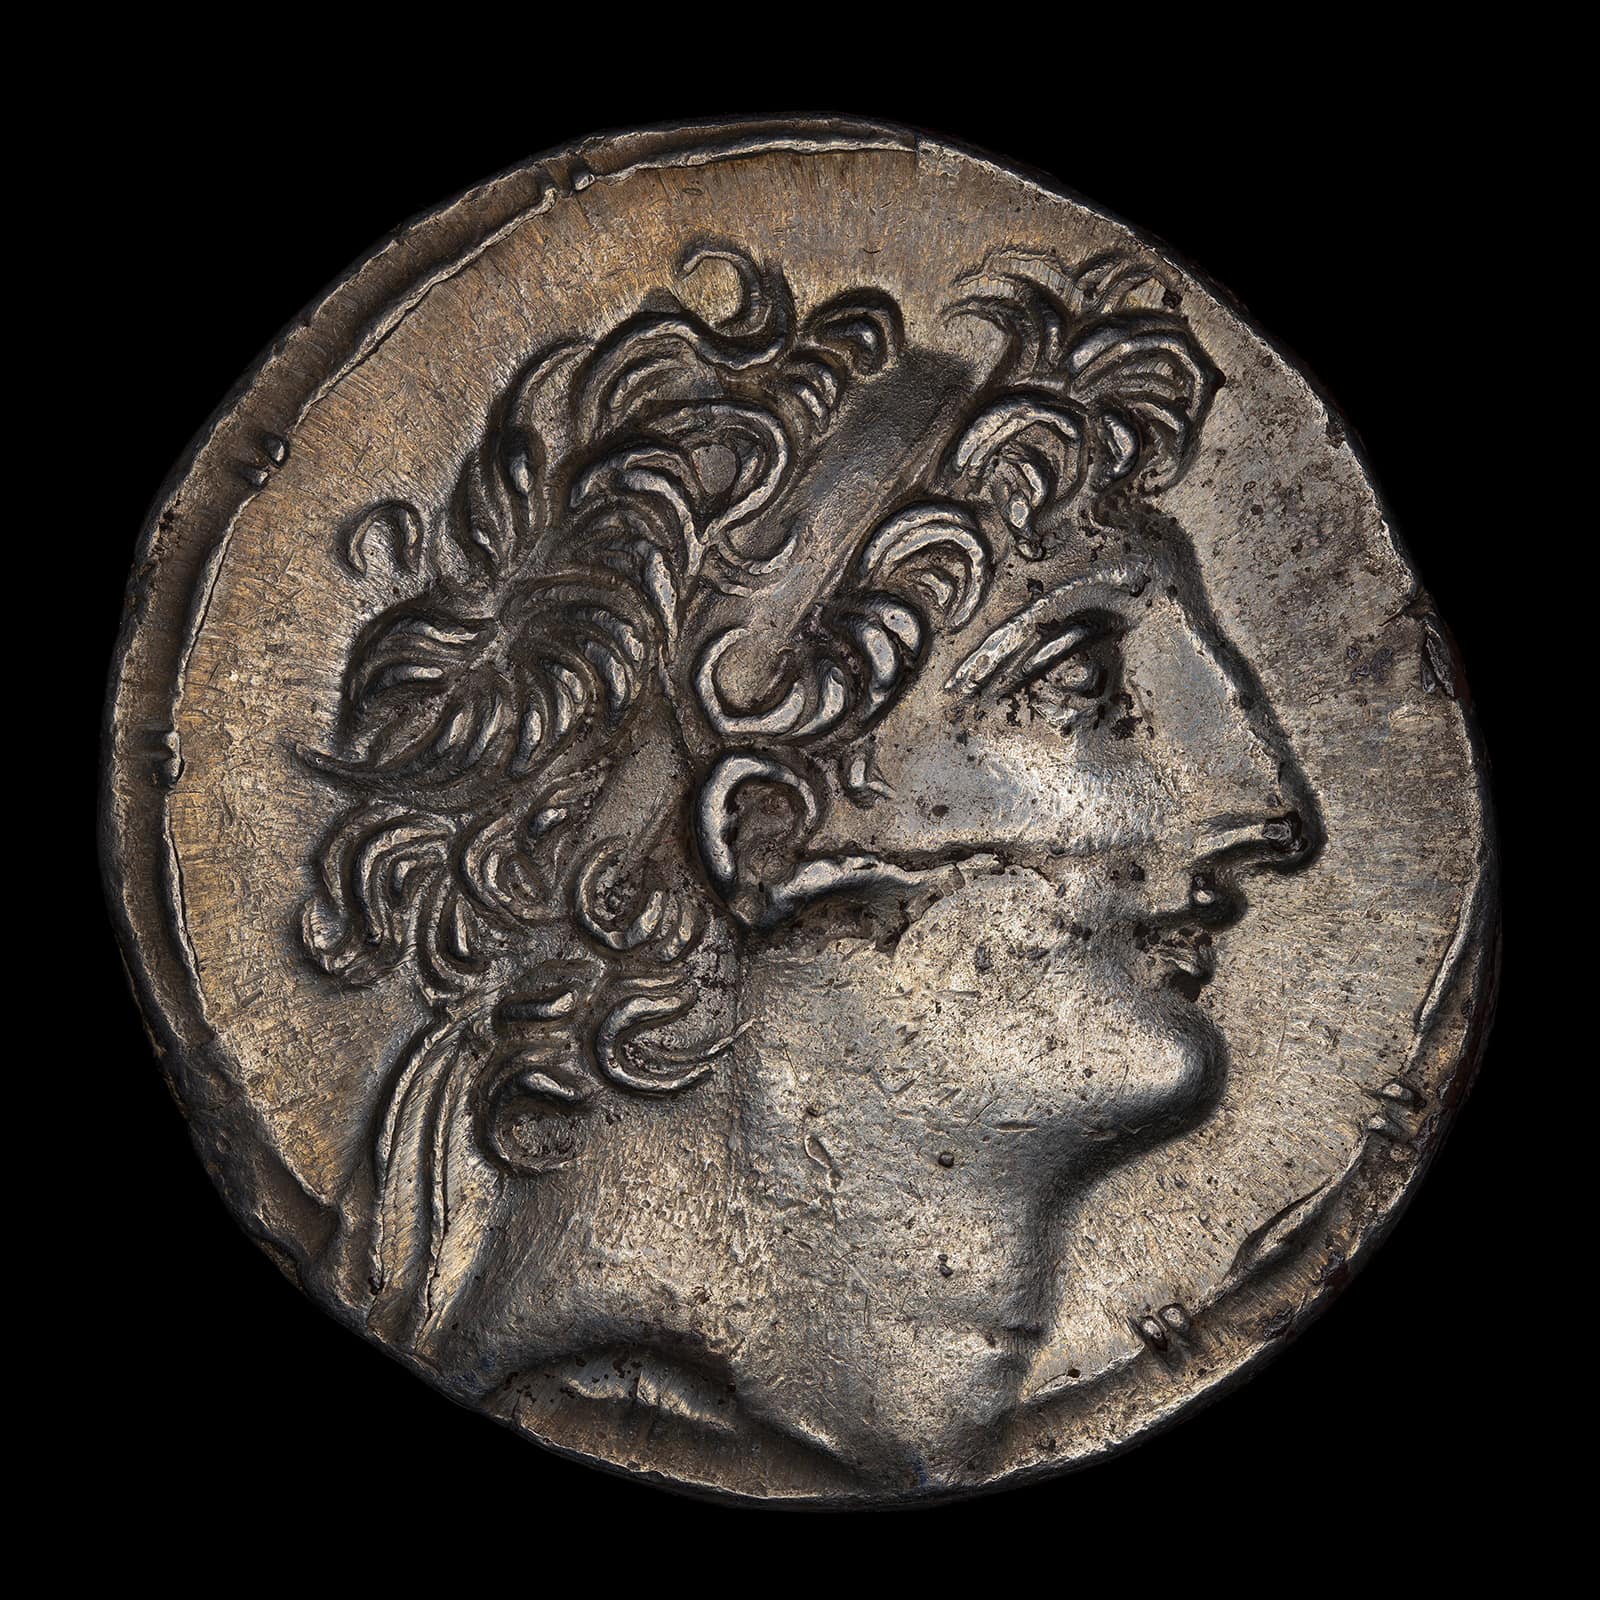
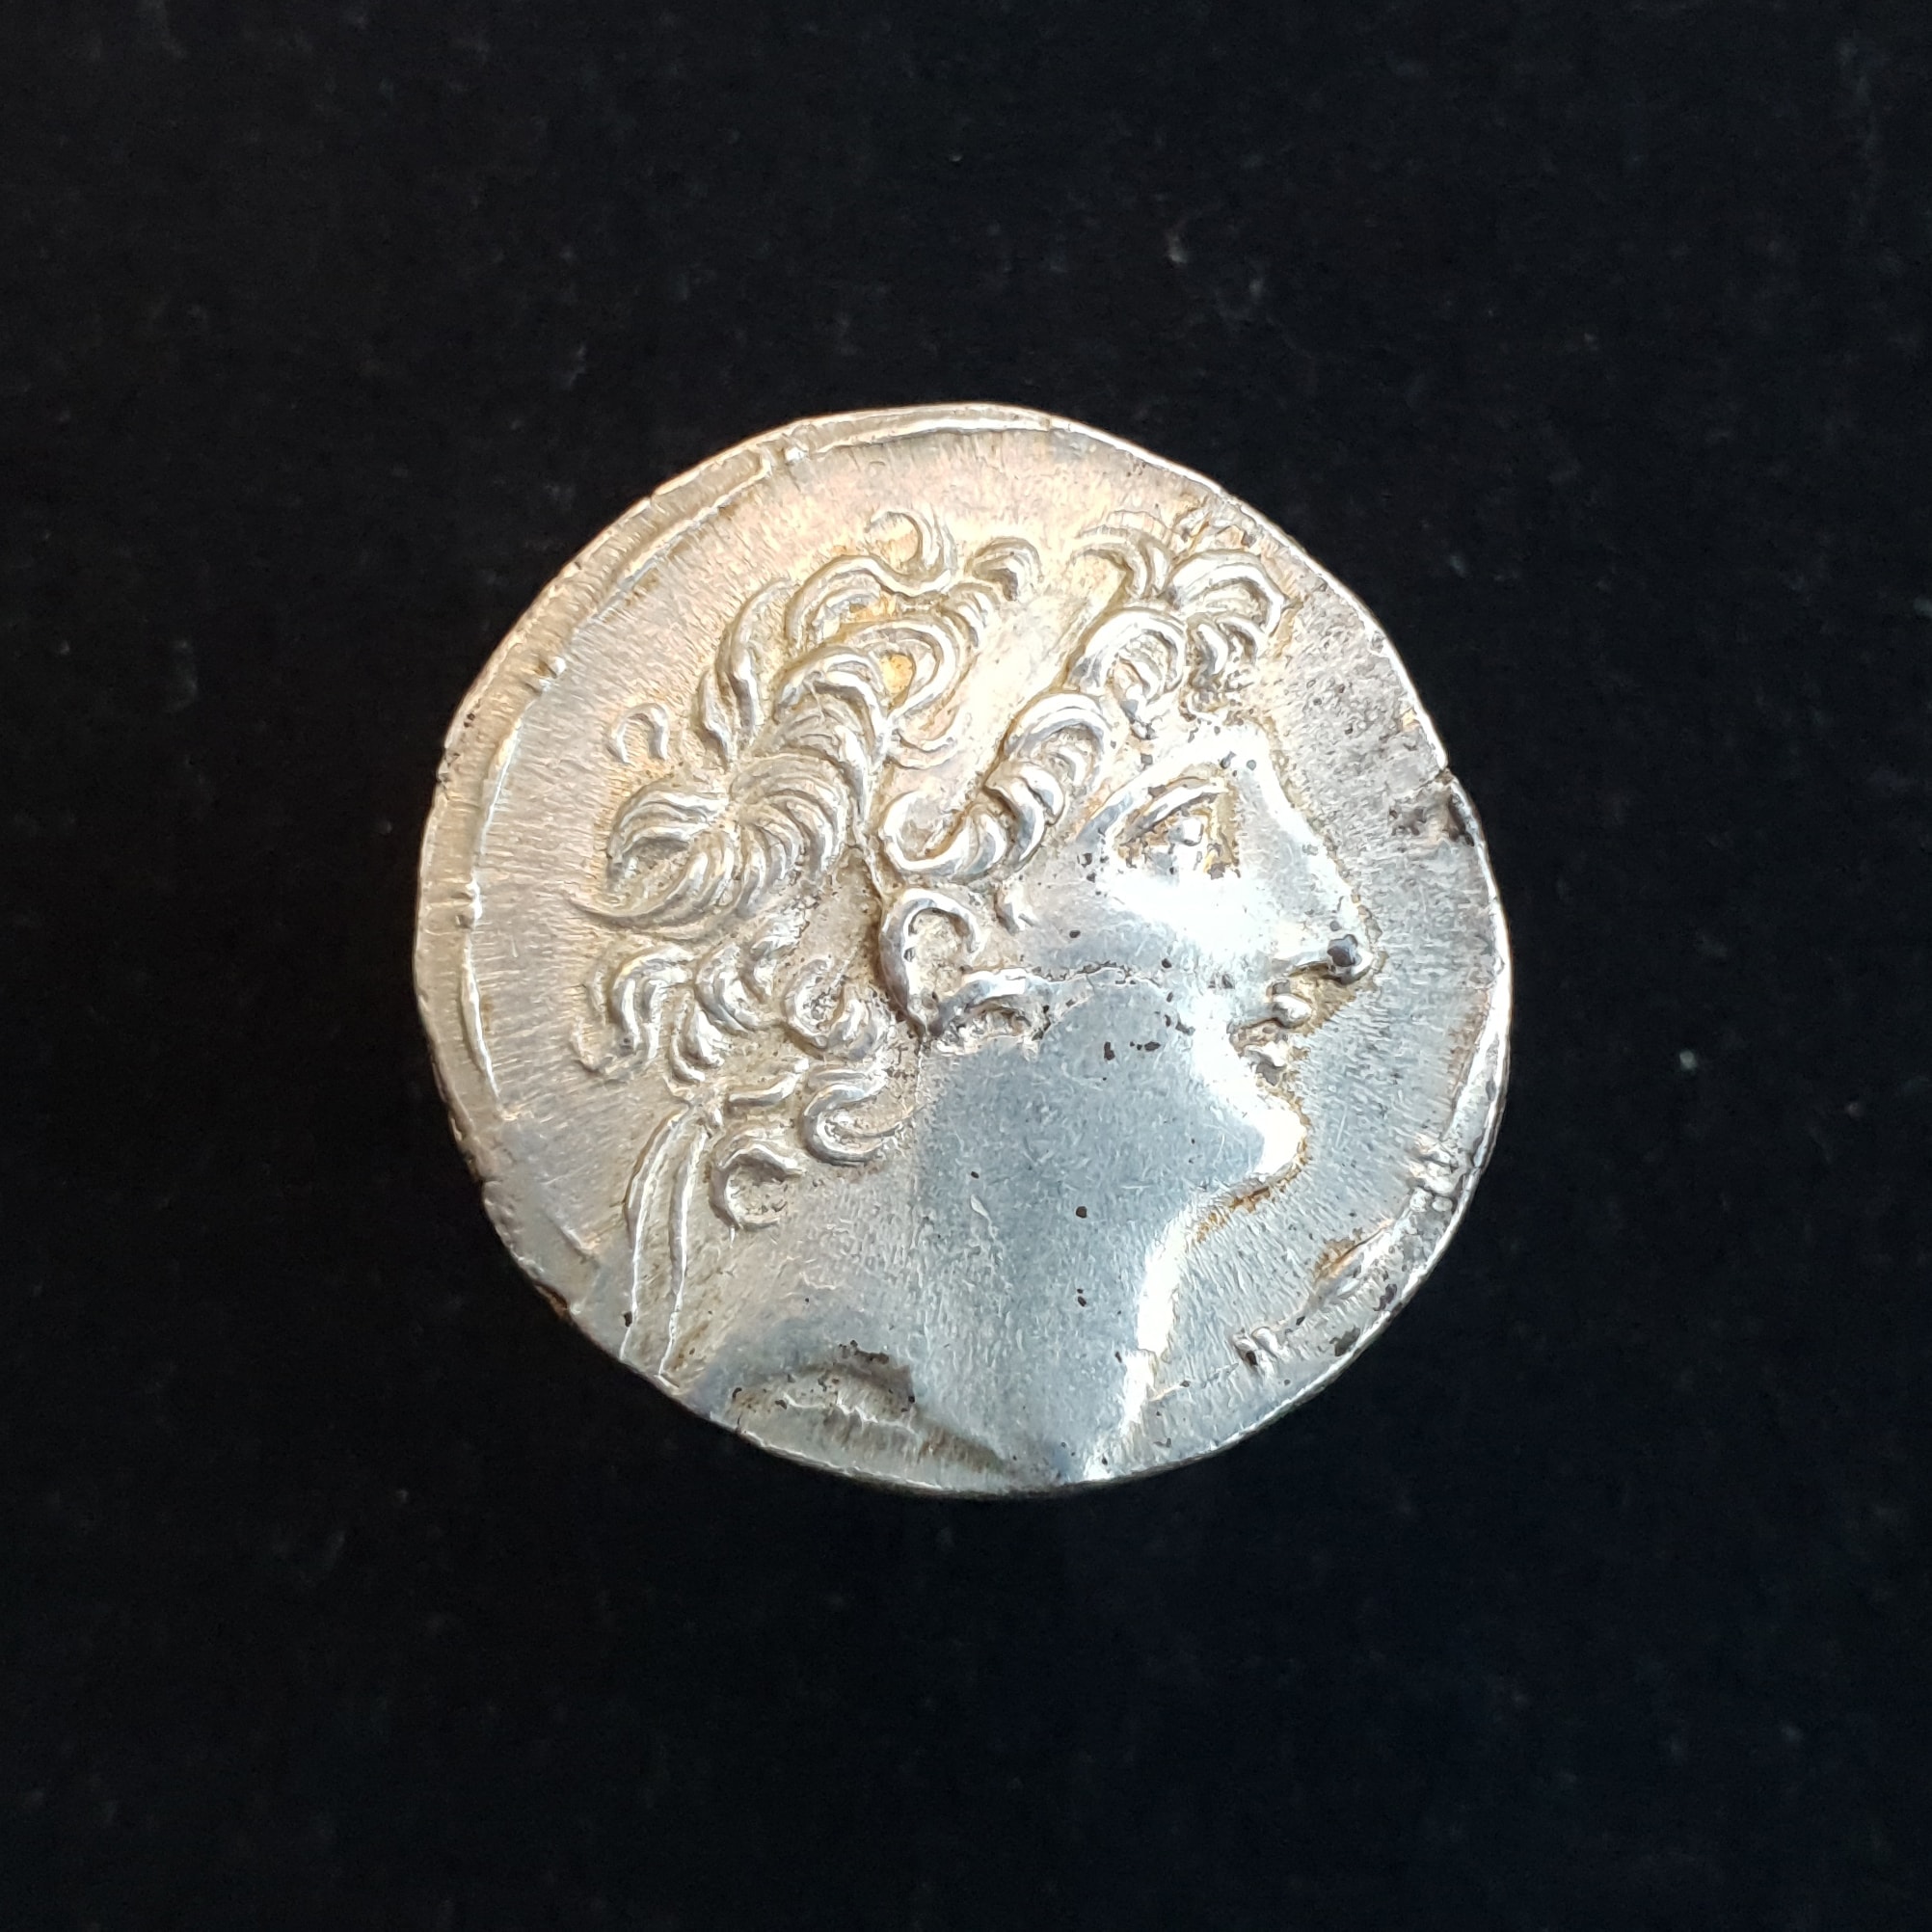
In my experience, high angle and pseudo-axial lighting works well for most coins – particularly those with shiny, flat surfaces and not huge reliefs. In terms of huge relief, I’m talking about an Alexander the Great or Athenian Owl tetradrachm versus a late-Seleucid tetradrachm, such as the one used in the example. The pseudo-axial lighting tends to bring out most of the toning in a coin’s surface as well as any flow lines, legend text, or other detail. It does this by providing contrast around the edges of the devices without creating shows.
As light comes directly down on the coin, it will tend to be reflected back to the camera unless the surface is at an angle pointing away from the camera. The larger the angle, the less light that is reflected back. If we think about a portrait on a coin, the forehead may have a curved and variable relief: from the top of the forehead, it gently curves down to where it meets the surface of the coin. As light hits the forehead, varying amounts will be reflected back to the camera depending on the angle of the surface. Where the forehead meets the surface there may be a sharp drop-off and the angle of the surface is, for a small area, nearly pointing entirely away from the camera. This area will appear dark in the photo while the rest of the forehead may start out very bright and slowly decrease in brightness as the angle gets larger and larger.
This effect tends to produce fantastic contrast: only the very edges of coin devices are dark while the surfaces on either side are reflecting light back, thus creating an outline between a device such as a portrait and the flat surface of the coin.
My go-to macro ring light is currently the Laowa Front LED Ring Light. It is designed for Laowa’s 25mm macro lens but I use it on my 100mm macro lens without any noticeable vignetting at 1.5x magnification. It also works well for phone cameras, though is larger than needed. The Laowa ring light is very powerful and will heat up quickly but it is fantastic in every other way. It can be powered by a 5V powerbank so it also has the added benefit of being extremely portable.
Wrapping Up
I hope these few tips will help improve your coin photography as they have helped improved mine. I also hope this guide illustrates the kind of photos you can take on only a mobile phone. It is just as easy, if not easier, to take bad photos with an expensive DSLR camera! That being said, I can whole-heartedly recommend buying a DSLR or mirrorless camera if you wish to improve your coin photography after you’ve perfected your camera phone technique and find yourself needing more.
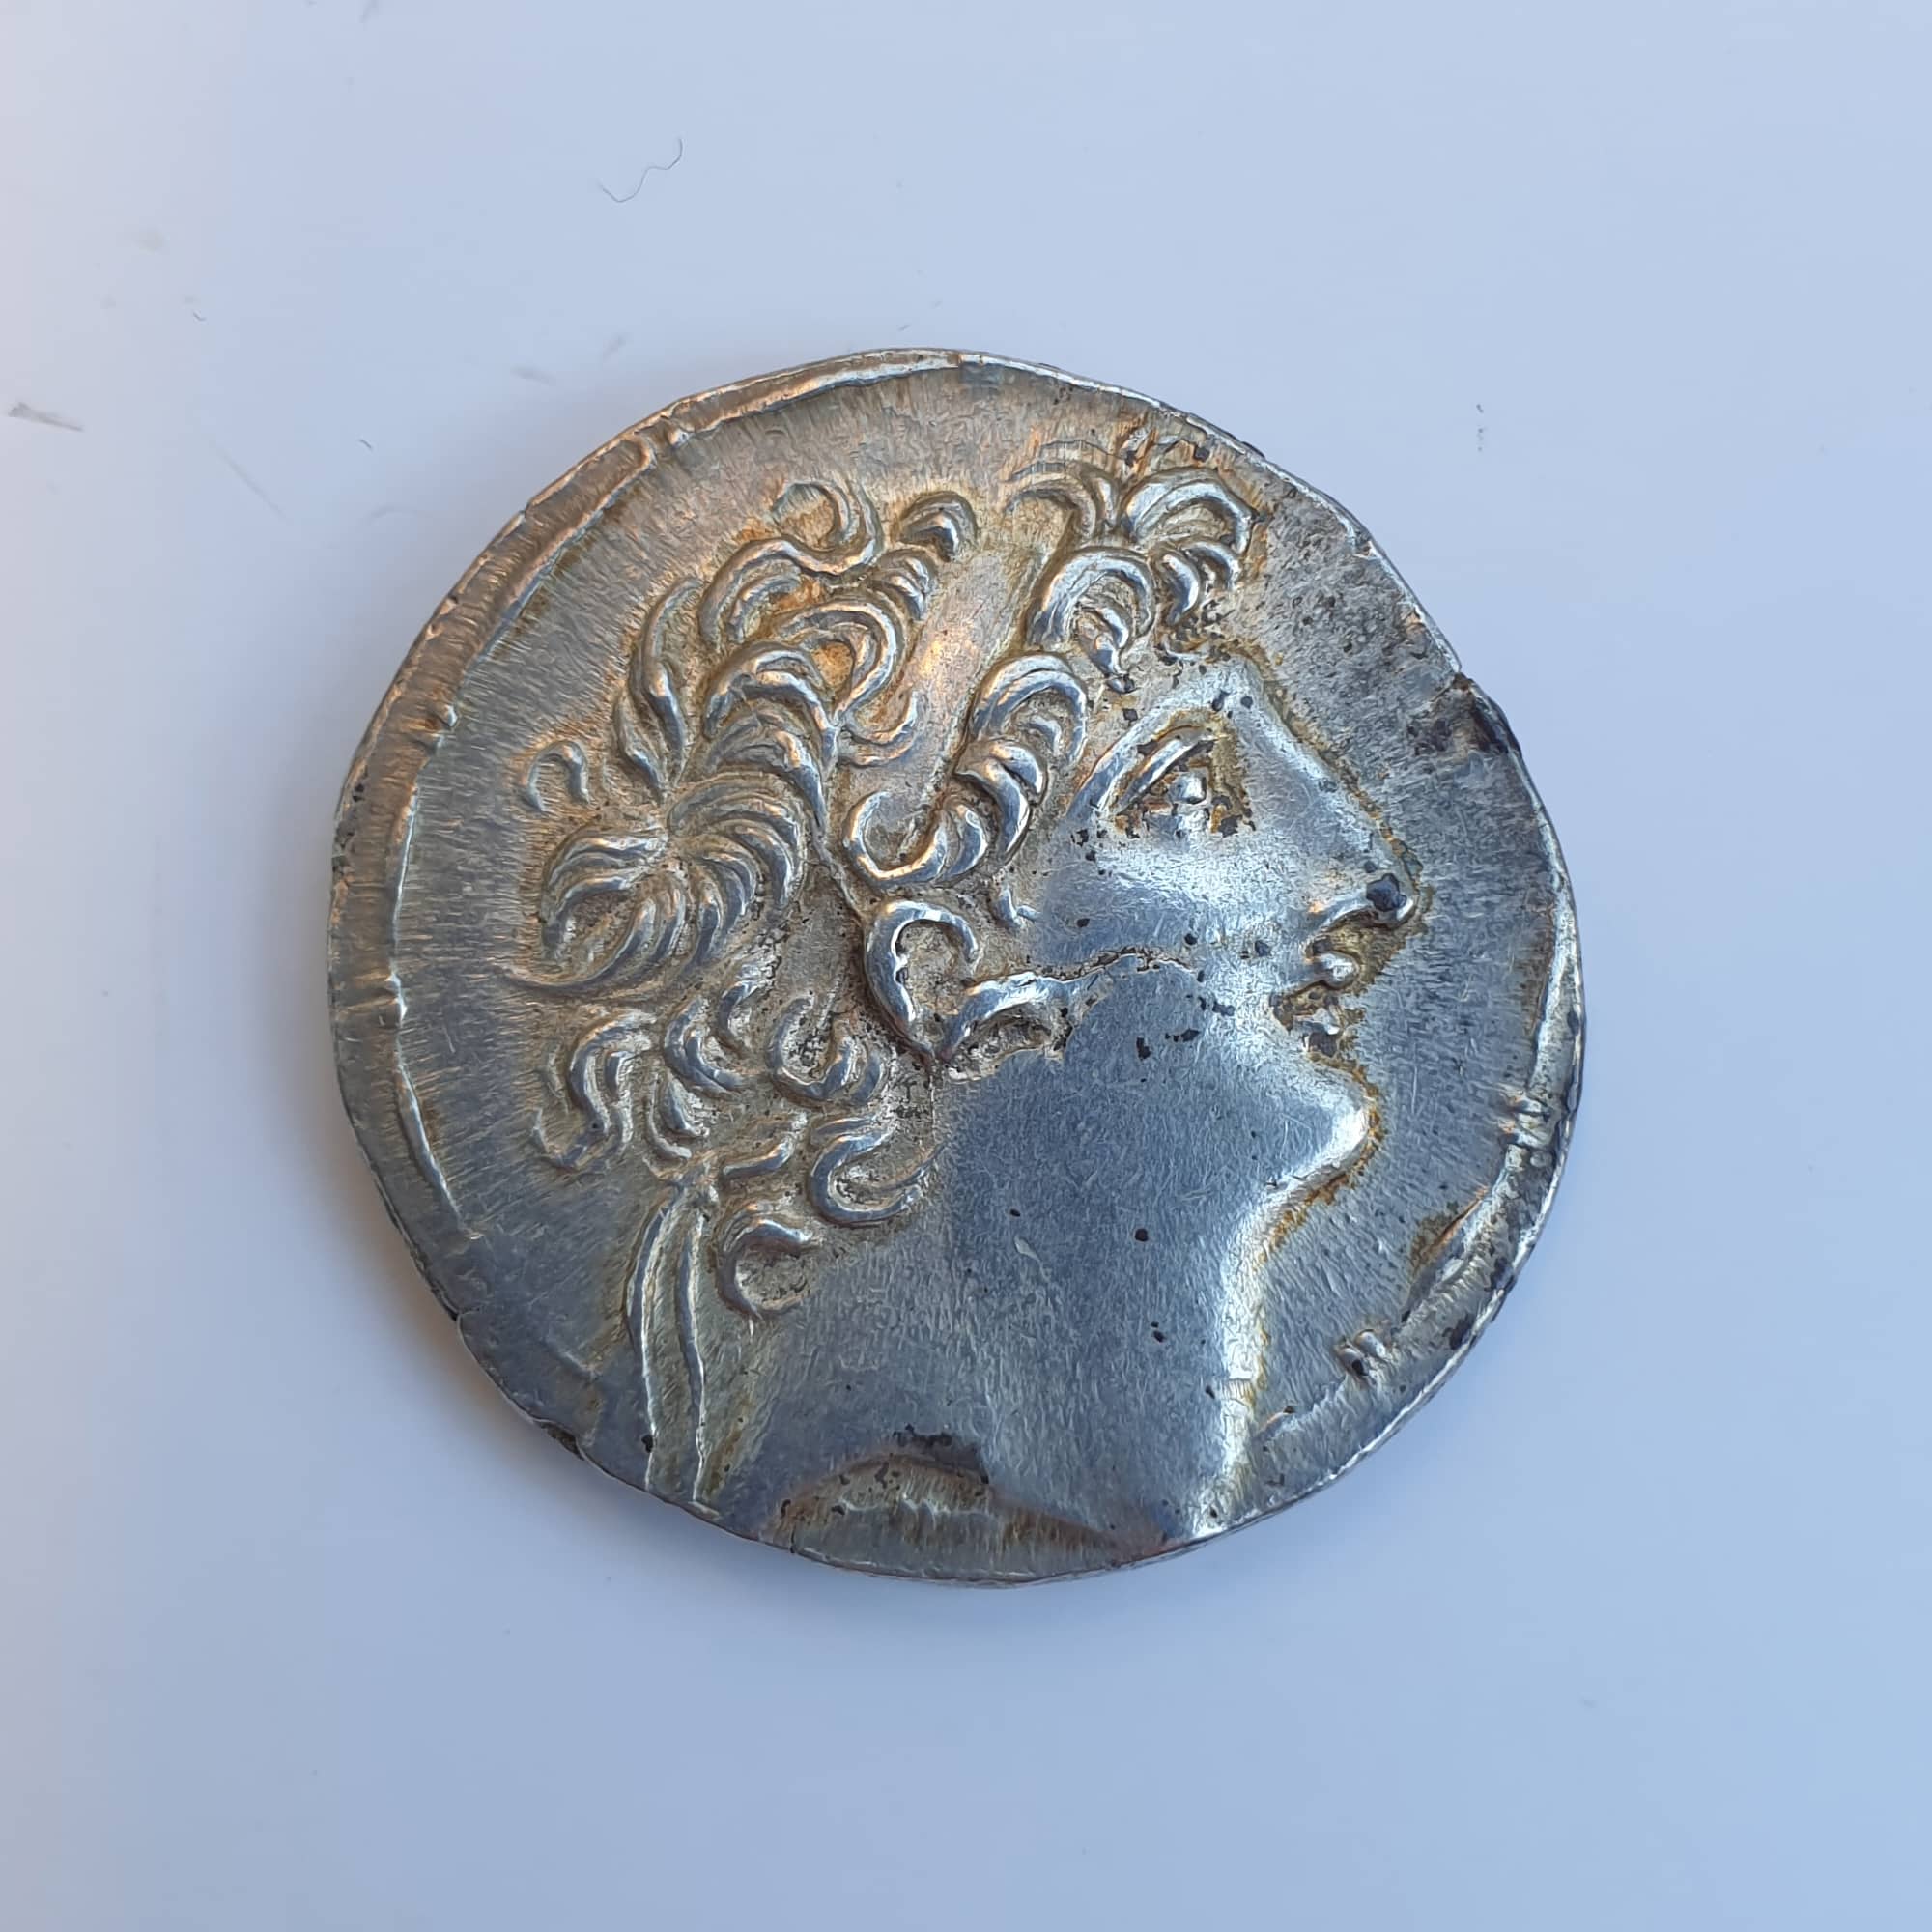
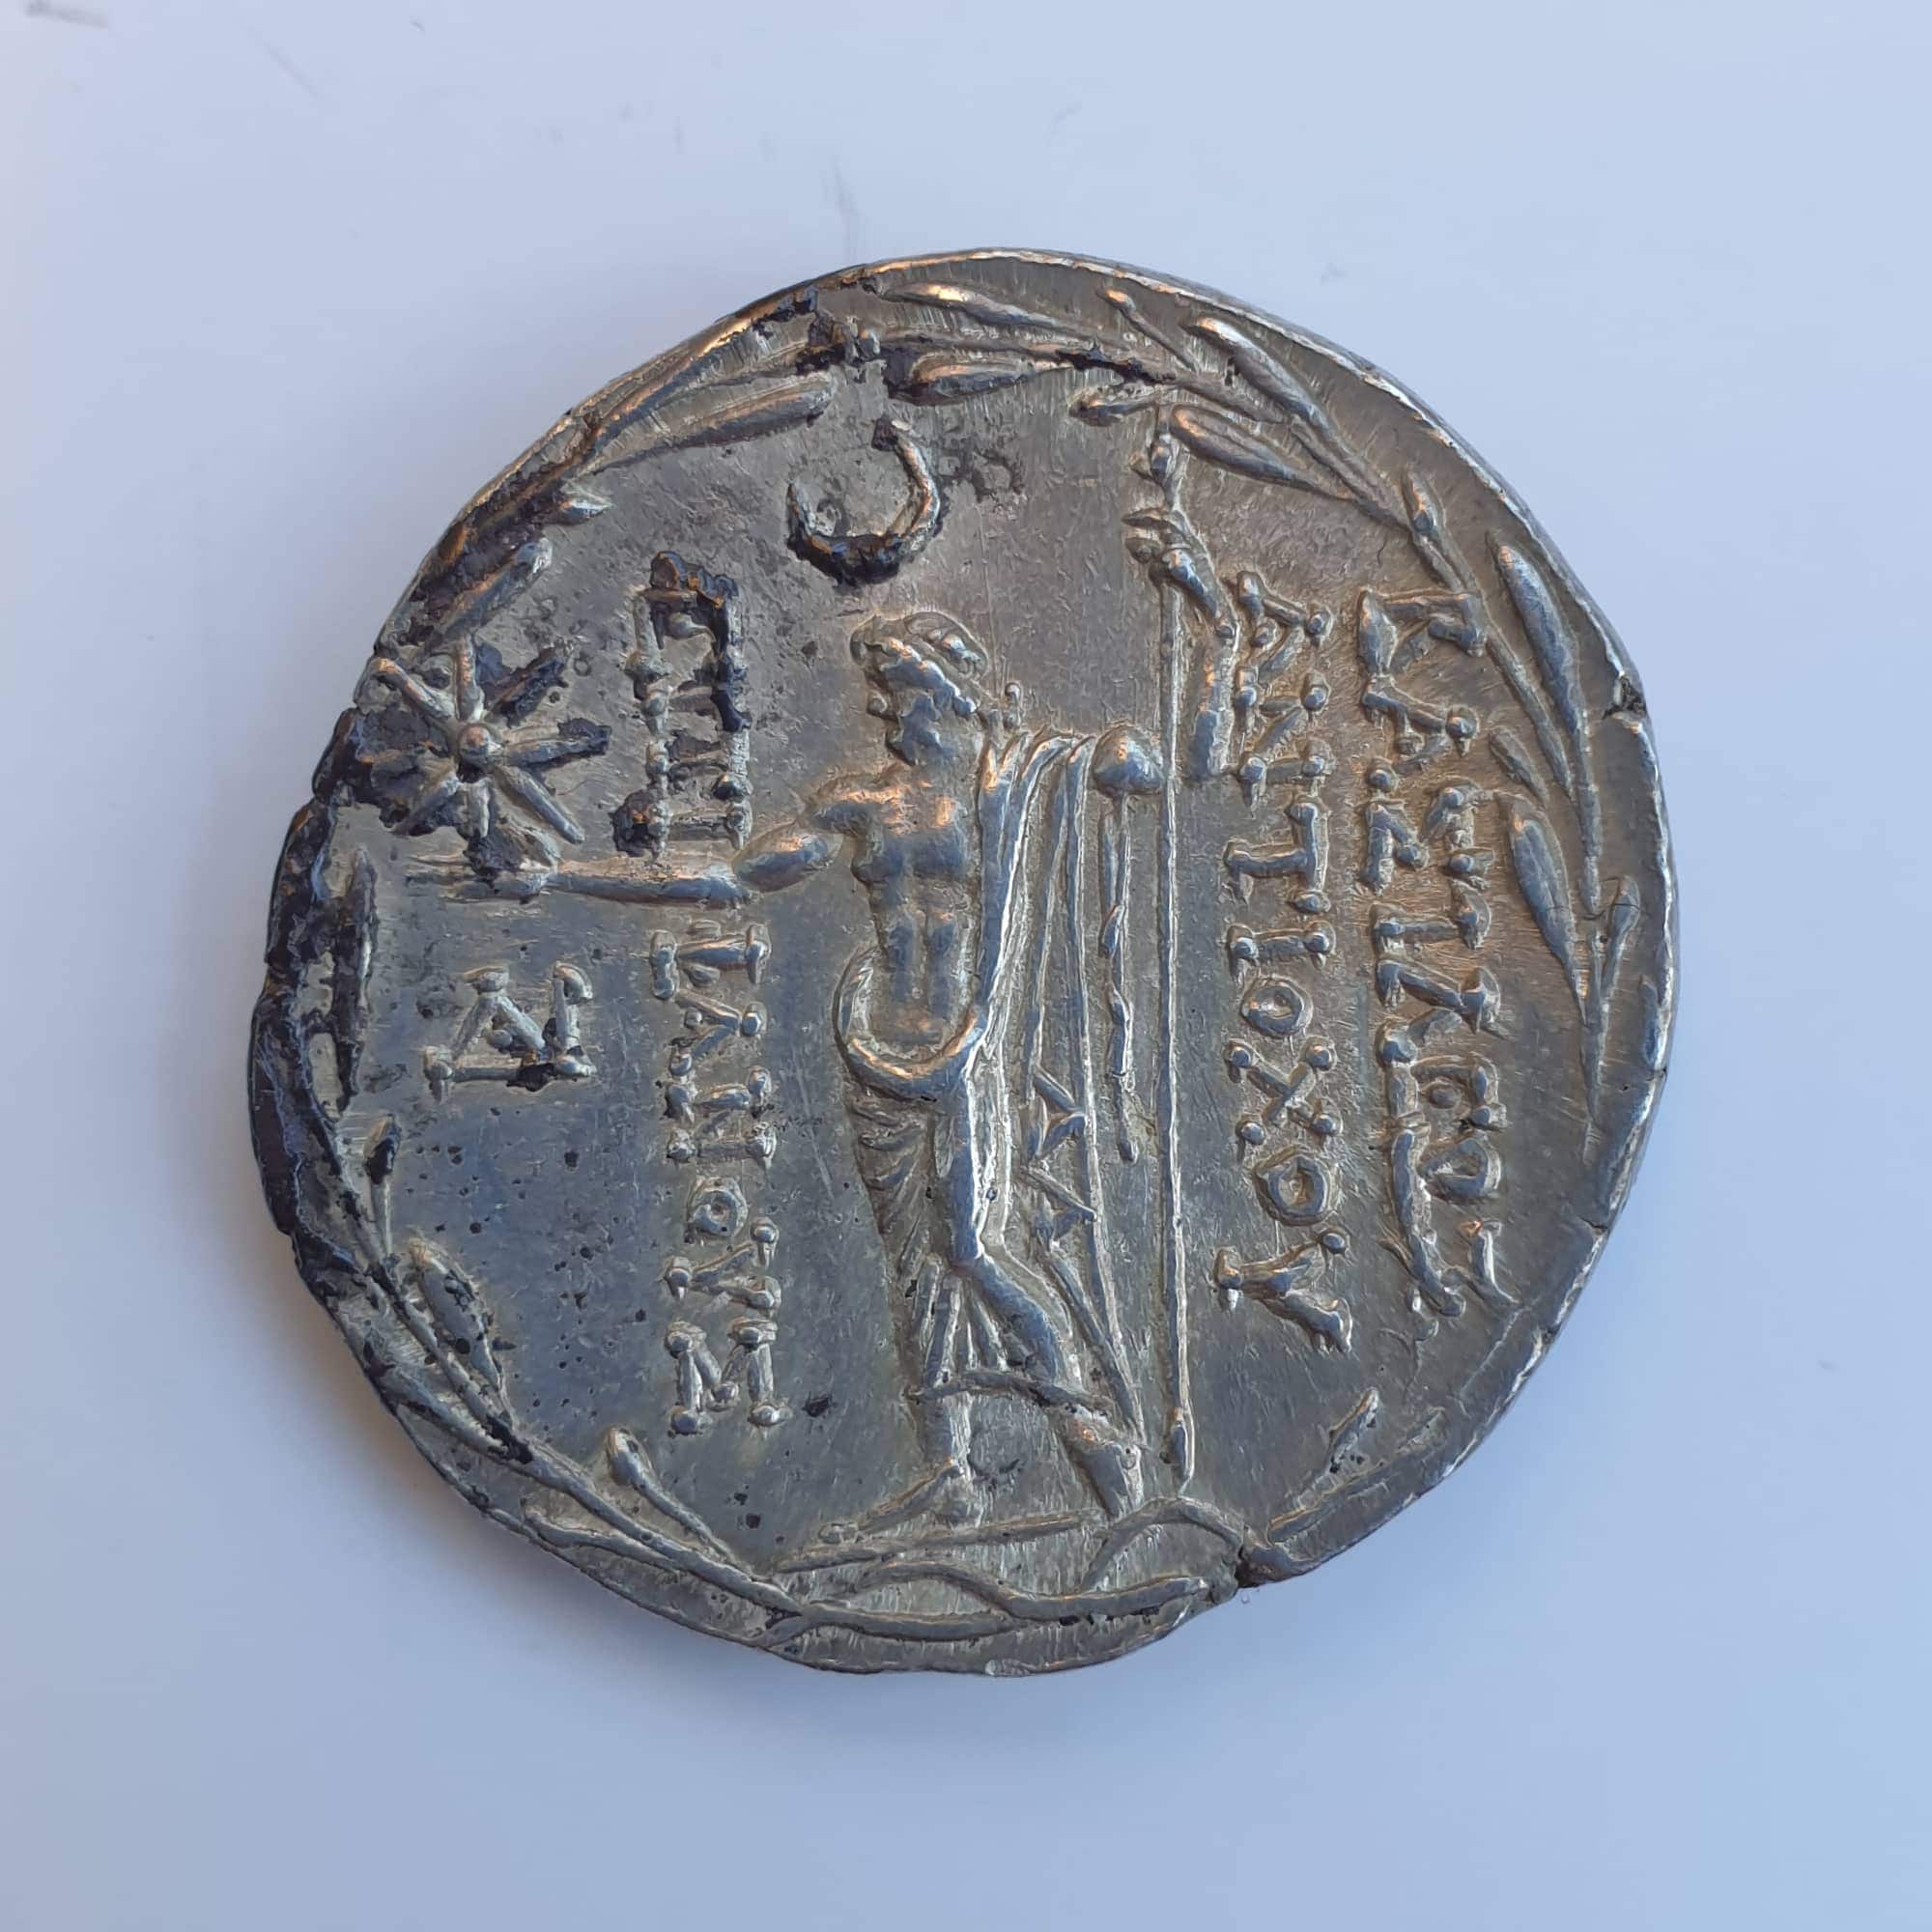
Try the photo comparison by dragging the slider from left to right. The first image is taken on the Samsung S9+ as shown in this article, the second was taken with my Sony A7R III. With a little editing in post, the two images would visually appear quite similar and while the photo from the Sony camera has many more times detail, it is not as noticeable at the small resolutions shown here.