Step Size
The number one setting when it comes to focus stacking is what I call “step size”. The step size is the distance you will move the camera between each photo you take of the coin. If you don’t have a macro rail or linear actuator, it may be difficult for you to move a precise distance in a controlled and reliable manner. In these cases I would recommend shooting at a low aperture (f/8 to f/13) to increase your depth of field and improve your chances of having consecutive photos overlap the in-focus areas they capture.
For those of us with macro rails or linear actuators, it is much easier to move the camera a precise distance but exactly what distance should we use? It is possible to calculate what your step size needs to be by working out the depth of field of your lens at a given setting. If the depth of field was 100 microns (0.1mm), you might want to set your step size to 120 microns so you have overlap between your photos. If you aim for exactly 100 microns, it’s possible you will not have 1-micron accuracy and thus leave some small parts of the photo out of focus. I try not to be too precise about the step size and prefer to take too many photos with a lower than necessary step size than take too few photos with a step size that is too large. I start by focusing the camera on a specific part of the coin then move it a given distance and watch the in-focus area of the image move across the coin. Can I see this in-focus area overlap between each movement, i.e. does the previous image have an in-focus area that is also in-focus in the second image? If so, I will use that distance as my step size.
Finding the Start and End Points
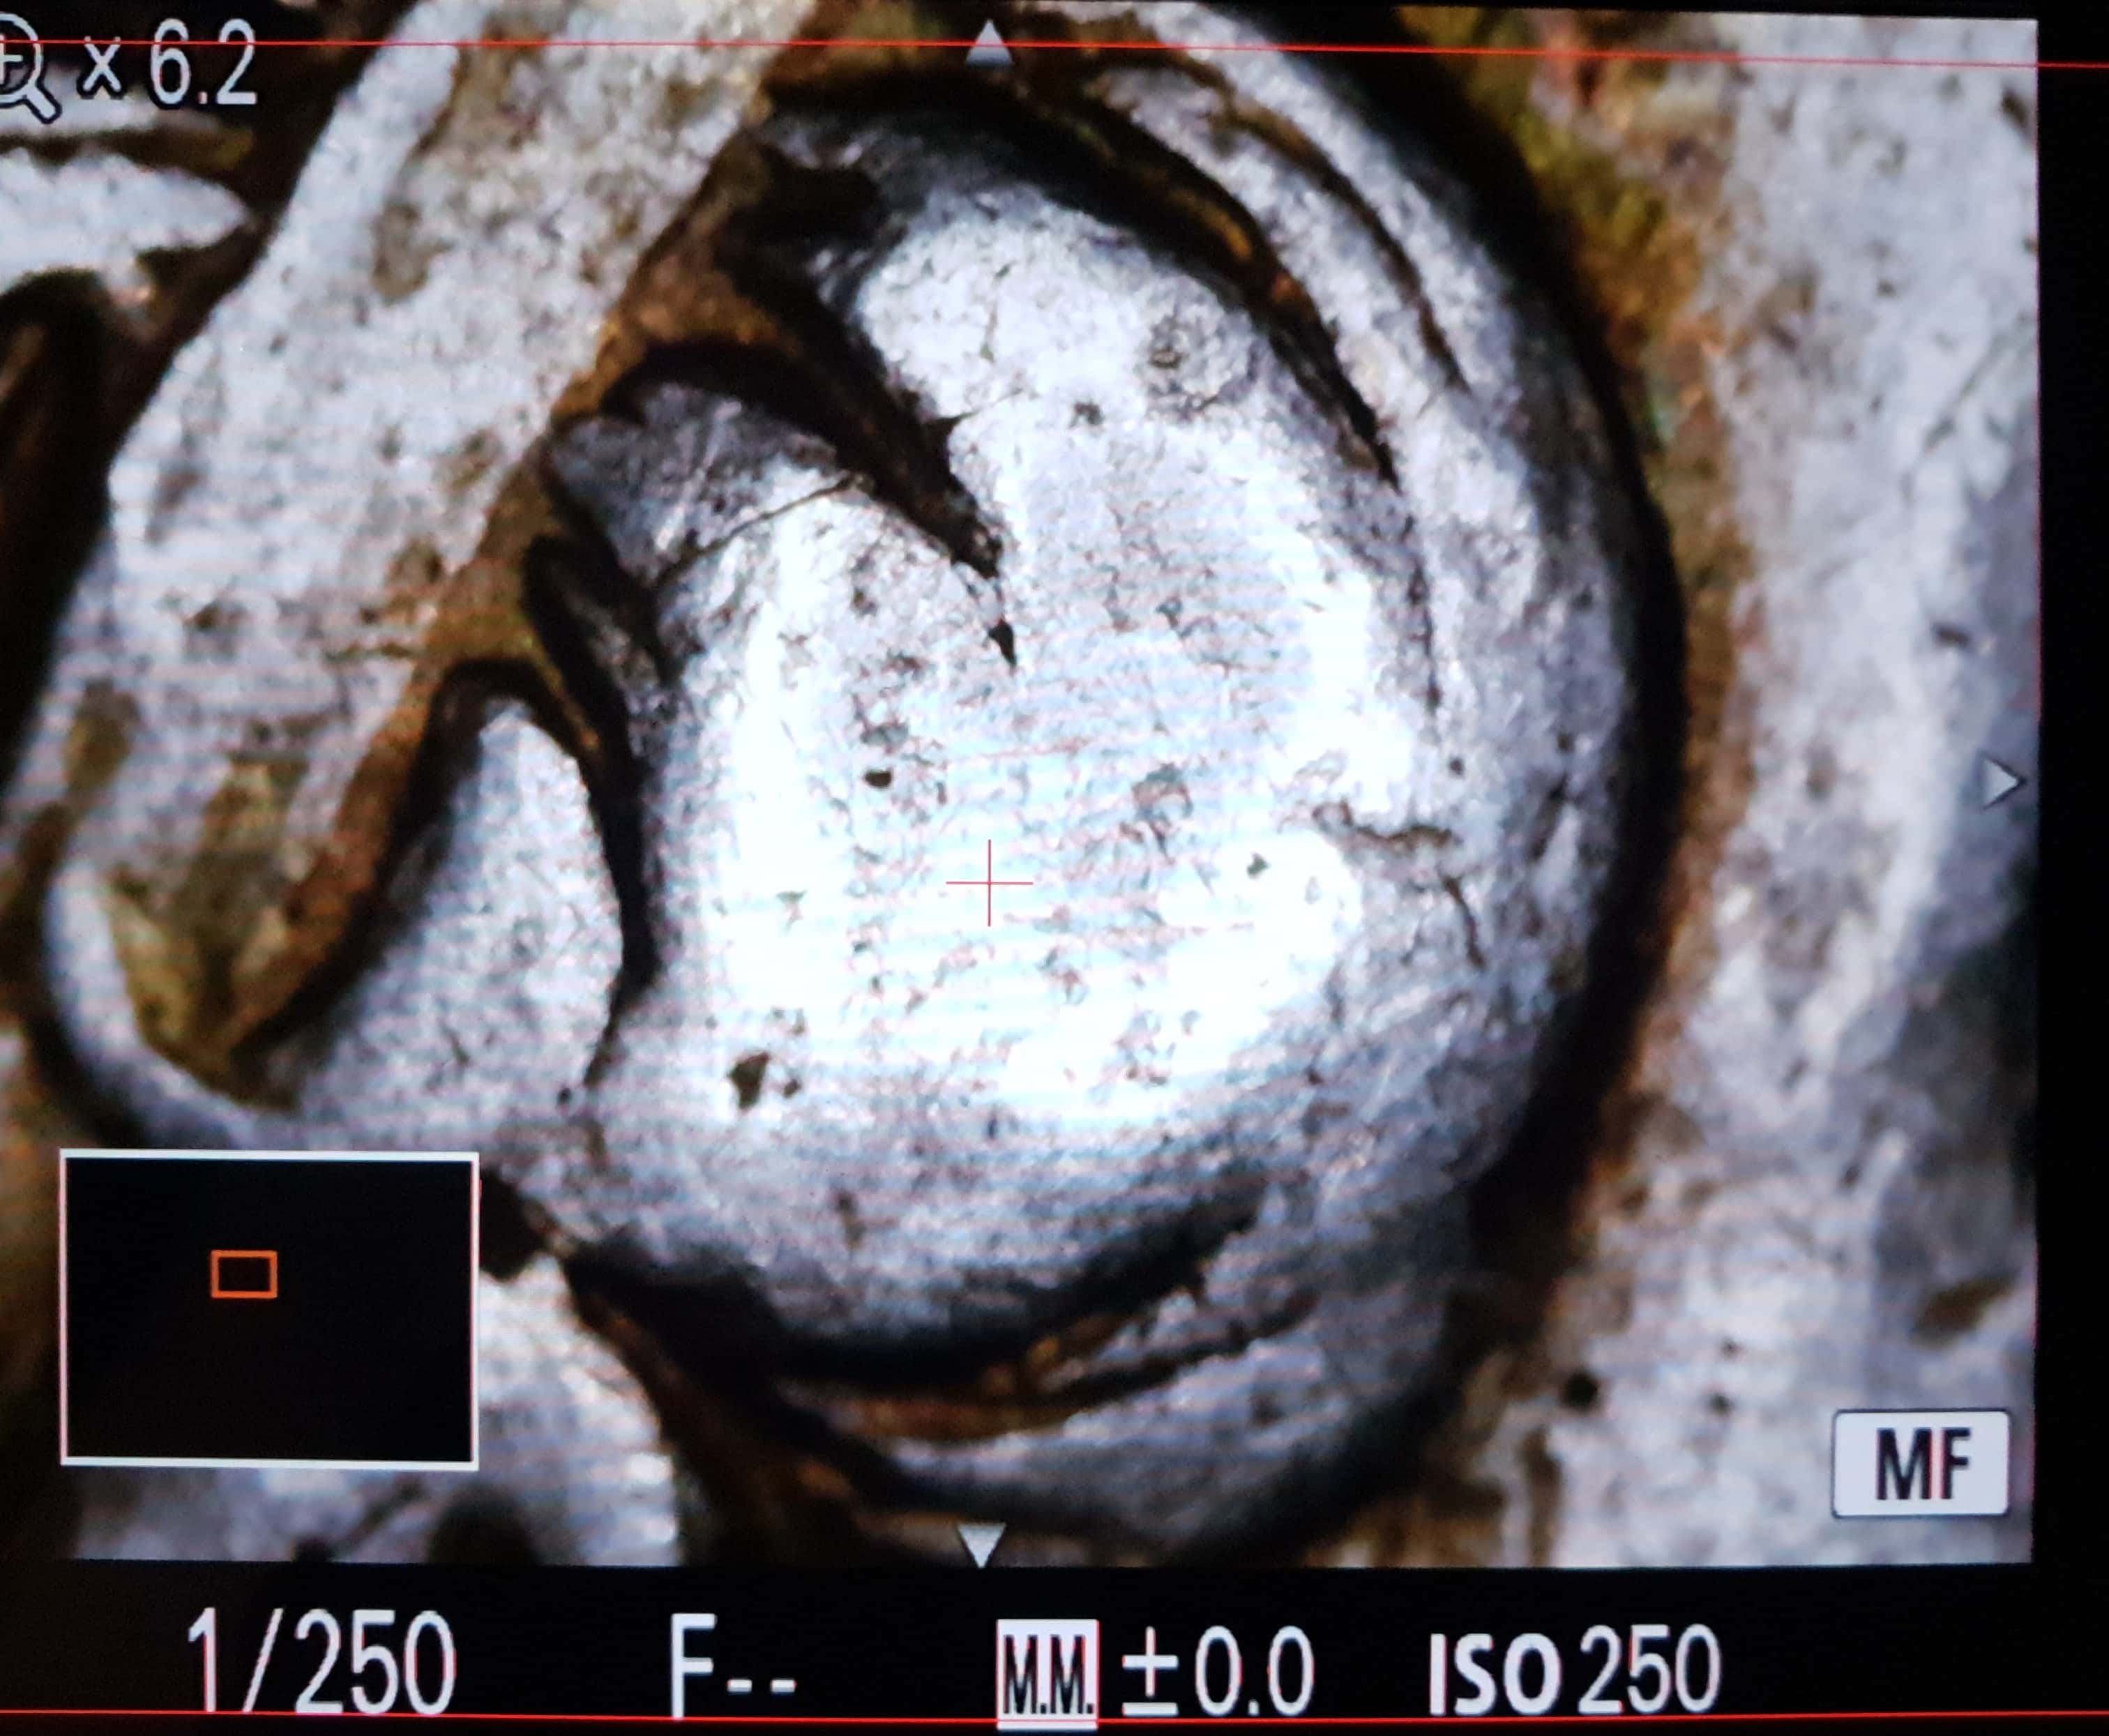
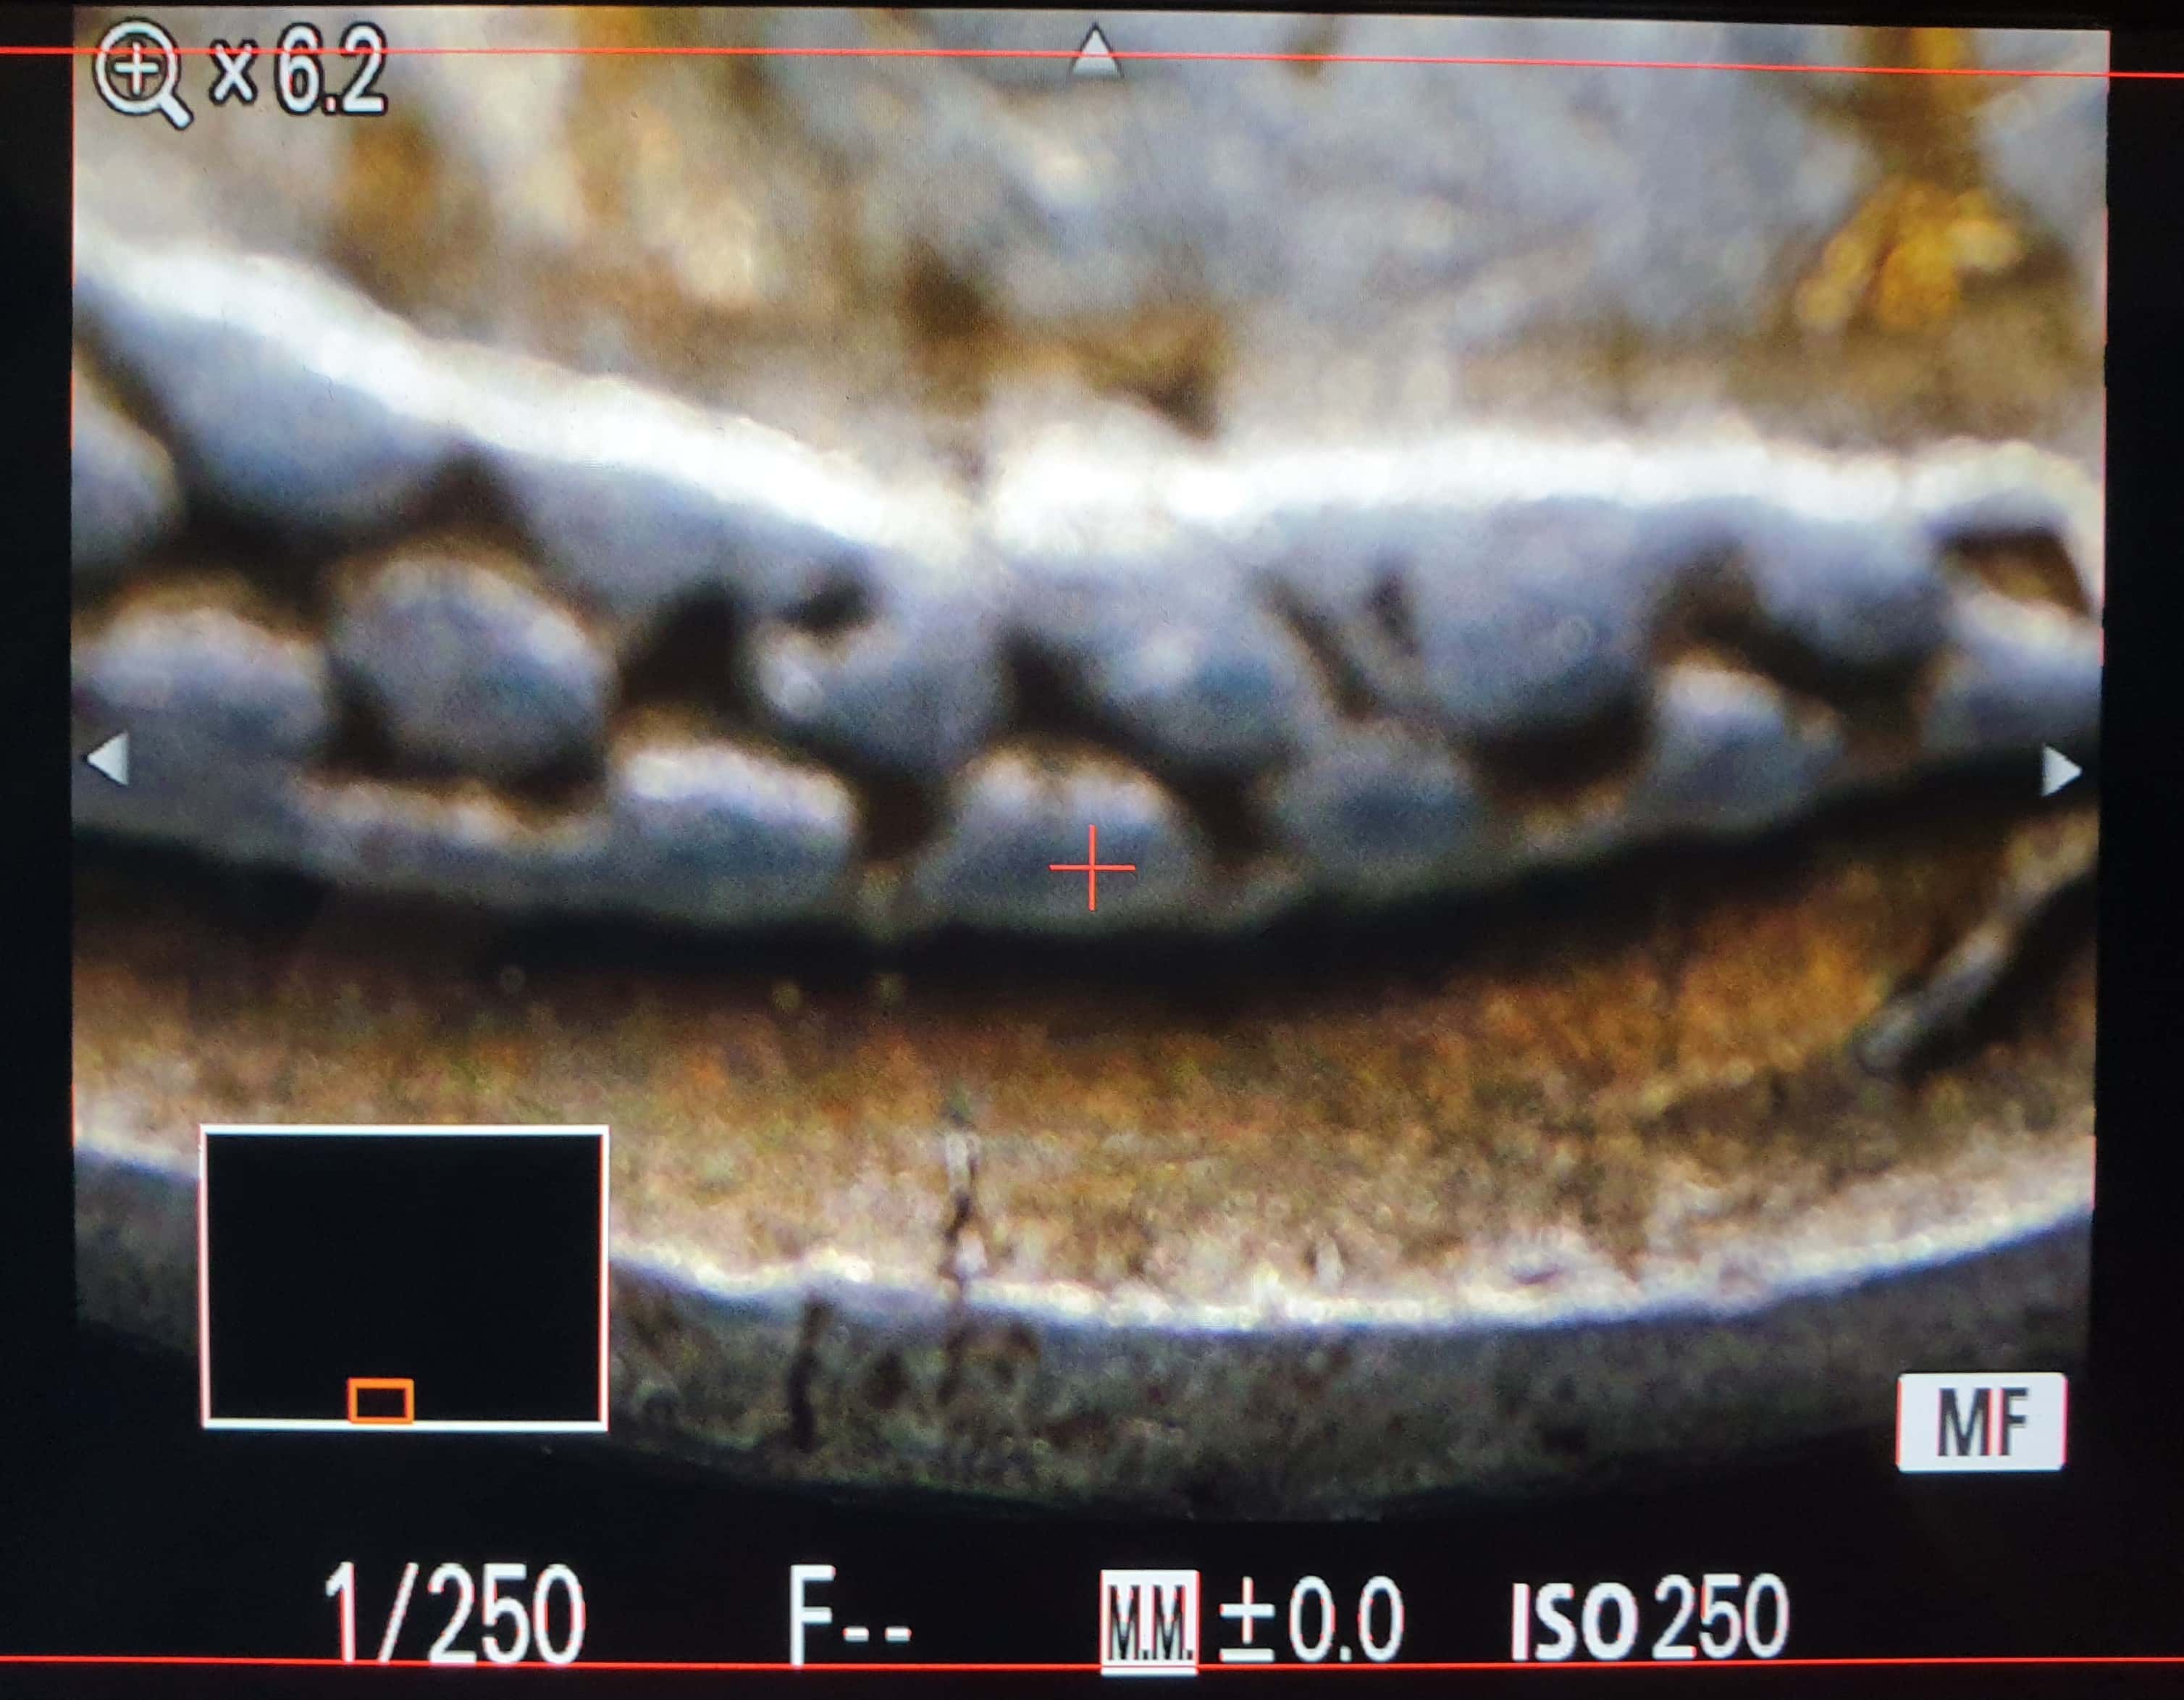
Once you have your step size you just need to work out the beginning and end position for the focus stack. This should always be the highest point of the coin and the lowest point of the coin. For an obverse with a portrait, this is typically the top of the head and the bottom edge of the coin. I start by moving to the camera to the high point and then keep going back until no part of the coin is in focus. Then , while looking at the preview image on the camera, I will slowly move the camera forward to the point just before the highest point of the coin is in focus. I save this position on my stacking controller and then move to find the lowest position for the end of the stack. This is usually the bottom edge of the coin and can be difficult to see since not much light typically reflects of the edges. You can introduce a temporary source of light such as a flashlight to help illuminate the bottom edge while you do this step. Similar to before, I’ll move to the lowest point and keep going, then move the camera back slowly until the bottom edge is nearly in-focus. I set this as the end point and I’m now ready to take the photos.
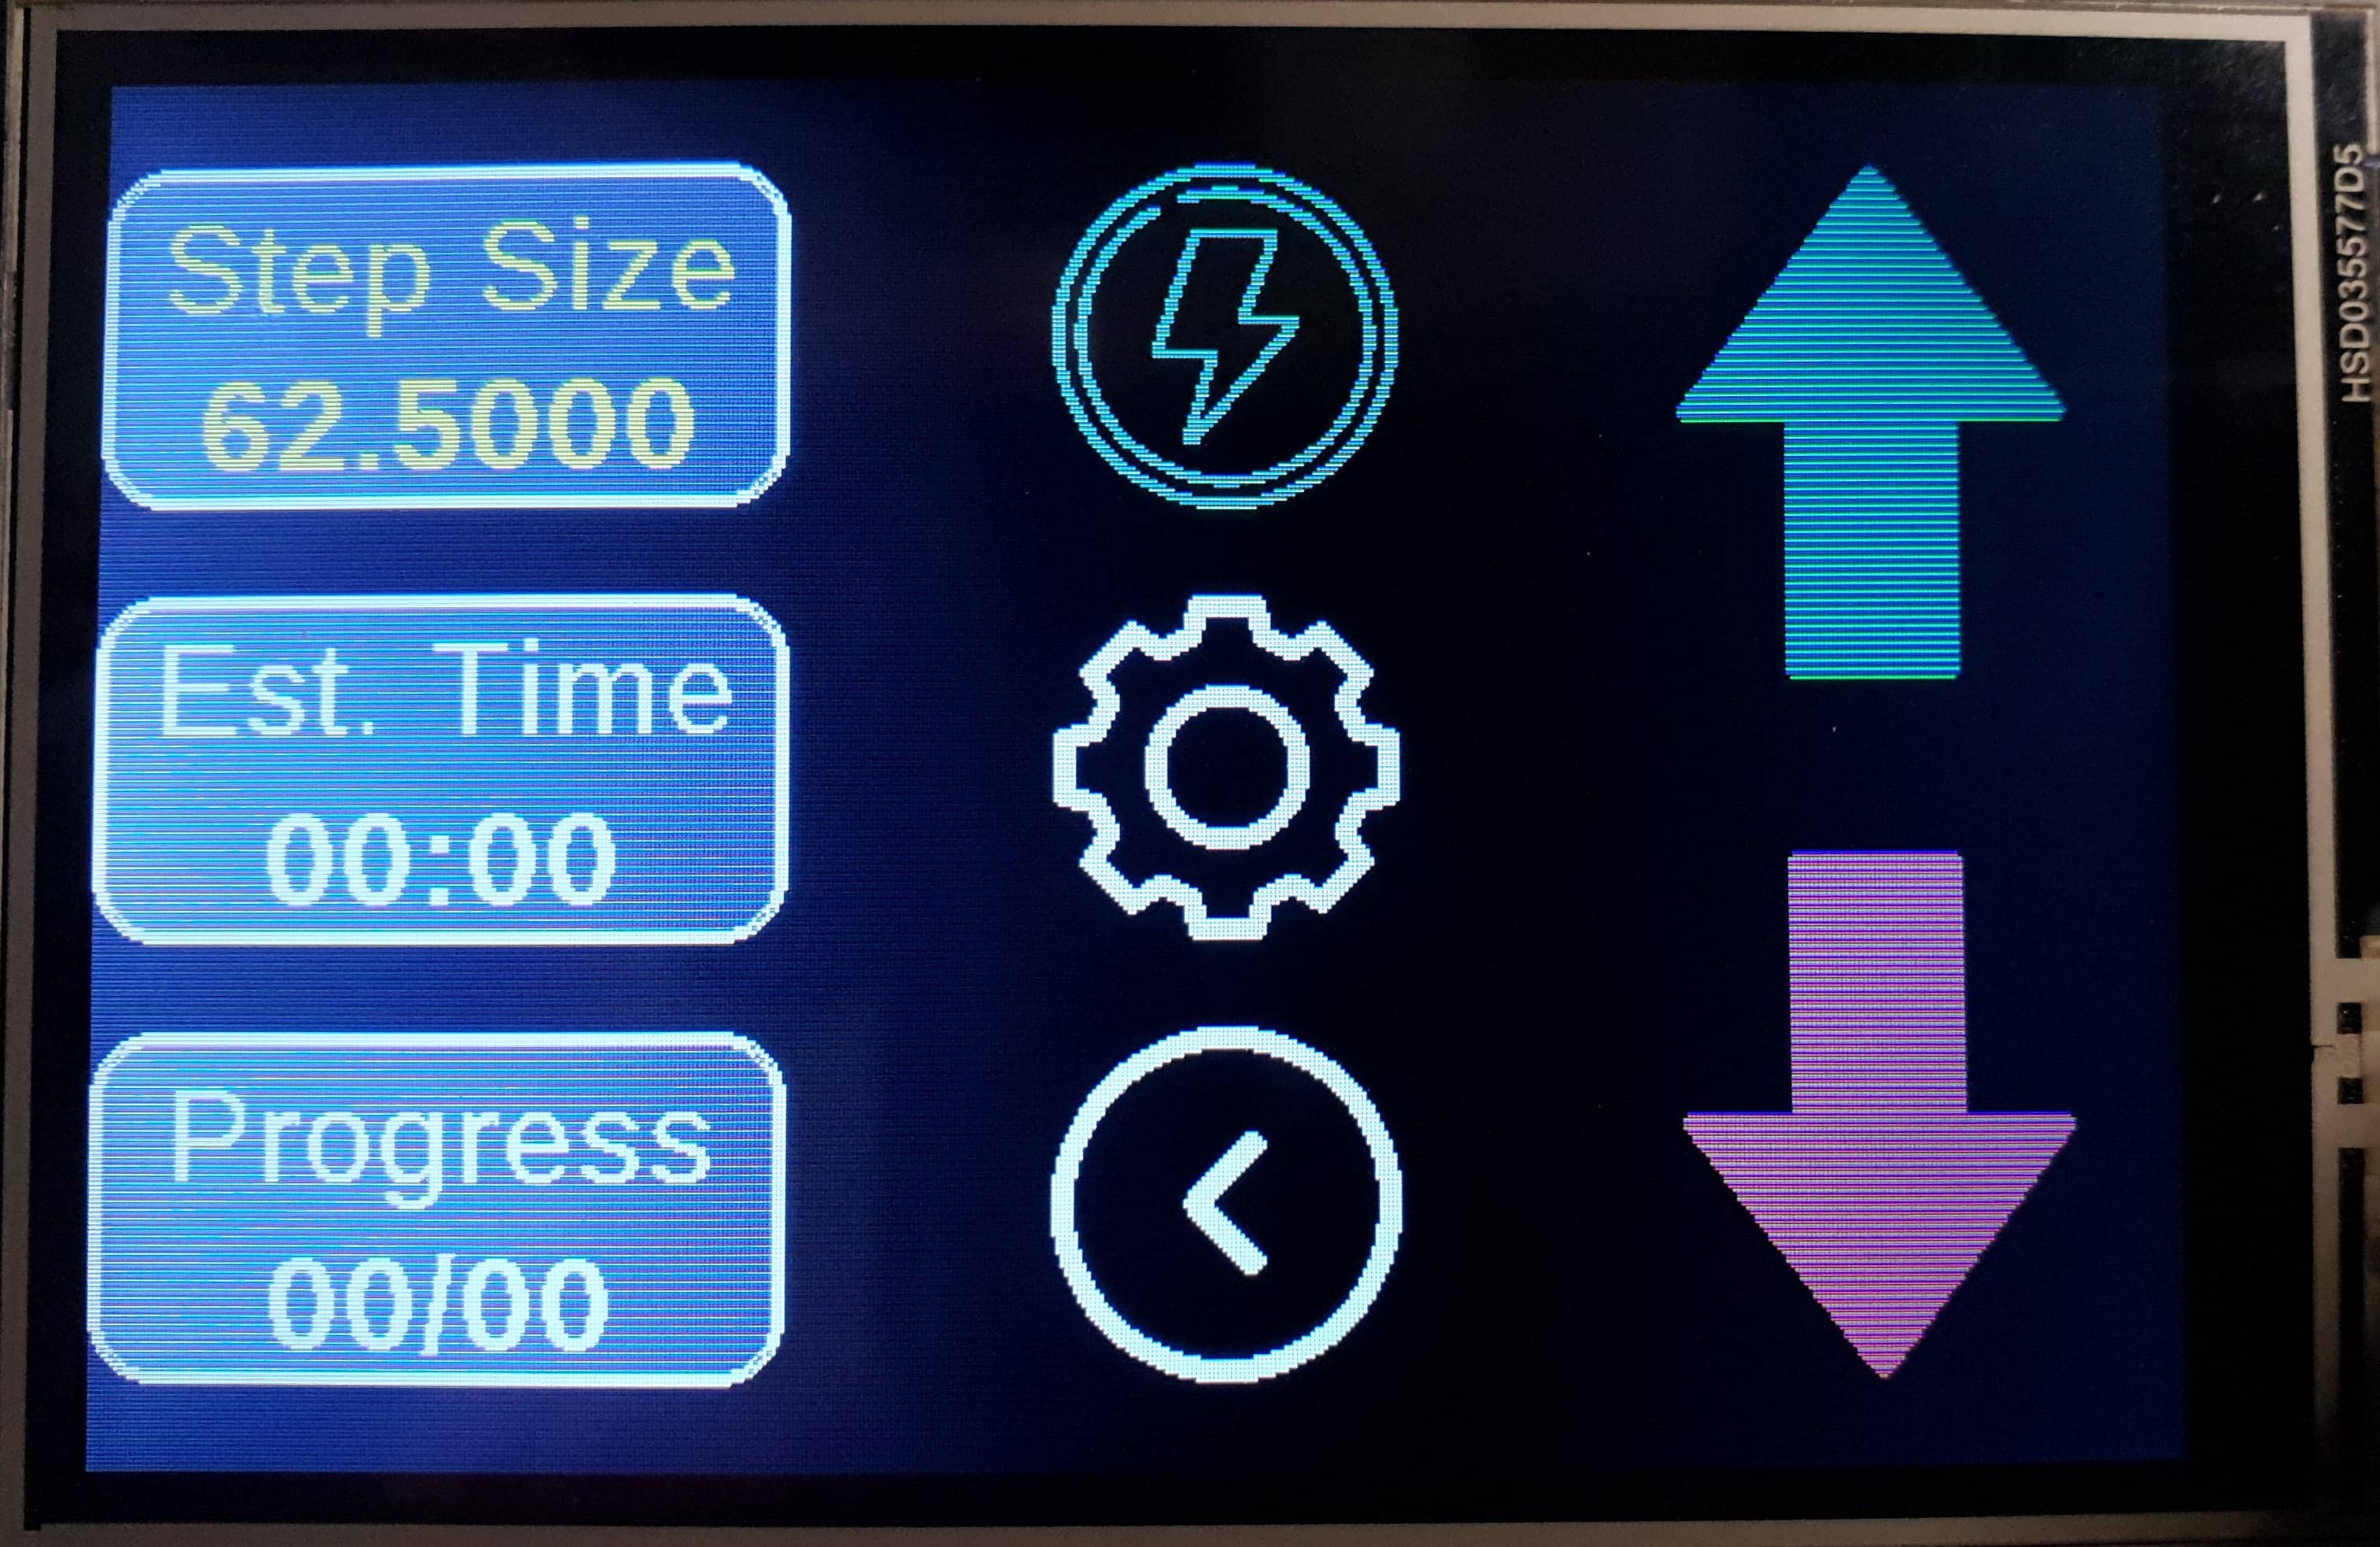
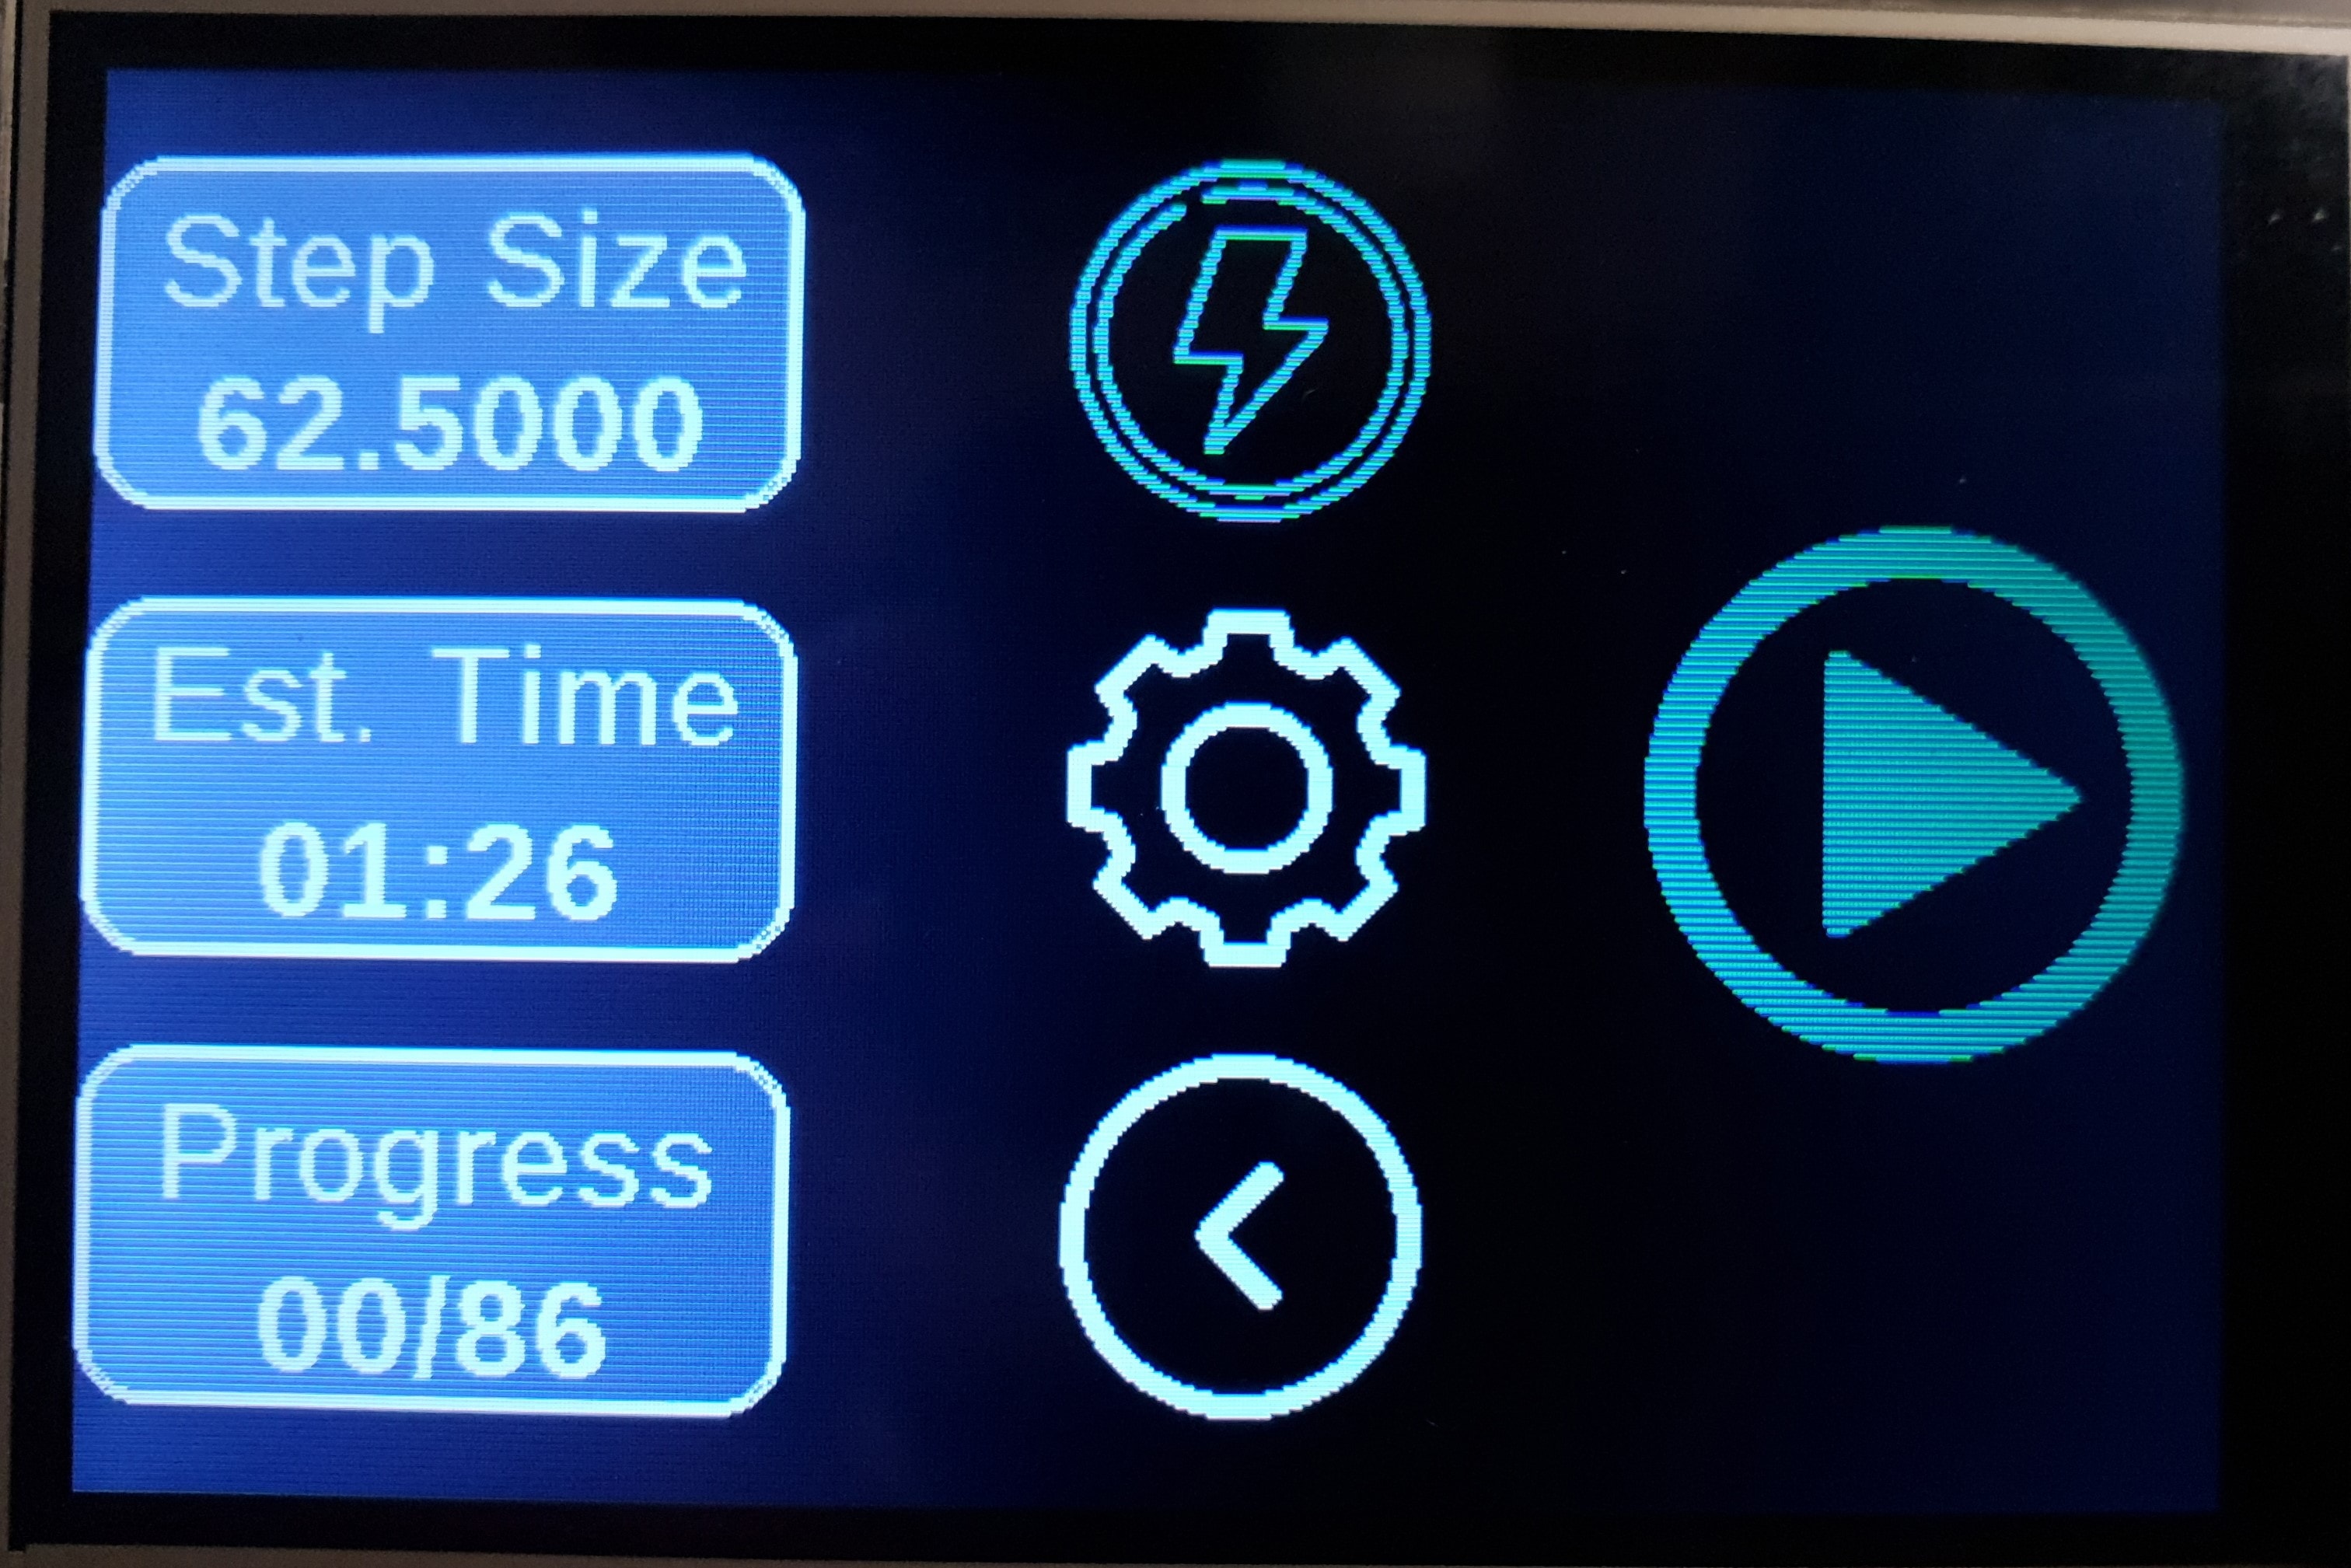
My homemade focus stacking controller allows me to set the beginning and end points and then for a given step size it will tell me how many photos will be taken in this focus stack and how long it will take. I can also control settings such as whether it will trigger the camera for me (and the flash, if used) or if I want to manually trigger the camera for each photo. I can also set a delay that controls how long it pauses before moving between each step. For a constant light source such as an LED ring, I set the delay to 1 second and have the controller take all the photos for me. I can then press play and take a break for a minute or two.
Use the arrows to swipe through the photos below.
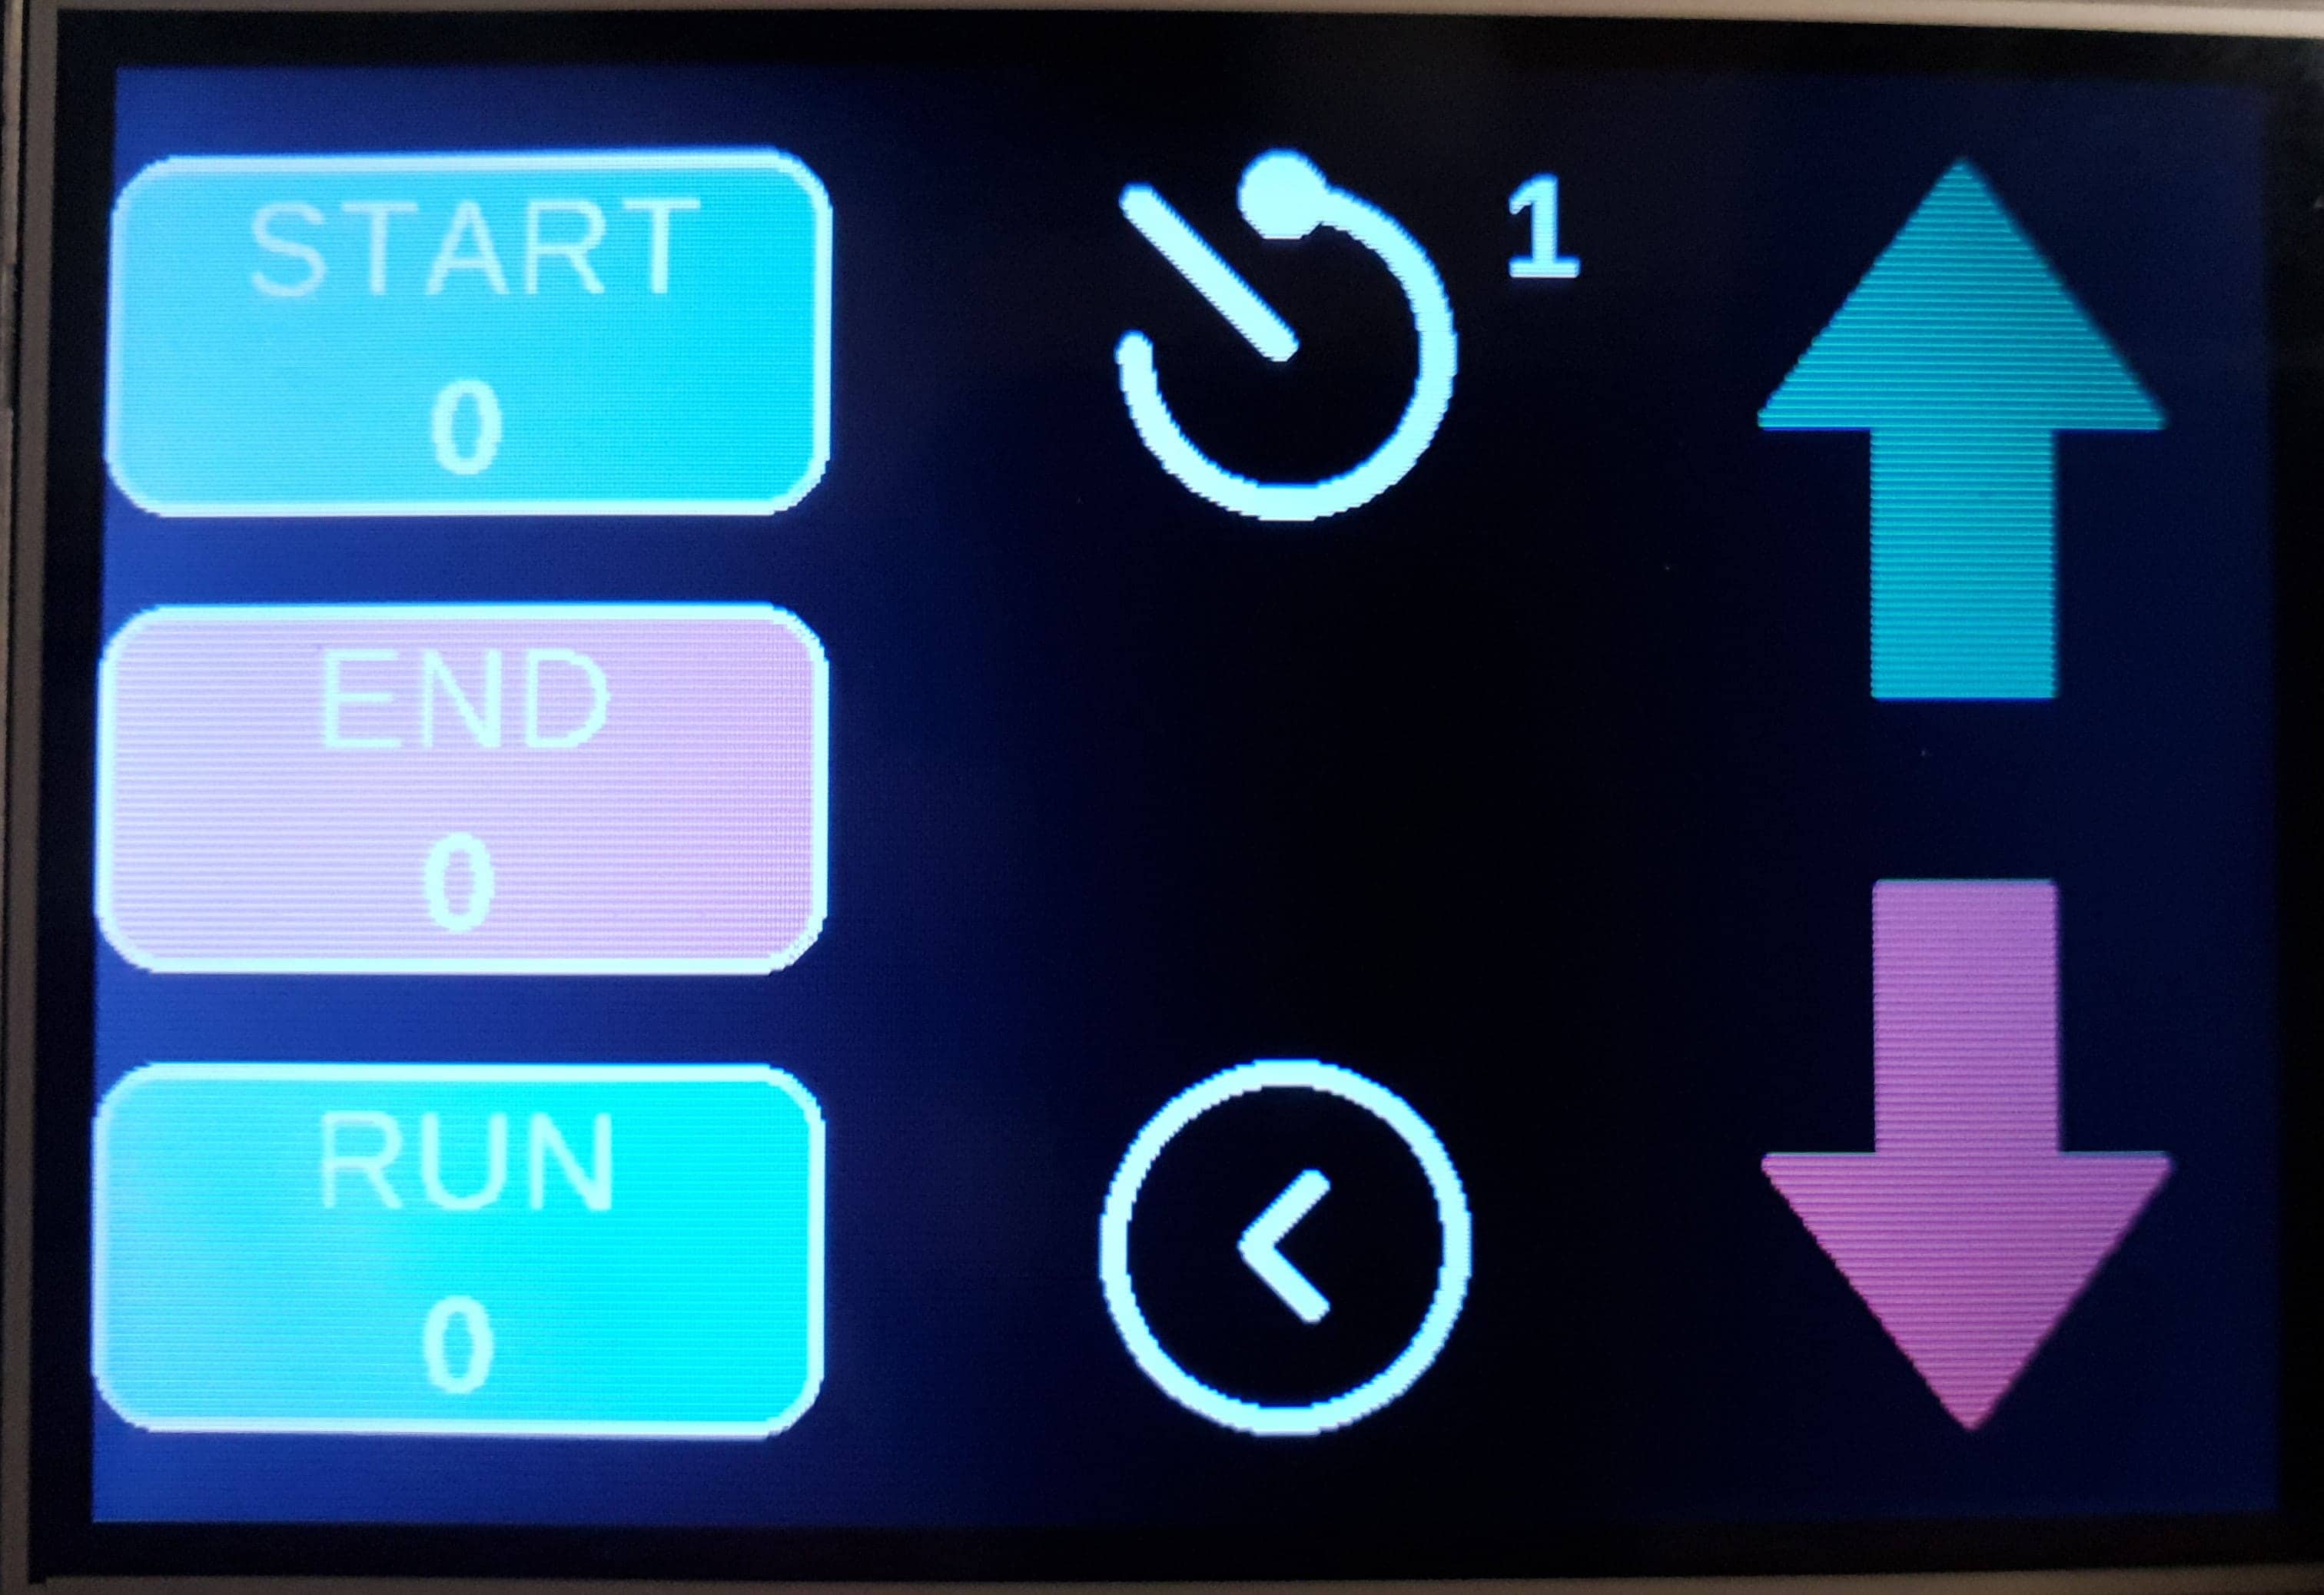
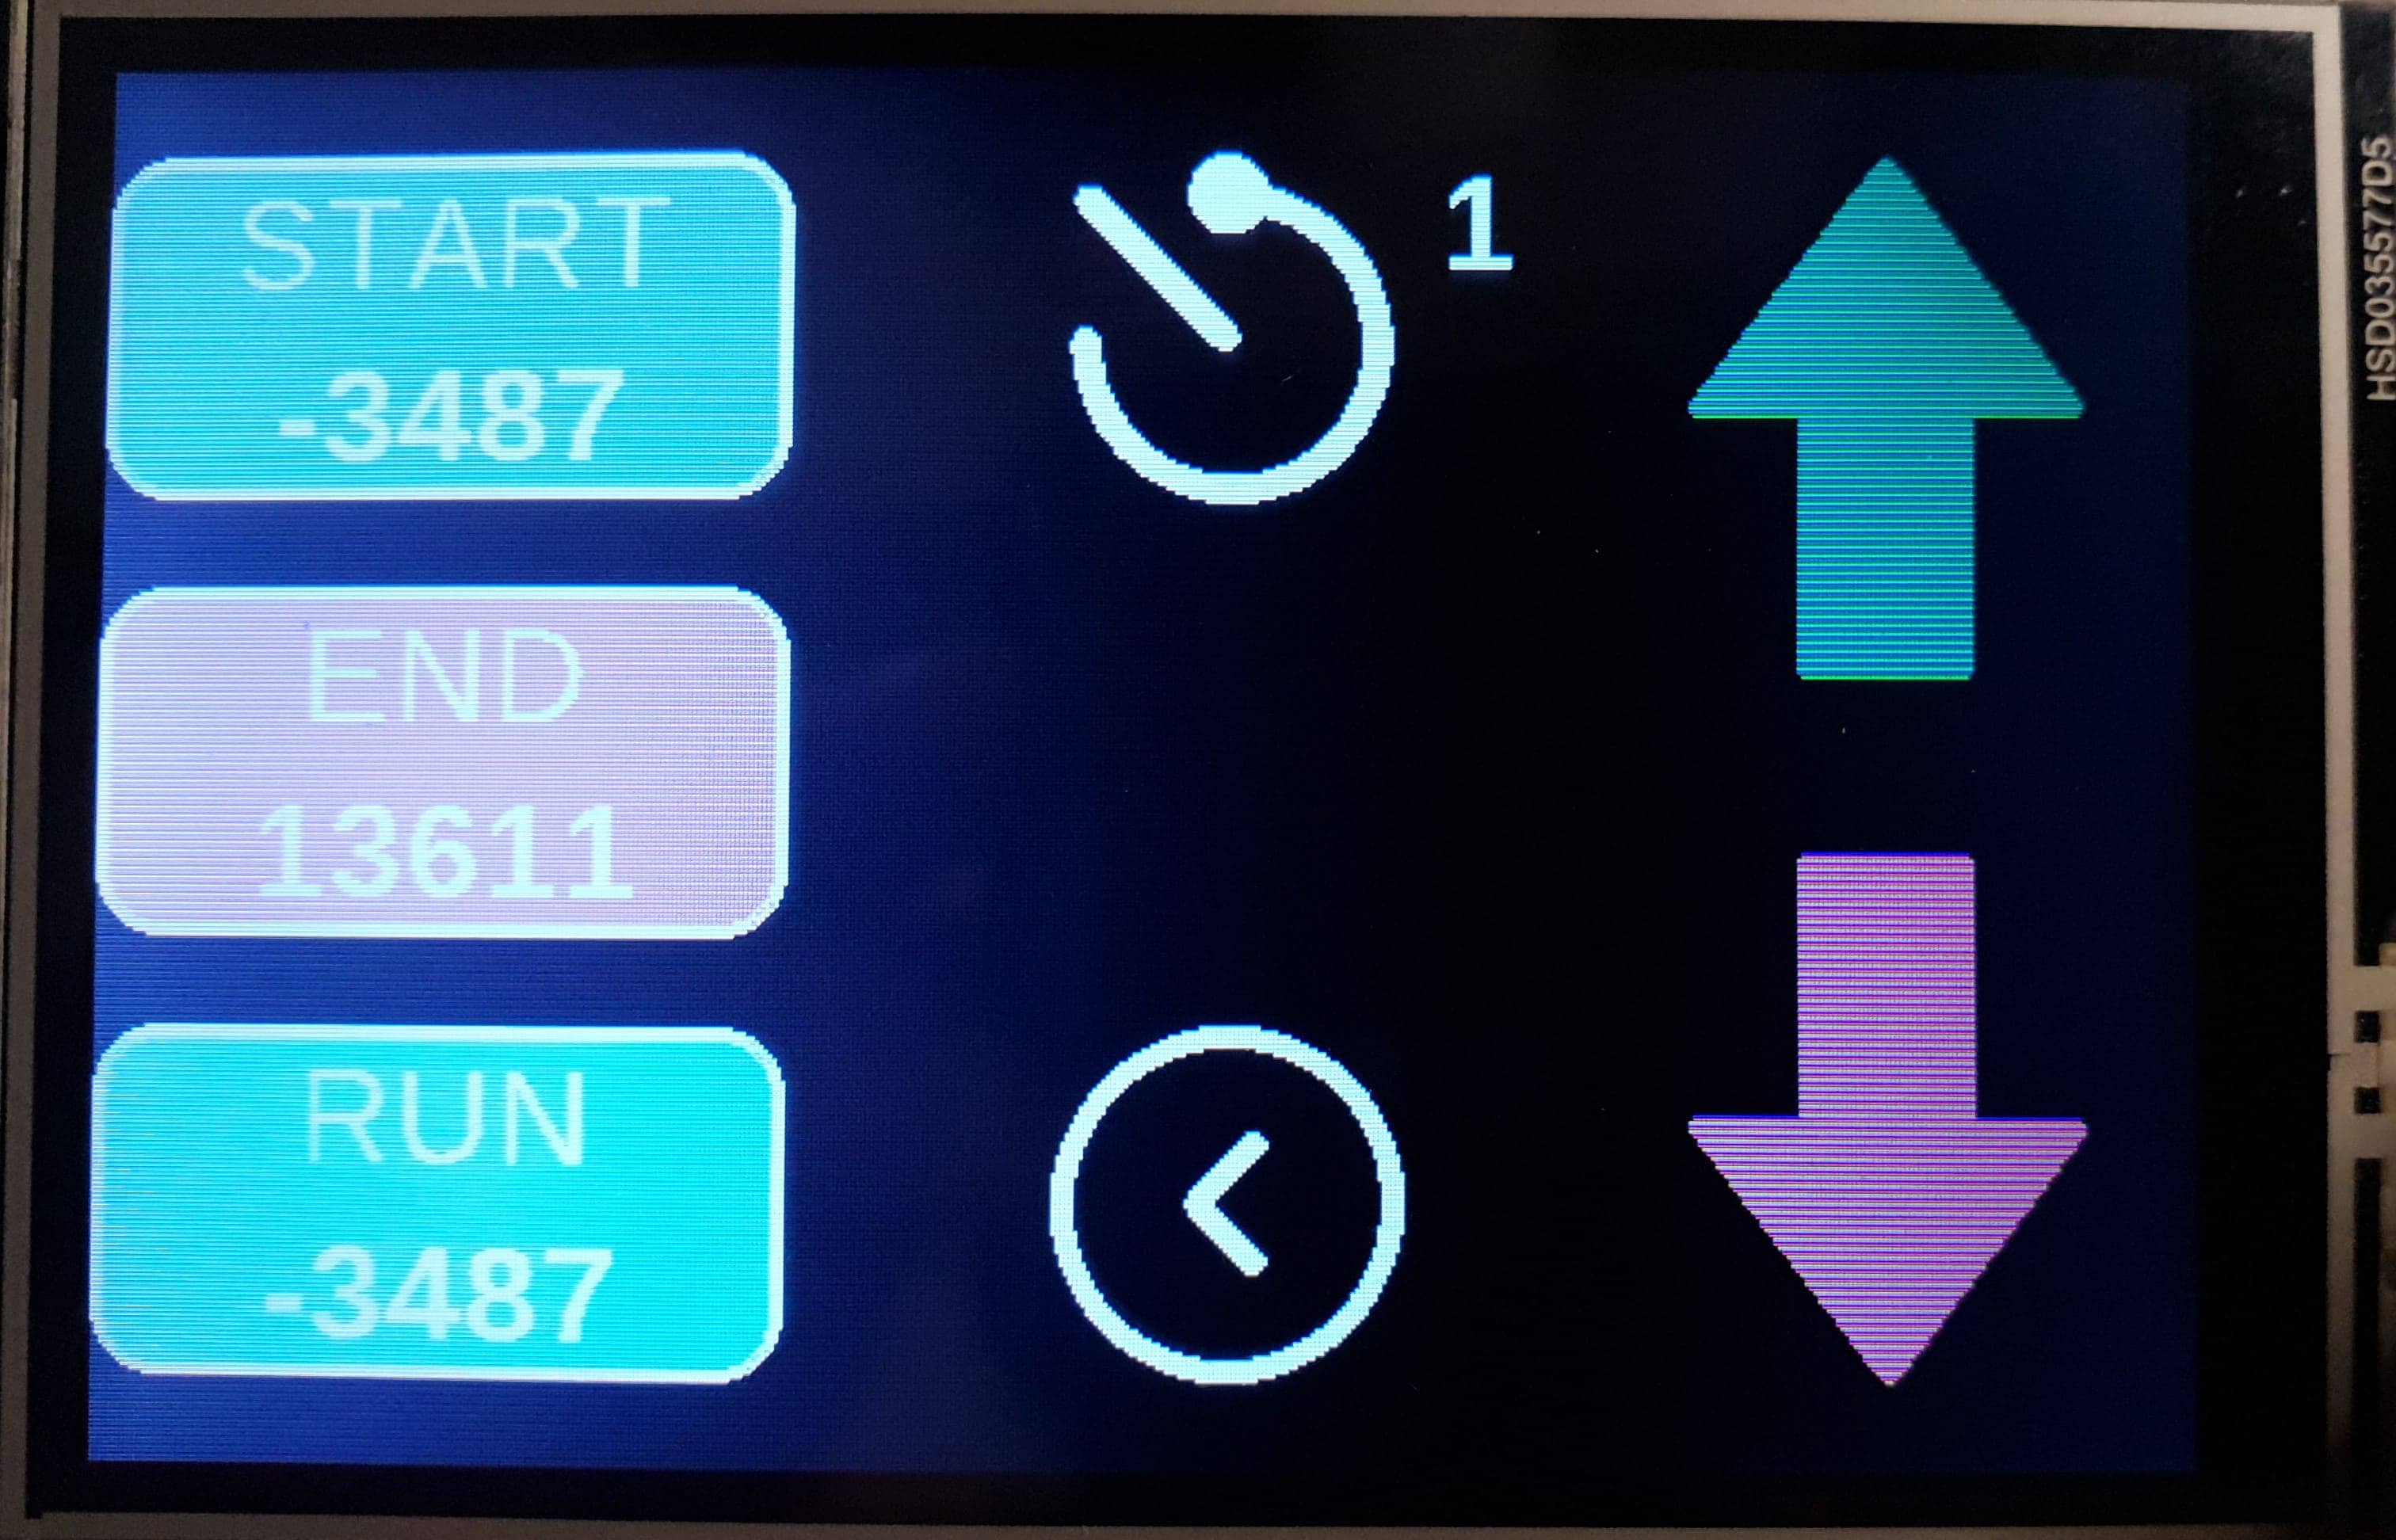
The configuration screen lets me lock in the start and end positions for the focus stack. I first select "START" and then move the camera into position with the joystick of the controller. Once in the right position, I press "START" again to save and then repeat the same steps for the "END" position.
I use a 7" camera monitor to help find the start and end positions for the stacking. Sony cameras have a focus assist button that will zoom in temporarily while you find focus. Shown here is the top of the portrait on the obverse, just before it will come into focus. I will start the stack here to ensure I don't miss the first point of focus.
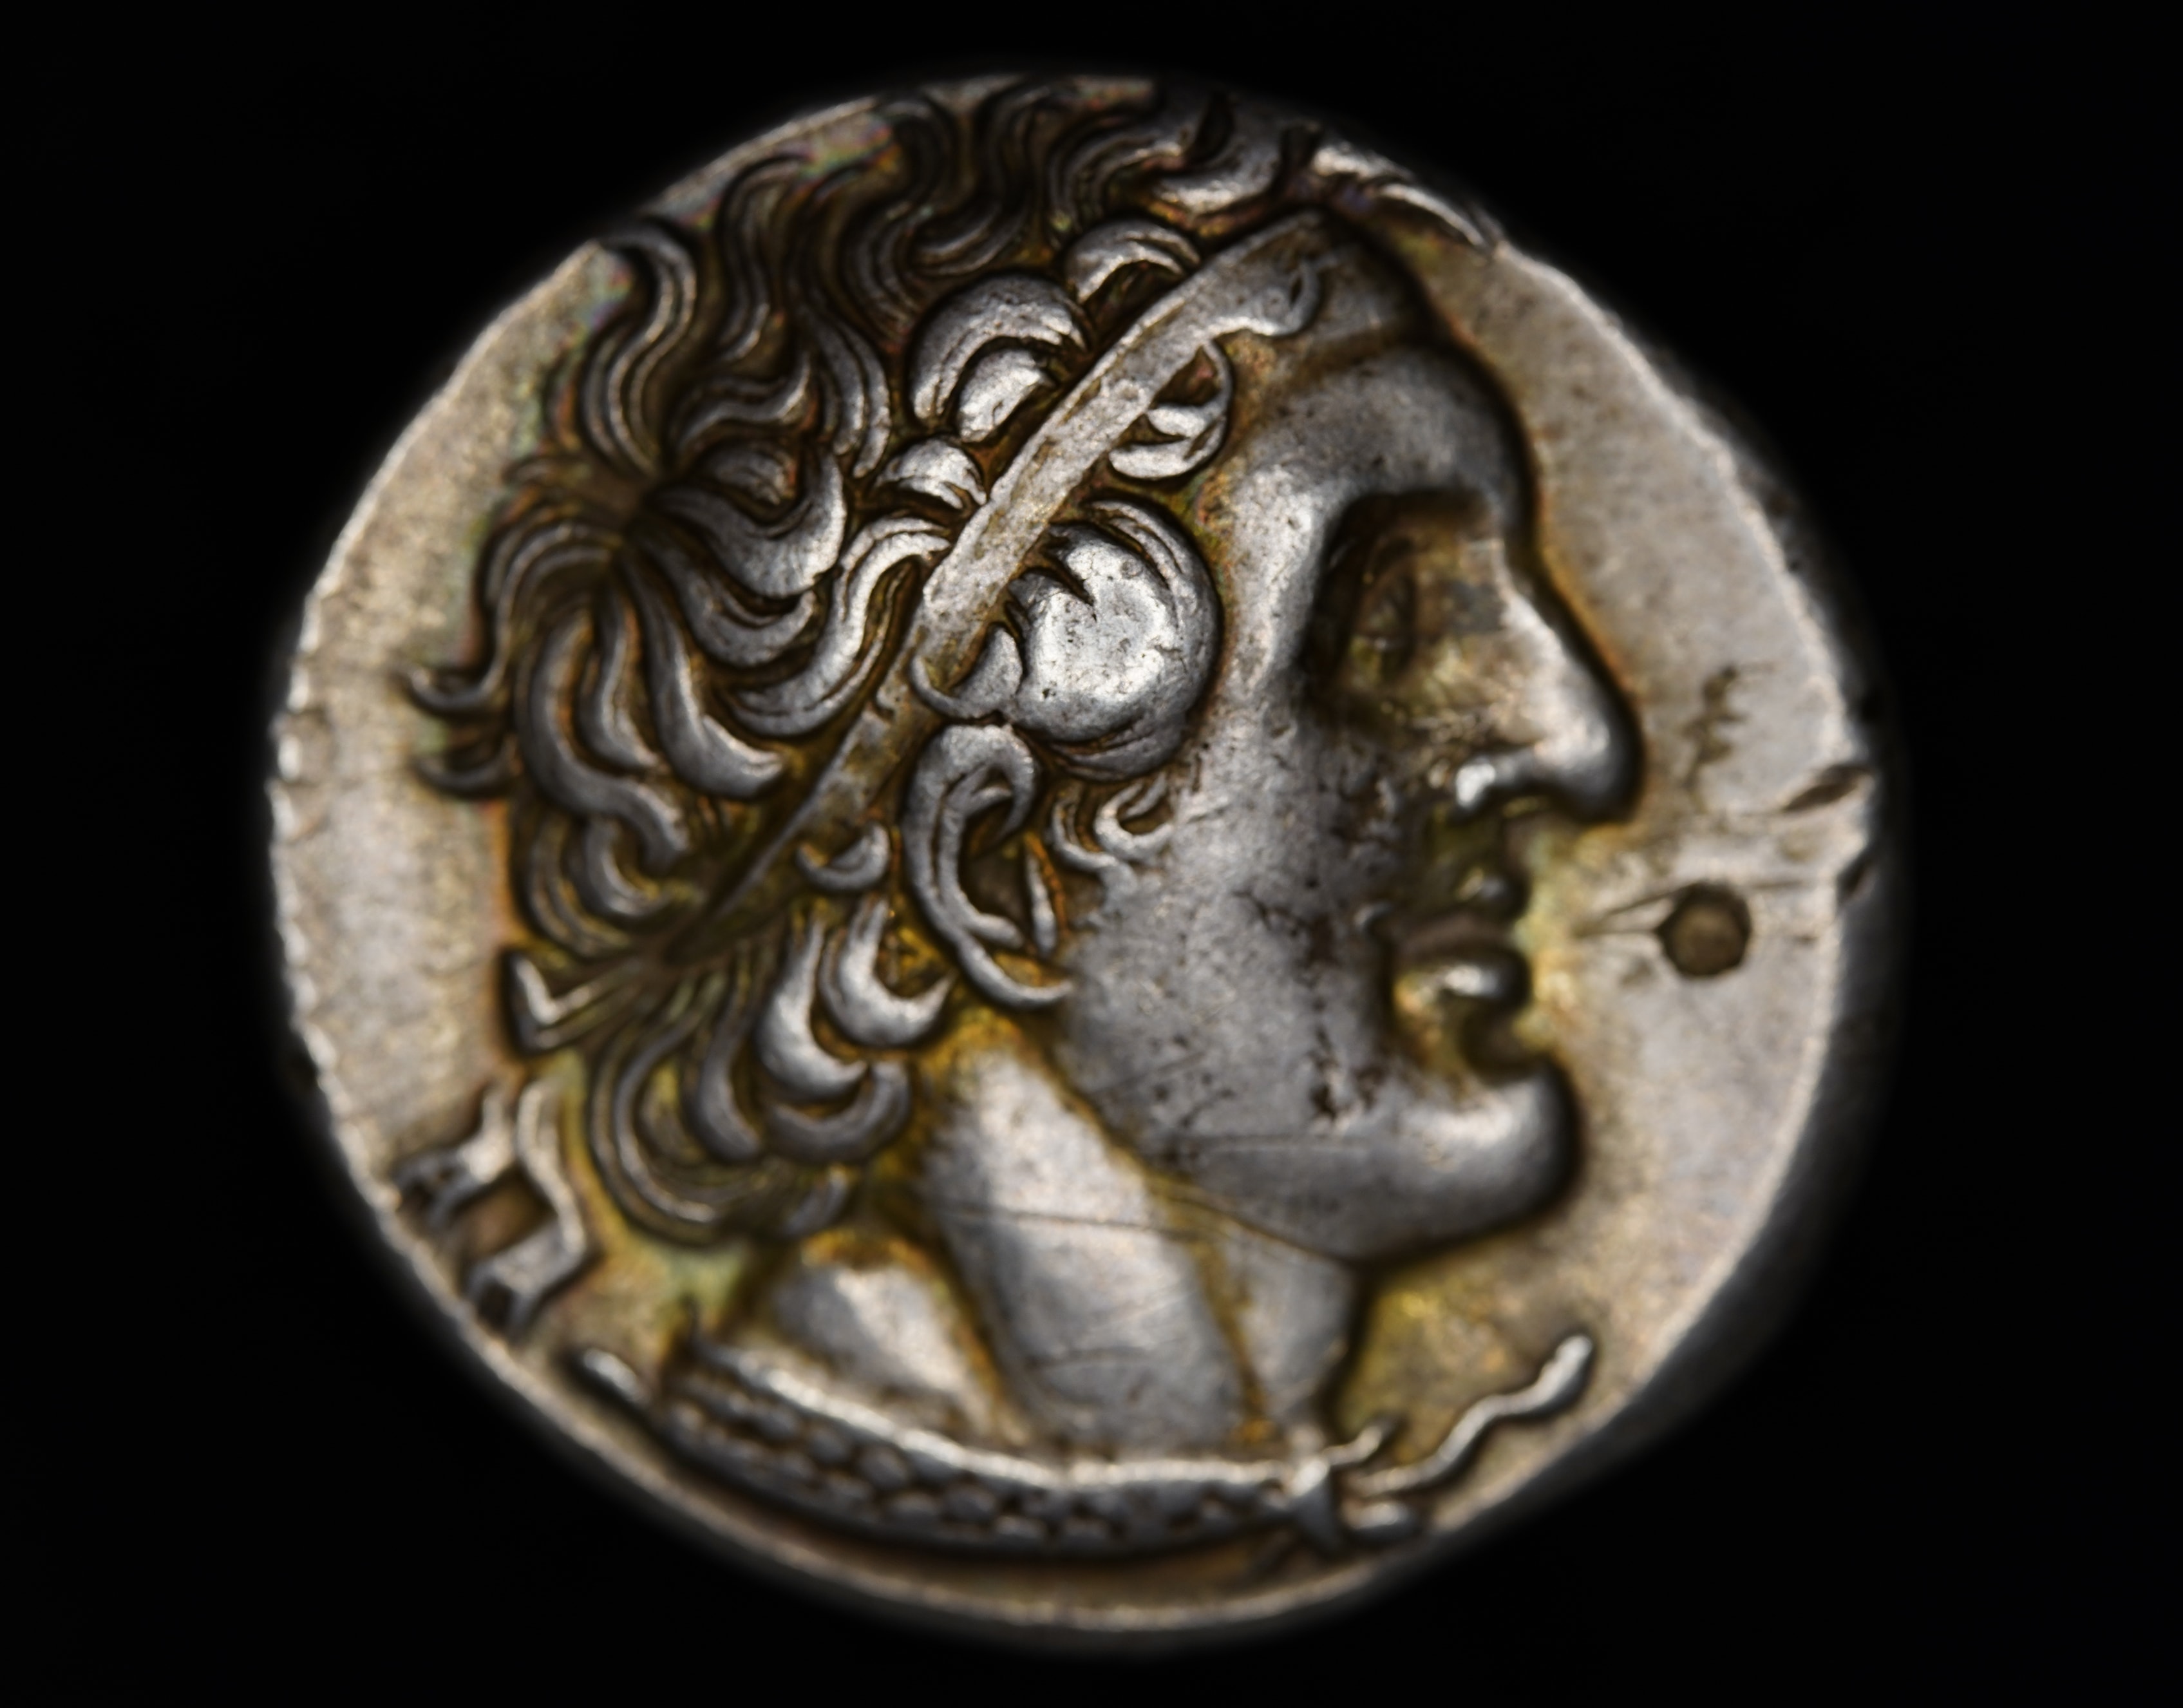
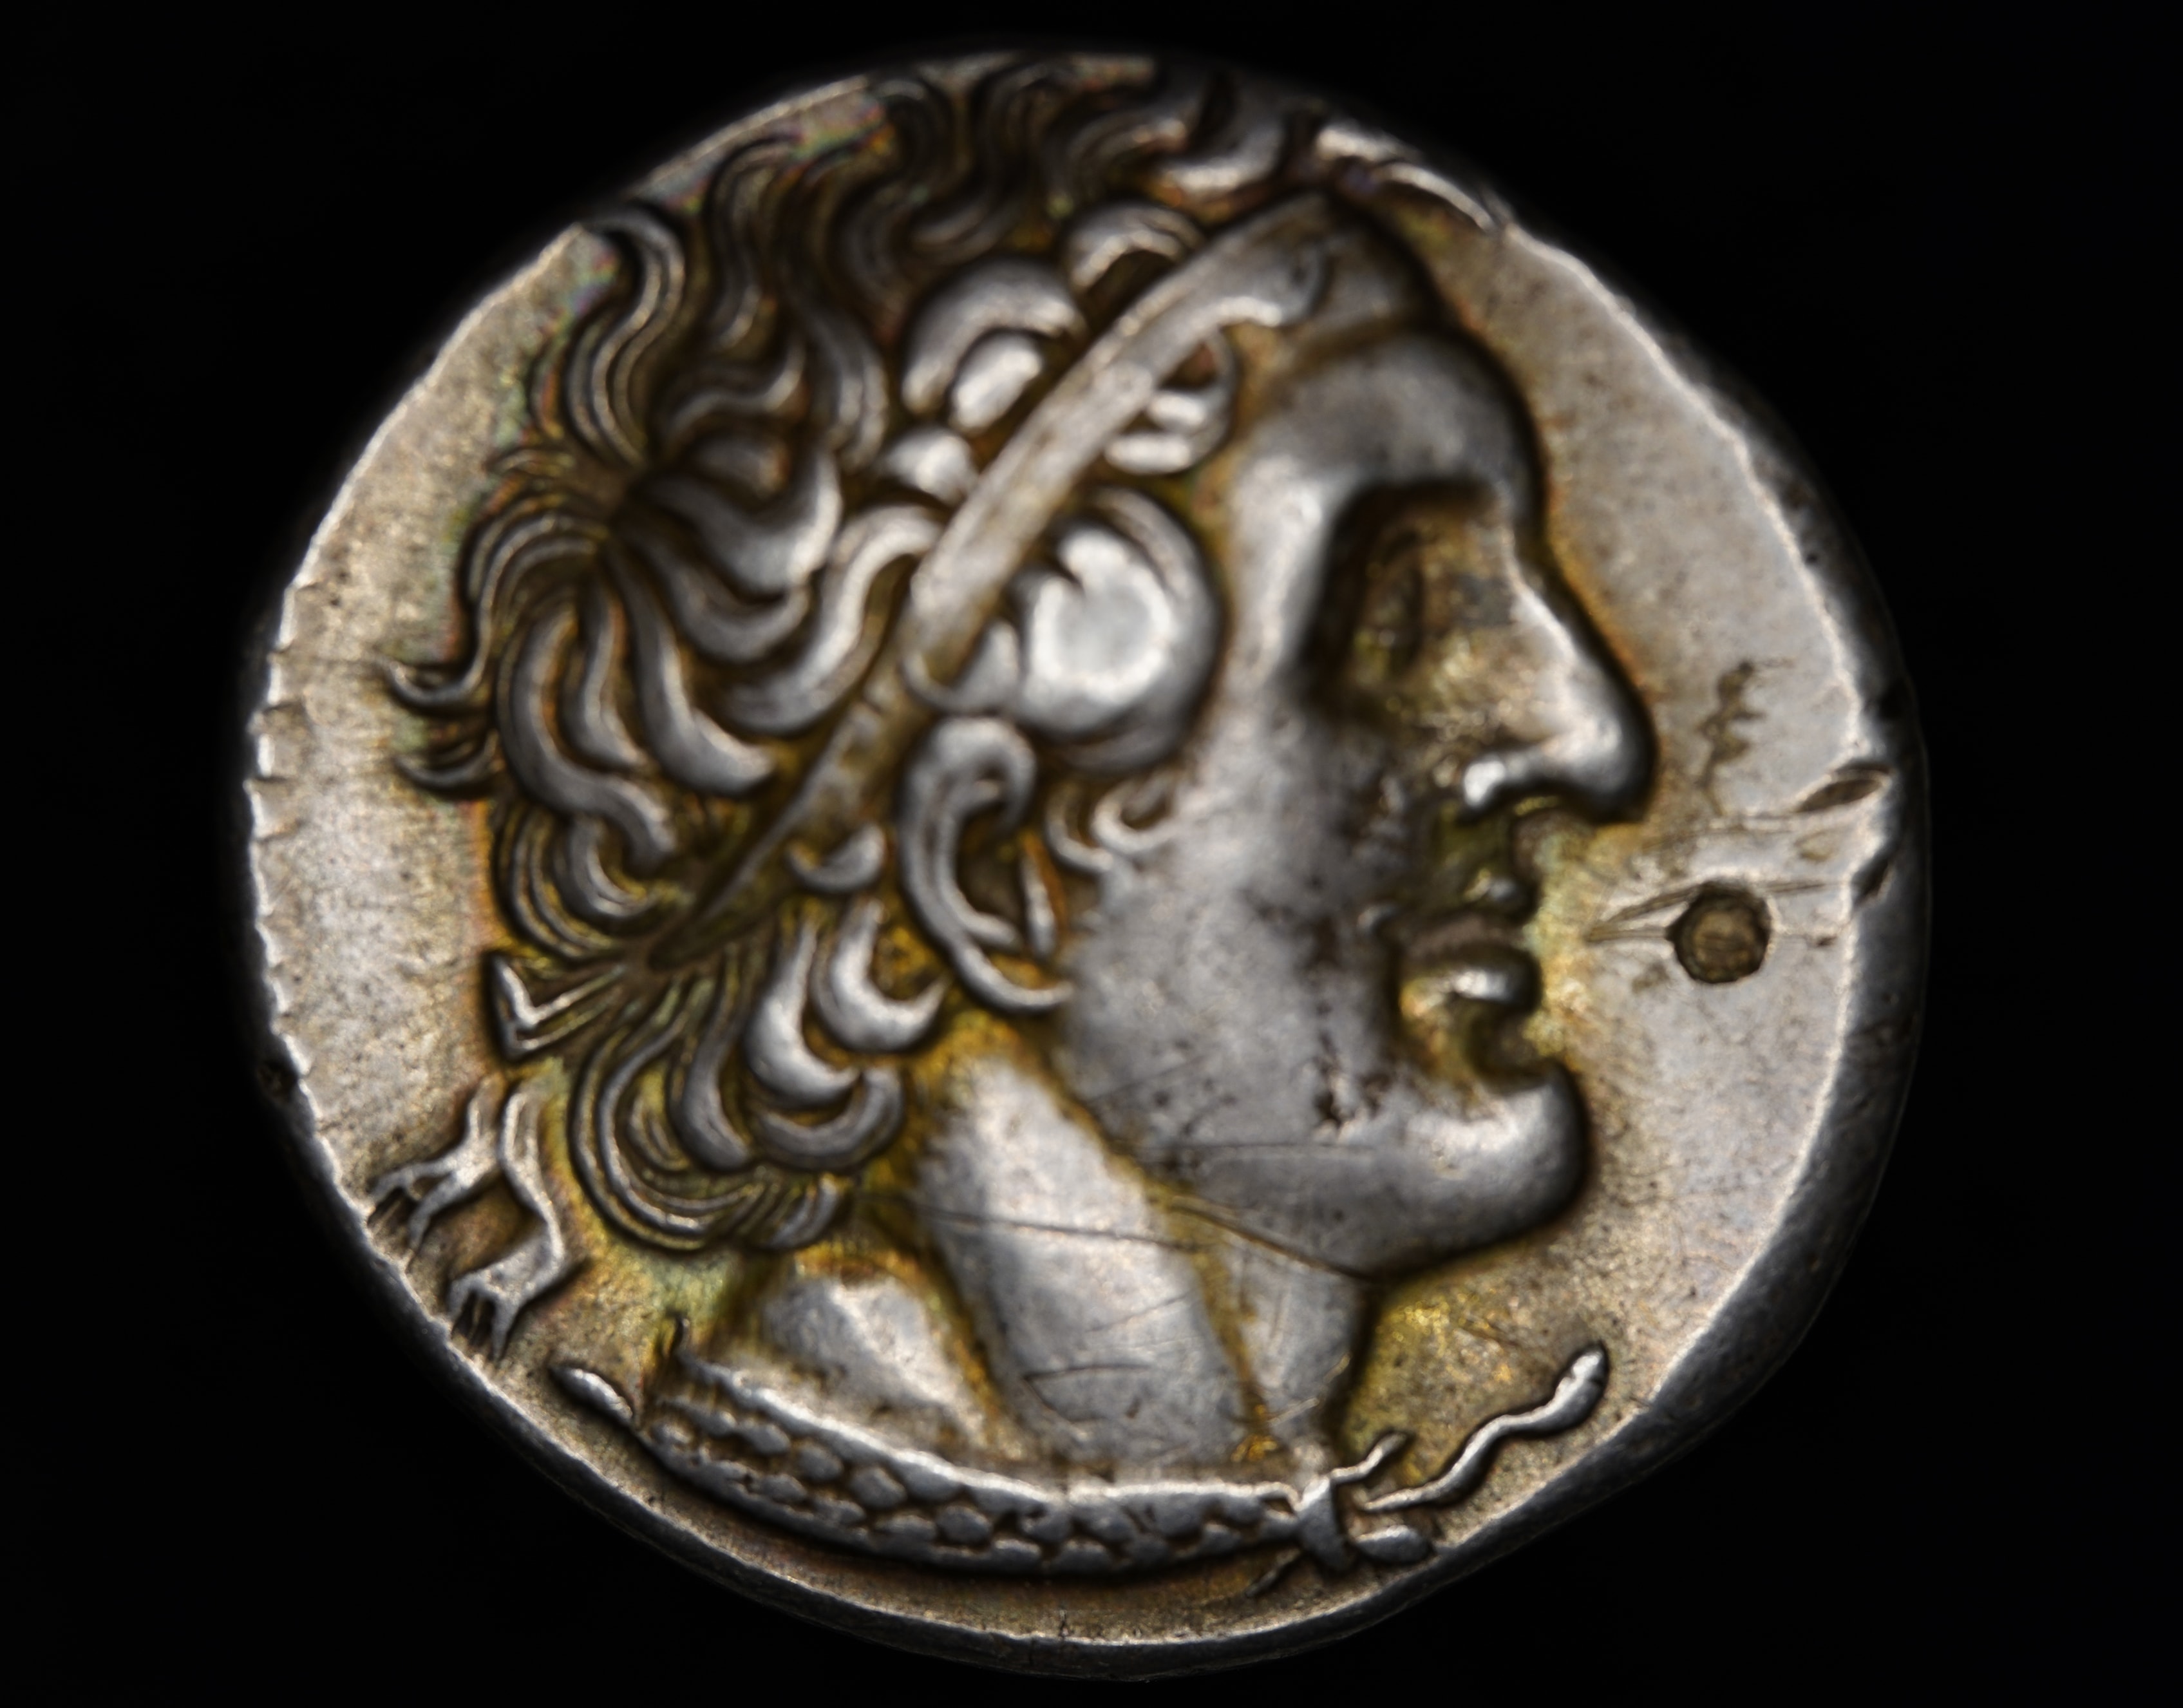
Starting position vs Ending position comparison. These photos show the first frame of the focus stack and the last frame of the focus stack. In the first frame only the very highest point on the coin will be close to focus. For the last frame only the bottom edge or lowest point of the coin will be close to focus.
