Post-Processing
Stacking Software
Now that I have created my focus stack of both the obverse and reverse of a coin, I need to combine the images into one per side. For an average stack that I shoot, this may be 30-50 photos for a denarius and up to 80 or 90 photos for a tetradrachm with high-relief. There are several options when it comes to focus stacking software, two common ones are Zerene Stacker and Helicon Focus – both of which have free and paid versions. In terms of which is better, I find both to be good but am more familiar with Zerene. If you’re interested in the differences, you can read a good scientific article that compares Zerene and Helicon, as well as other software, here for free. The article also shows their camera and lighting setup, an interesting setup style which I had not come across before.
In Zerene I load in all my photos from one side of the coin and Zerene will automatically arrange them in reverse order. It should not matter much if the first few and last few photos in a stack have no parts of the coin in-focus, Zerene should be able to ignore these for the most part. I almost always use the DMAP stacking option as it results in a final image that has less contrast and better colour control than PMAP. Both of these options are also discussed in the aforementioned article. Upon starting, Zerene will go through each photo one-by-one and build a fully-stacked image on the right side. For the DMAP option, it will require user input about 2/3 of the way through to acknowledge a contrast setting, just click OK to let it proceed.
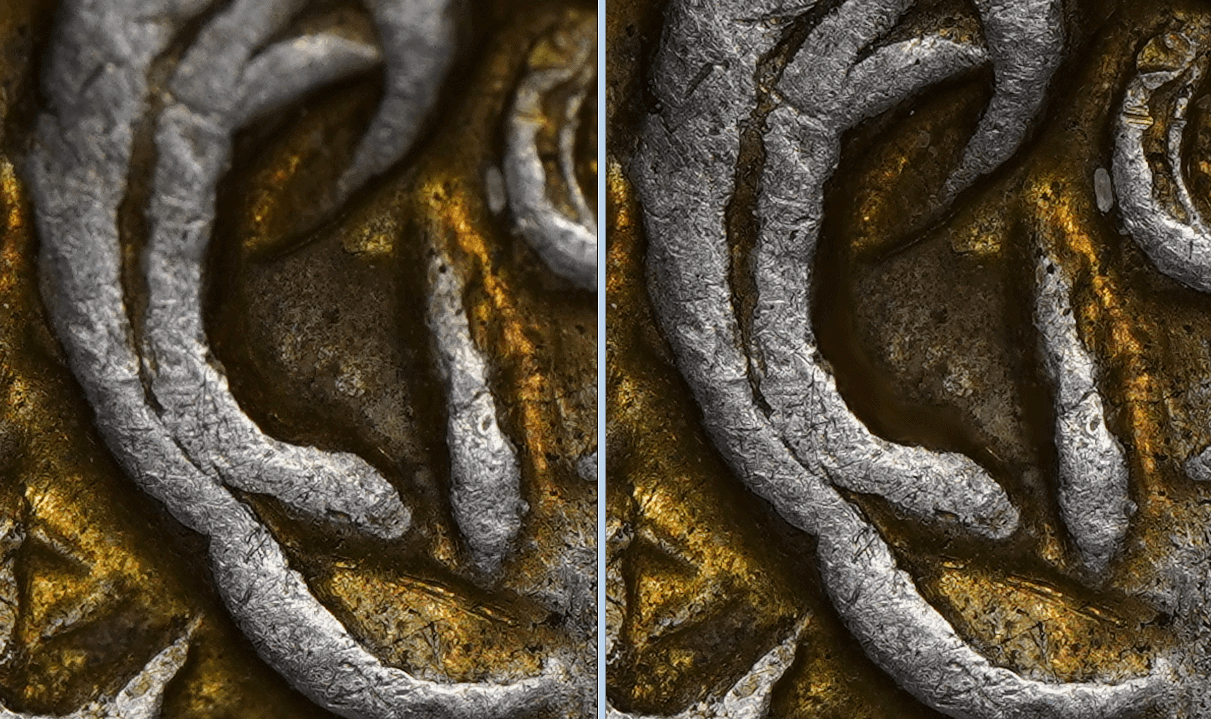
Once finished you’ll have an opportunity for “retouching”. Zoom in the final image to either 50% or 100% and look for any spots that are out of focus. One issue of DMAP is that it can leave some tiny parts of the coin blurry, this typically occurs for me when a particular part of the coin is too dark or lacks contrast and Zerene has trouble telling when it is in focus. If you have a noticeable number of these out-of-focus spots, go into the edit menu to start retouching. You will be able to use the individual images from the original stack to fill in any small blurry spots.
Photo Editing
Once I have the two stacks of both the obverse and reverse, I will import them into Adobe Lightroom for some touching up and background removal. I try to keep the editing fairly limited and restrained. My first task is to correct the white balance. I mentioned in the “Lighting” section that I sometimes use a grey card to record a reference to a known grey colour under the same lighting conditions and setting at which the coin was shot. If you took one of these reference photos, Lightroom lets you correct the white balance for that reference photo and you can then copy that white balance adjustment and apply it to the obverse and reverse photos of the coin. If I didn’t take a reference photo, I will adjust the white balance by eye. This can be tricky as your mind can think a photo looks more balanced than it really is without any reference so I will typically compare it to another photo of mine to ensure it doesn’t look too red, blue, green, or yellow.
Next, I will look to adjust the exposure, contrast, highlights, shadows, blacks, and whites. I’m not making significant adjustments here, often increasing the exposure a tad, decreasing contrast and blacks slightly, decreasing highlights (particularly if the coin is quite shiny), and upping the whites if I want help make the surface pop. Sometimes, but not always, I will increase the vibrancy but never the global saturation. Instead I will modify the saturation for each colour separately. With pseudo-axial lighting you can sometimes get too much saturation from well-toned coins and I will decrease the saturation of those colours slightly. If you’re getting light bleed from any nearby object reflecting onto the coin, this is also a chance to remove that colour. I almost always adjust the hue of the colours slightly too, often making them warmer and more rich. Sometimes the yellow tones can appear too green and you’ll want to bring them back to a deeper yellow colour. The only other setting I will frequently change is the sharpness, increasing it only a modest amount.
Lastly, it is time to touch up the background. Normally all my coins shot on a black background already have good separation and a consistent black colour, however they’re often not a deep enough black and this will stand out when shared online next to any colours that are truly black. For this I will use Lightroom’s adjustment brush and set contrast high and highlights, shadows, whites, and blacks to their lowest values. I will also decrease the exposure one or two stops. Now, when you apply the brush to the “black” background you will see that area turn to a much darker black than you had previously. Before continuing the last step is to modify the brush setting: increase the feather to 30 or 40%, decrease the flow down to 60%, and enable “auto mask”.
The “auto mask” setting is key for helping to remove the background near the edges of the coin. It will try to create a virtual mask around the edge of the coin when you apply the brush over it. It will then only apply the brush to areas outside of the mask, in other words to the background and not to the edge of the coin. If you enable “show selected mask overlay”, the areas you’ve applied the brush to will appear red and it is much easier to keep track of your progress. Make your way around the edges of the coin with the brush and try to ensure the centre of the brush circle never crosses over onto the coin’s edge; only allow the outer feathering circle to be applied over the edge. Once that is done, make sure to go over the rest of the background with the brush so it is a consistent black.
Composition
Composition is the final part of the process. I will export the edited images from Lightroom into Photoshop with the aim of combining the two so I can have them side-by-side on the same image. I increase the canvas side to about 11,500px wide by 6000 px high, this normally gives me enough room to fit both sides of the coin in the one photo. I will crop the photos to remove as much of their background as possible but I won’t go around the edges of the coin – I only need to ensure the backgrounds of one photo doesn’t overlap the coin in the other photo. I also add a third layer at the bottom which has an entirely black background, this will serve as the primary background that the two other photos sit on top of.
Once the two coins are arranged side-by-side, I will rotate them if necessary to ensure their correct orientation. I will place the two coins close together but not so close that they are touching. I judge this by eye and am not particularly consistent from one photo to the next. The last bit of editing is to crop the photo so that I remove most of the unnecessary background and again I do this by eye. The final step is to export a fullsize image and a 6000×3200 image that I use for uploading on this website.
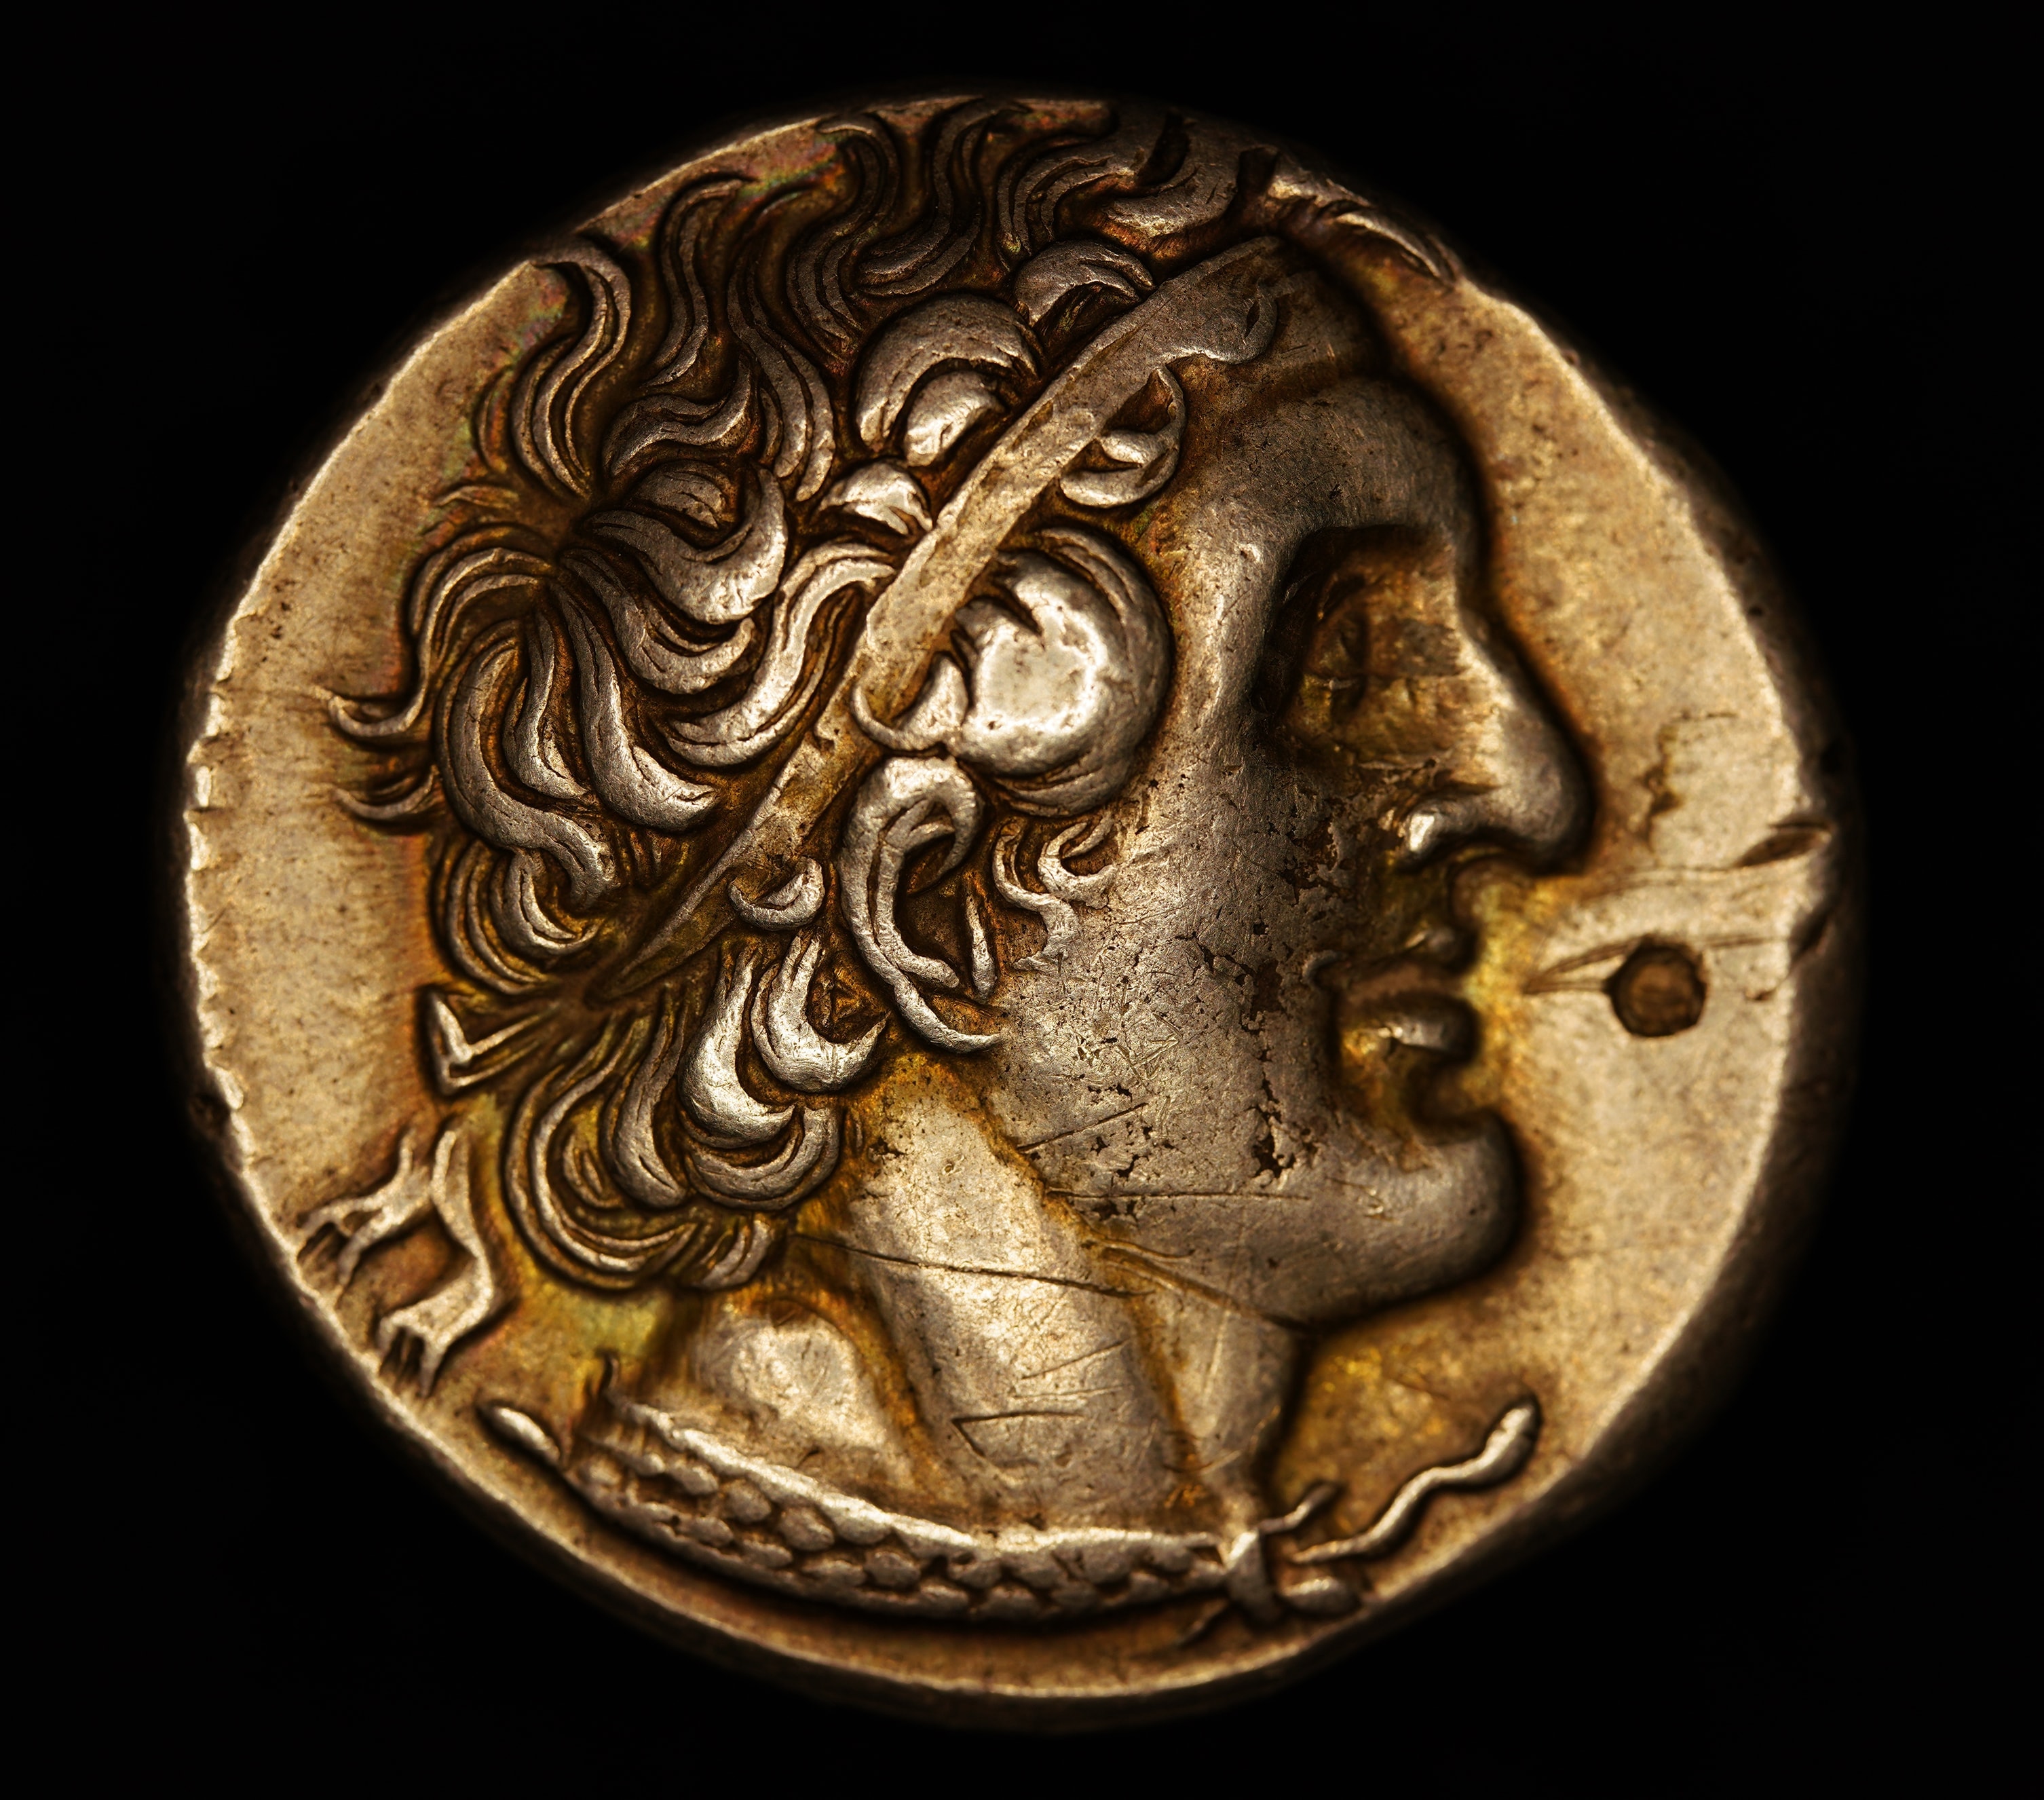
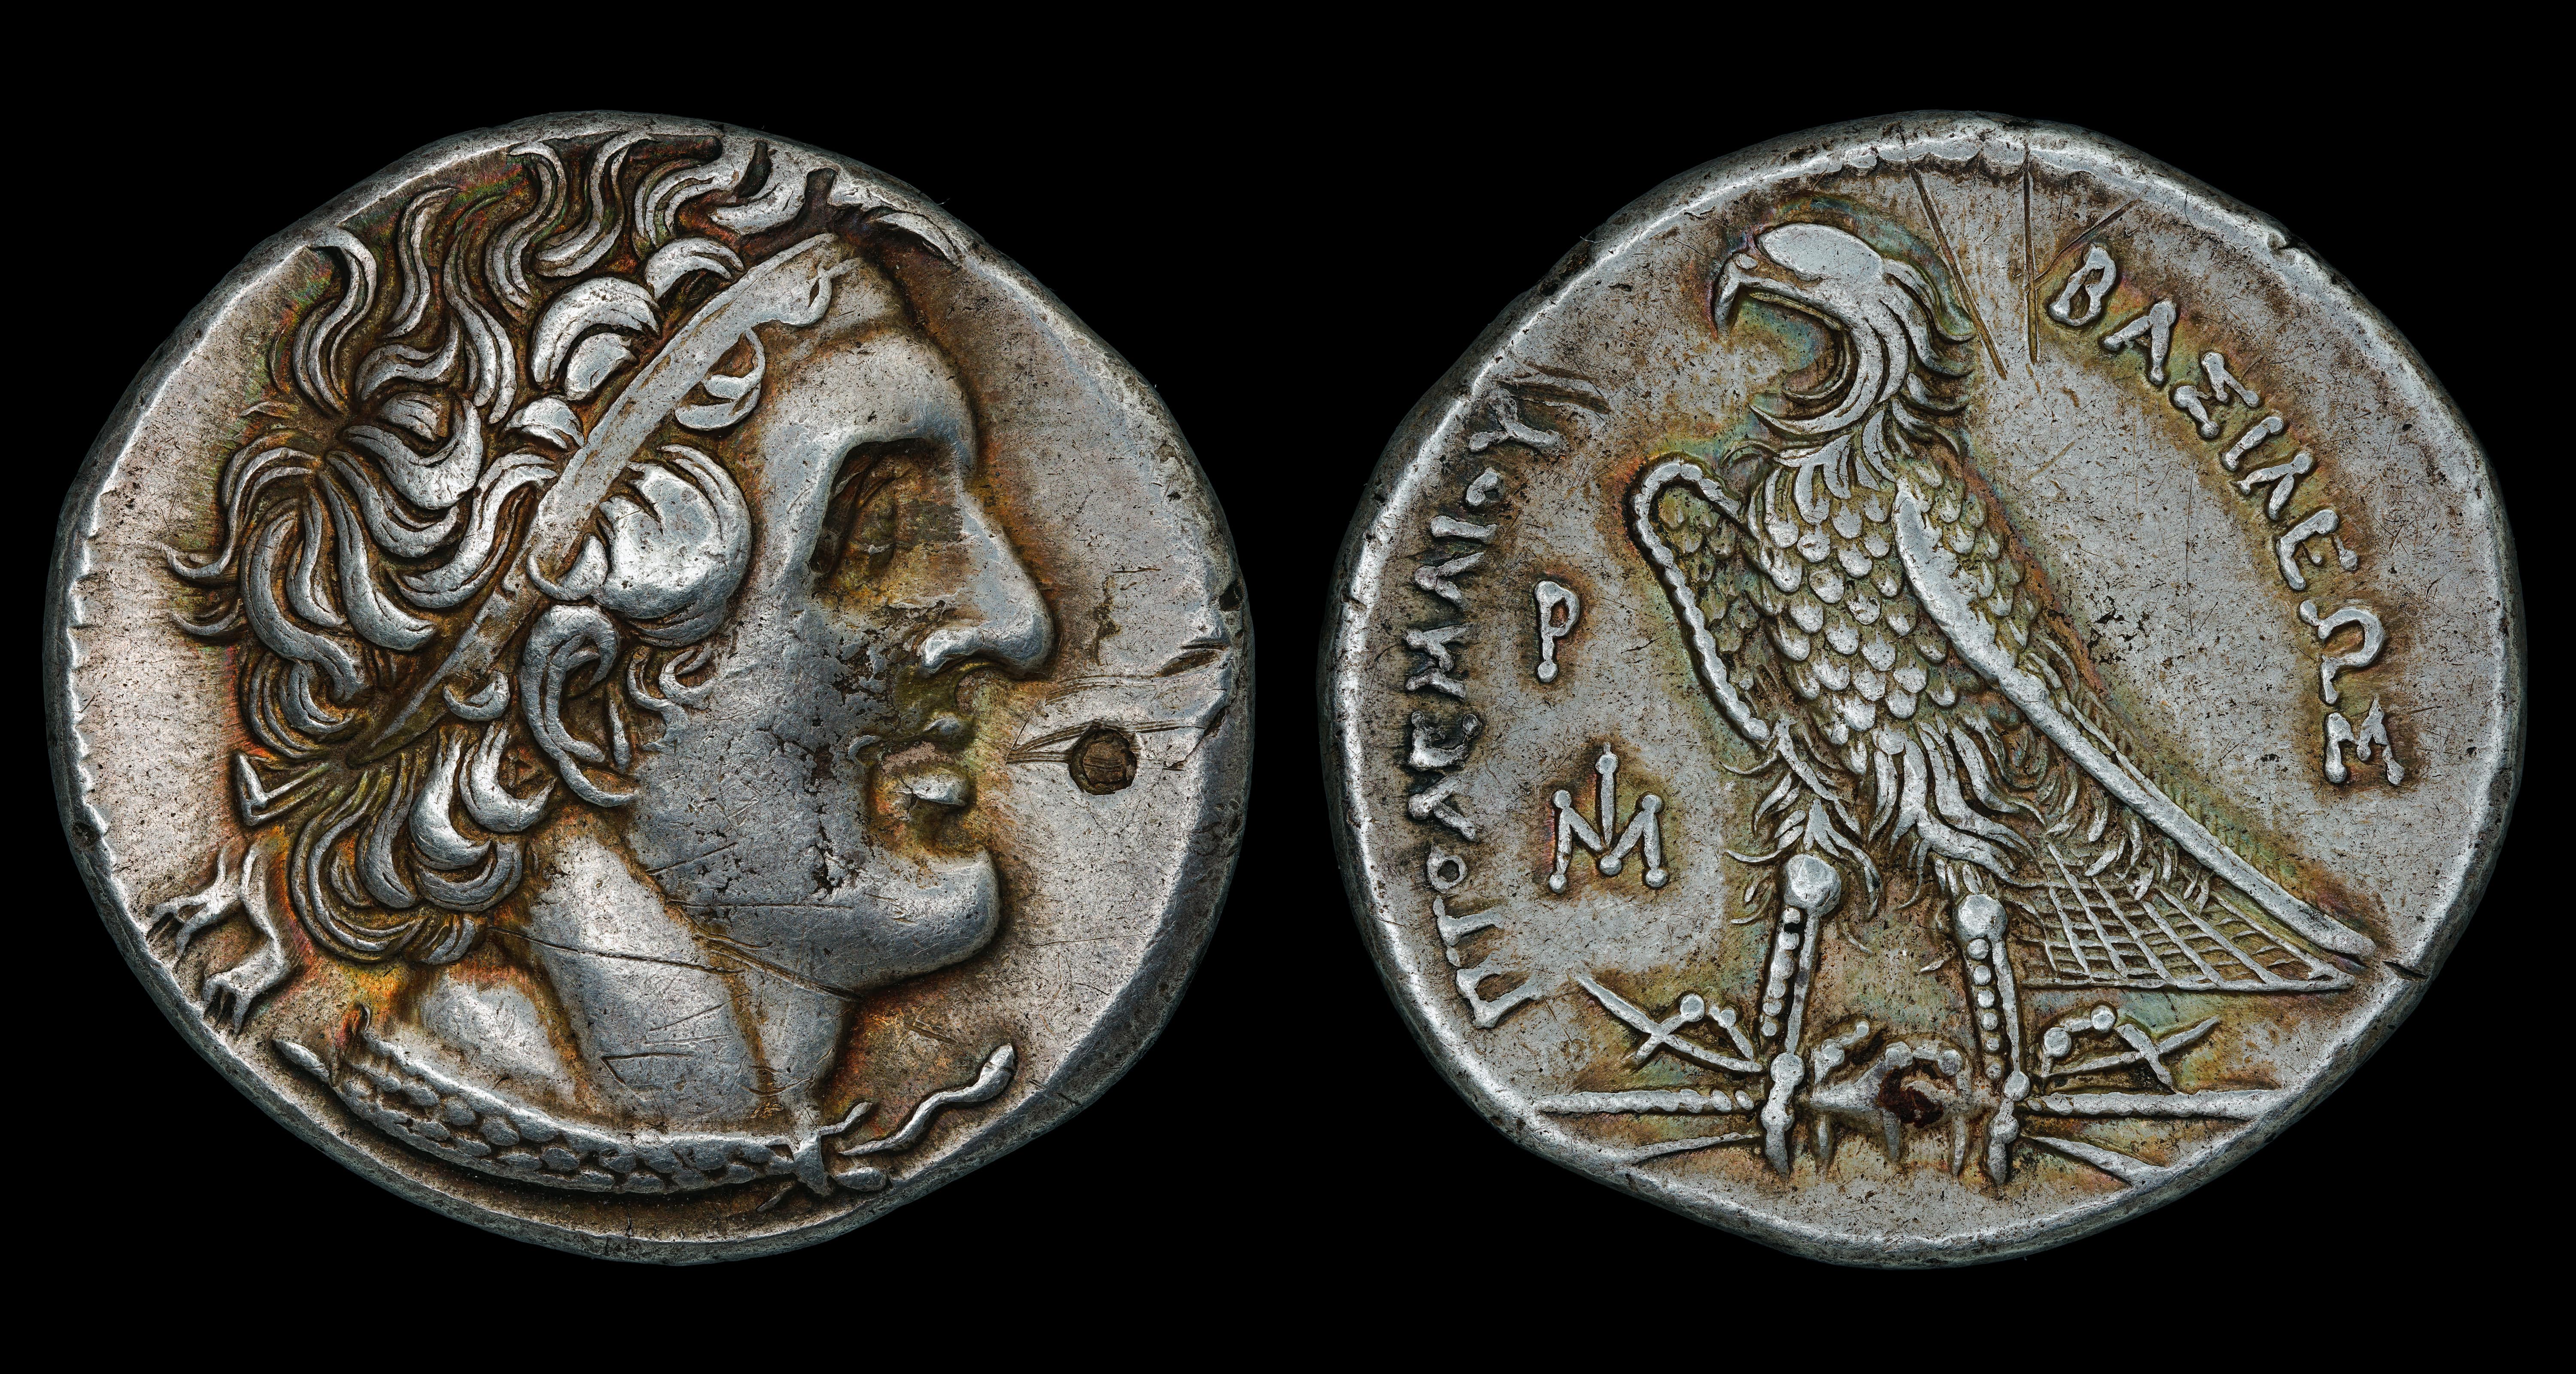
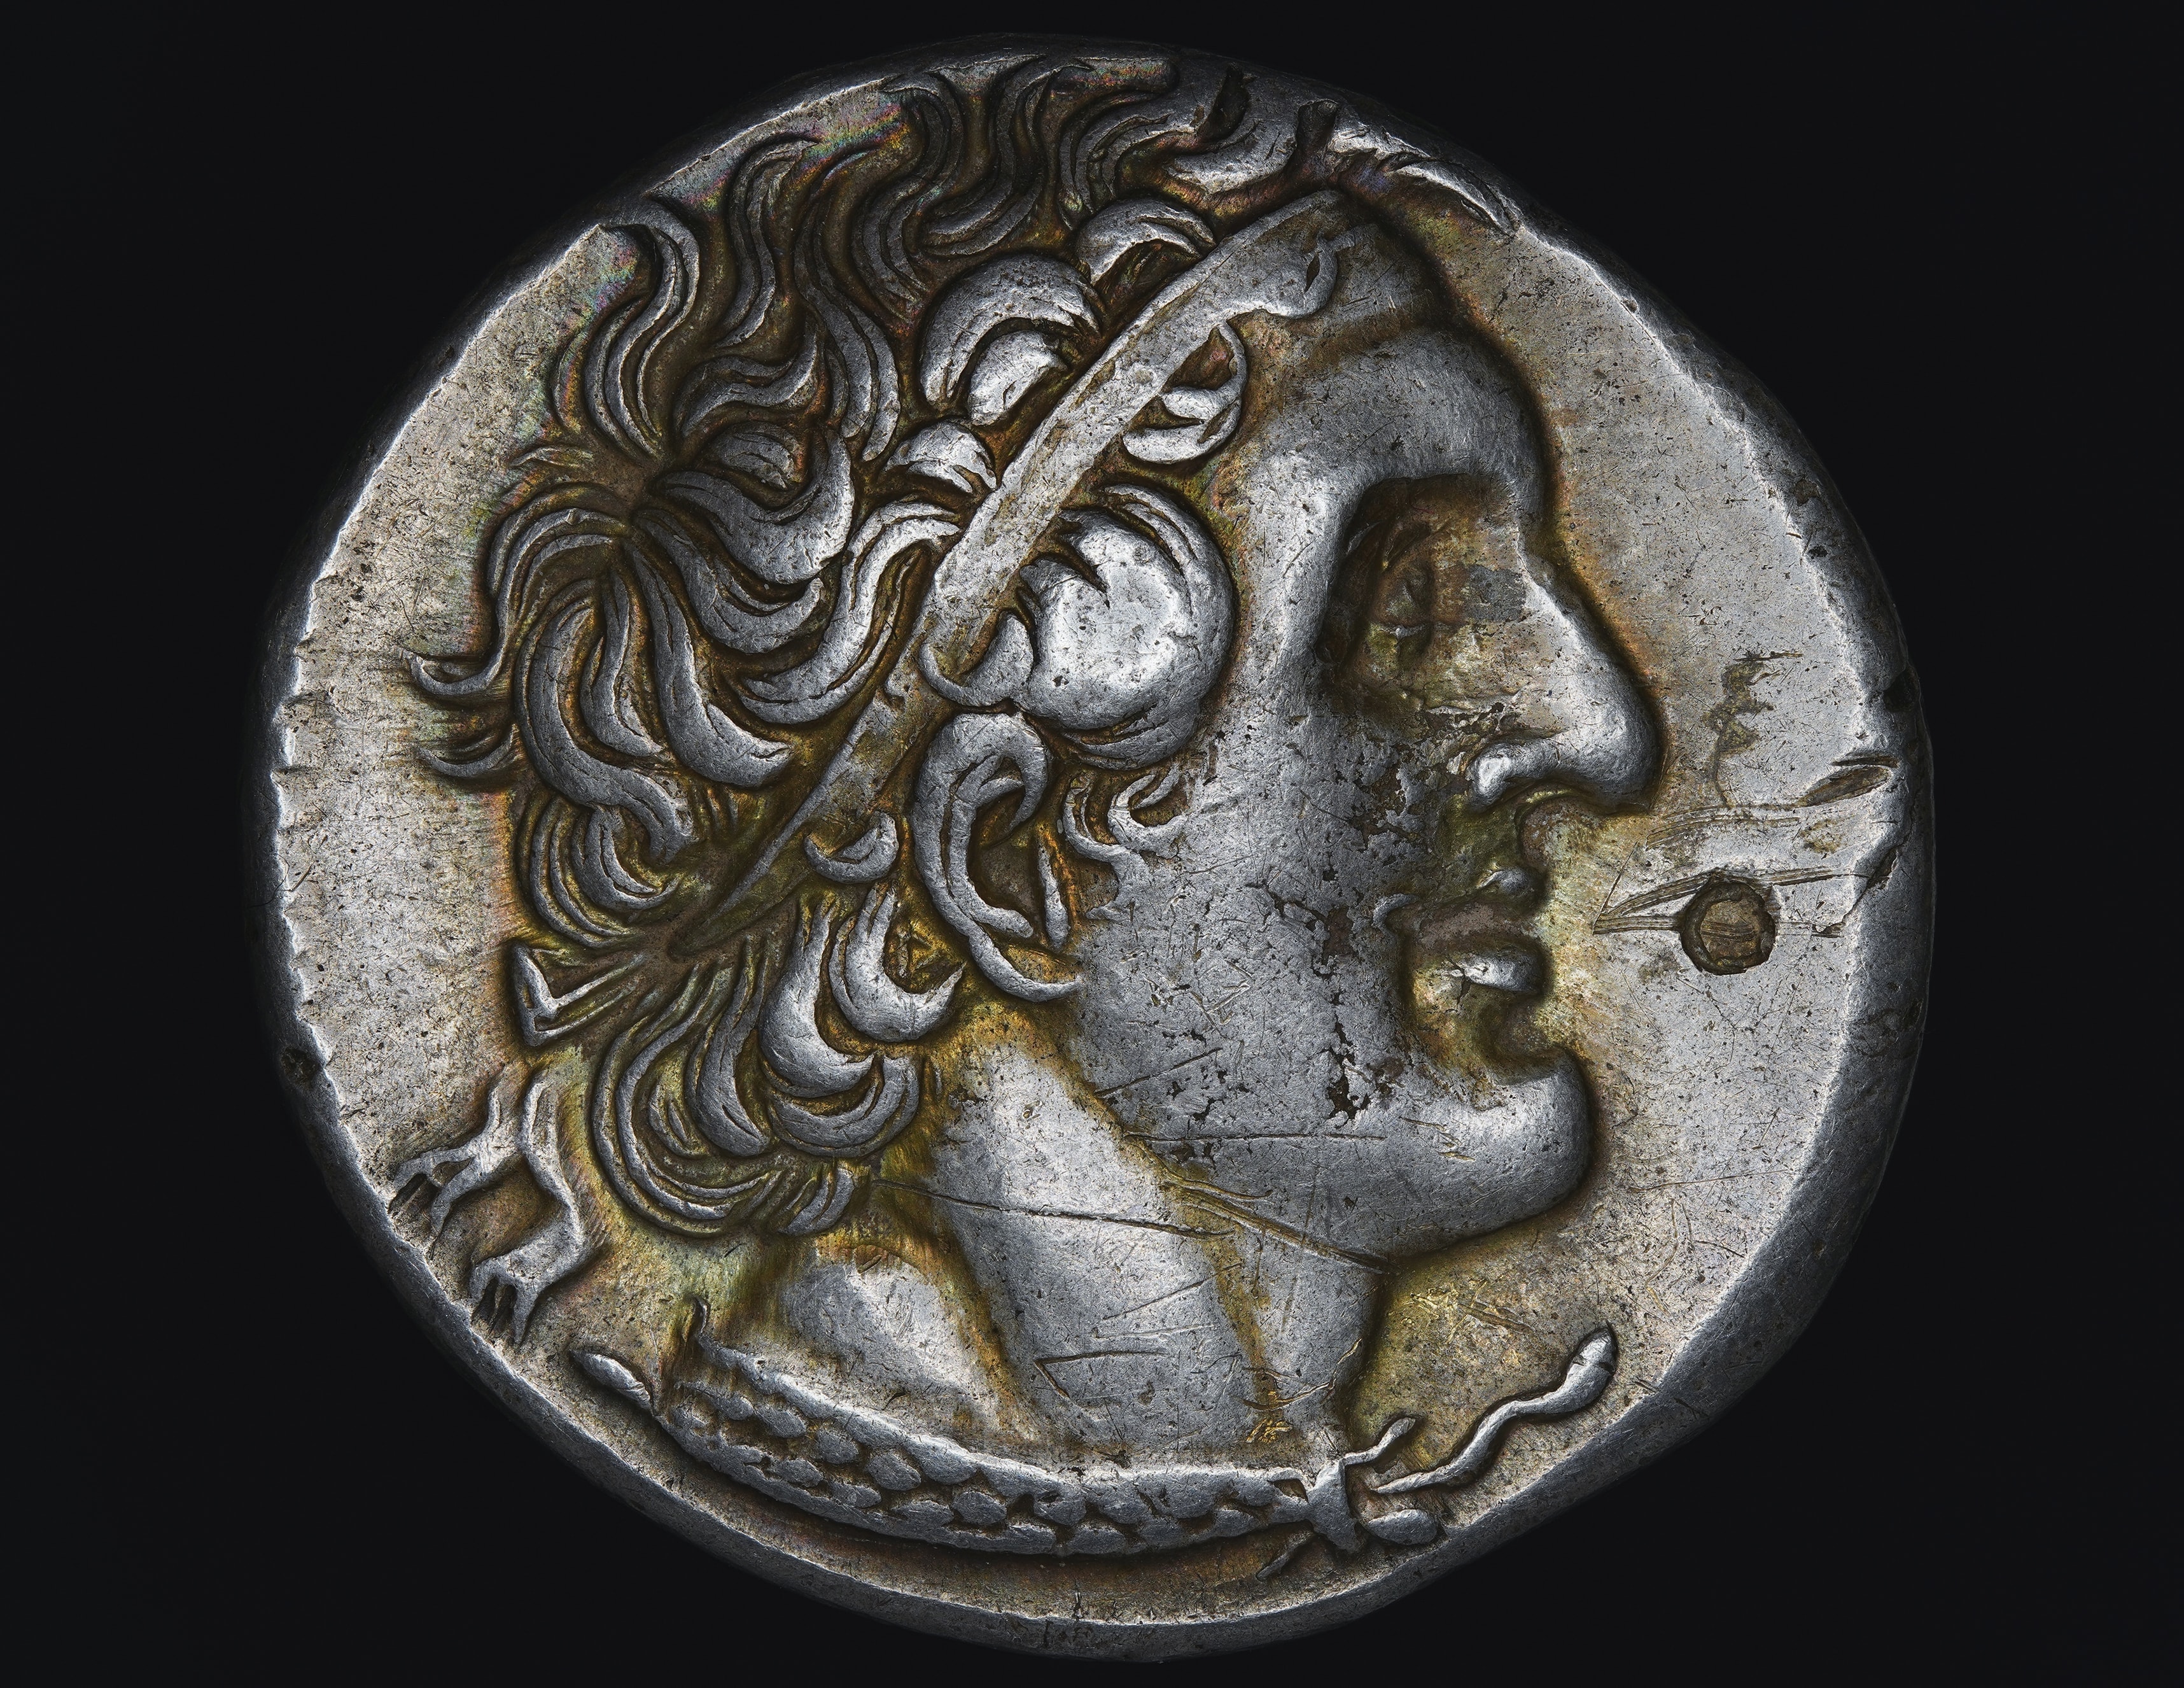
The Finished Photo


Focus Stacking
Step Size
The number one setting when it comes to focus stacking is what I call “step size”. The step size is the distance you will move the camera between each photo you take of the coin. If you don’t have a macro rail or linear actuator, it may be difficult for you to move a precise distance in a controlled and reliable manner. In these cases I would recommend shooting at a low aperture (f/8 to f/13) to increase your depth of field and improve your chances of having consecutive photos overlap the in-focus areas they capture.
For those of us with macro rails or linear actuators, it is much easier to move the camera a precise distance but exactly what distance should we use? It is possible to calculate what your step size needs to be by working out the depth of field of your lens at a given setting. If the depth of field was 100 microns (0.1mm), you might want to set your step size to 120 microns so you have overlap between your photos. If you aim for exactly 100 microns, it’s possible you will not have 1-micron accuracy and thus leave some small parts of the photo out of focus. I try not to be too precise about the step size and prefer to take too many photos with a lower than necessary step size than take too few photos with a step size that is too large. I start by focusing the camera on a specific part of the coin then move it a given distance and watch the in-focus area of the image move across the coin. Can I see this in-focus area overlap between each movement, i.e. does the previous image have an in-focus area that is also in-focus in the second image? If so, I will use that distance as my step size.
Finding the Start and End Points
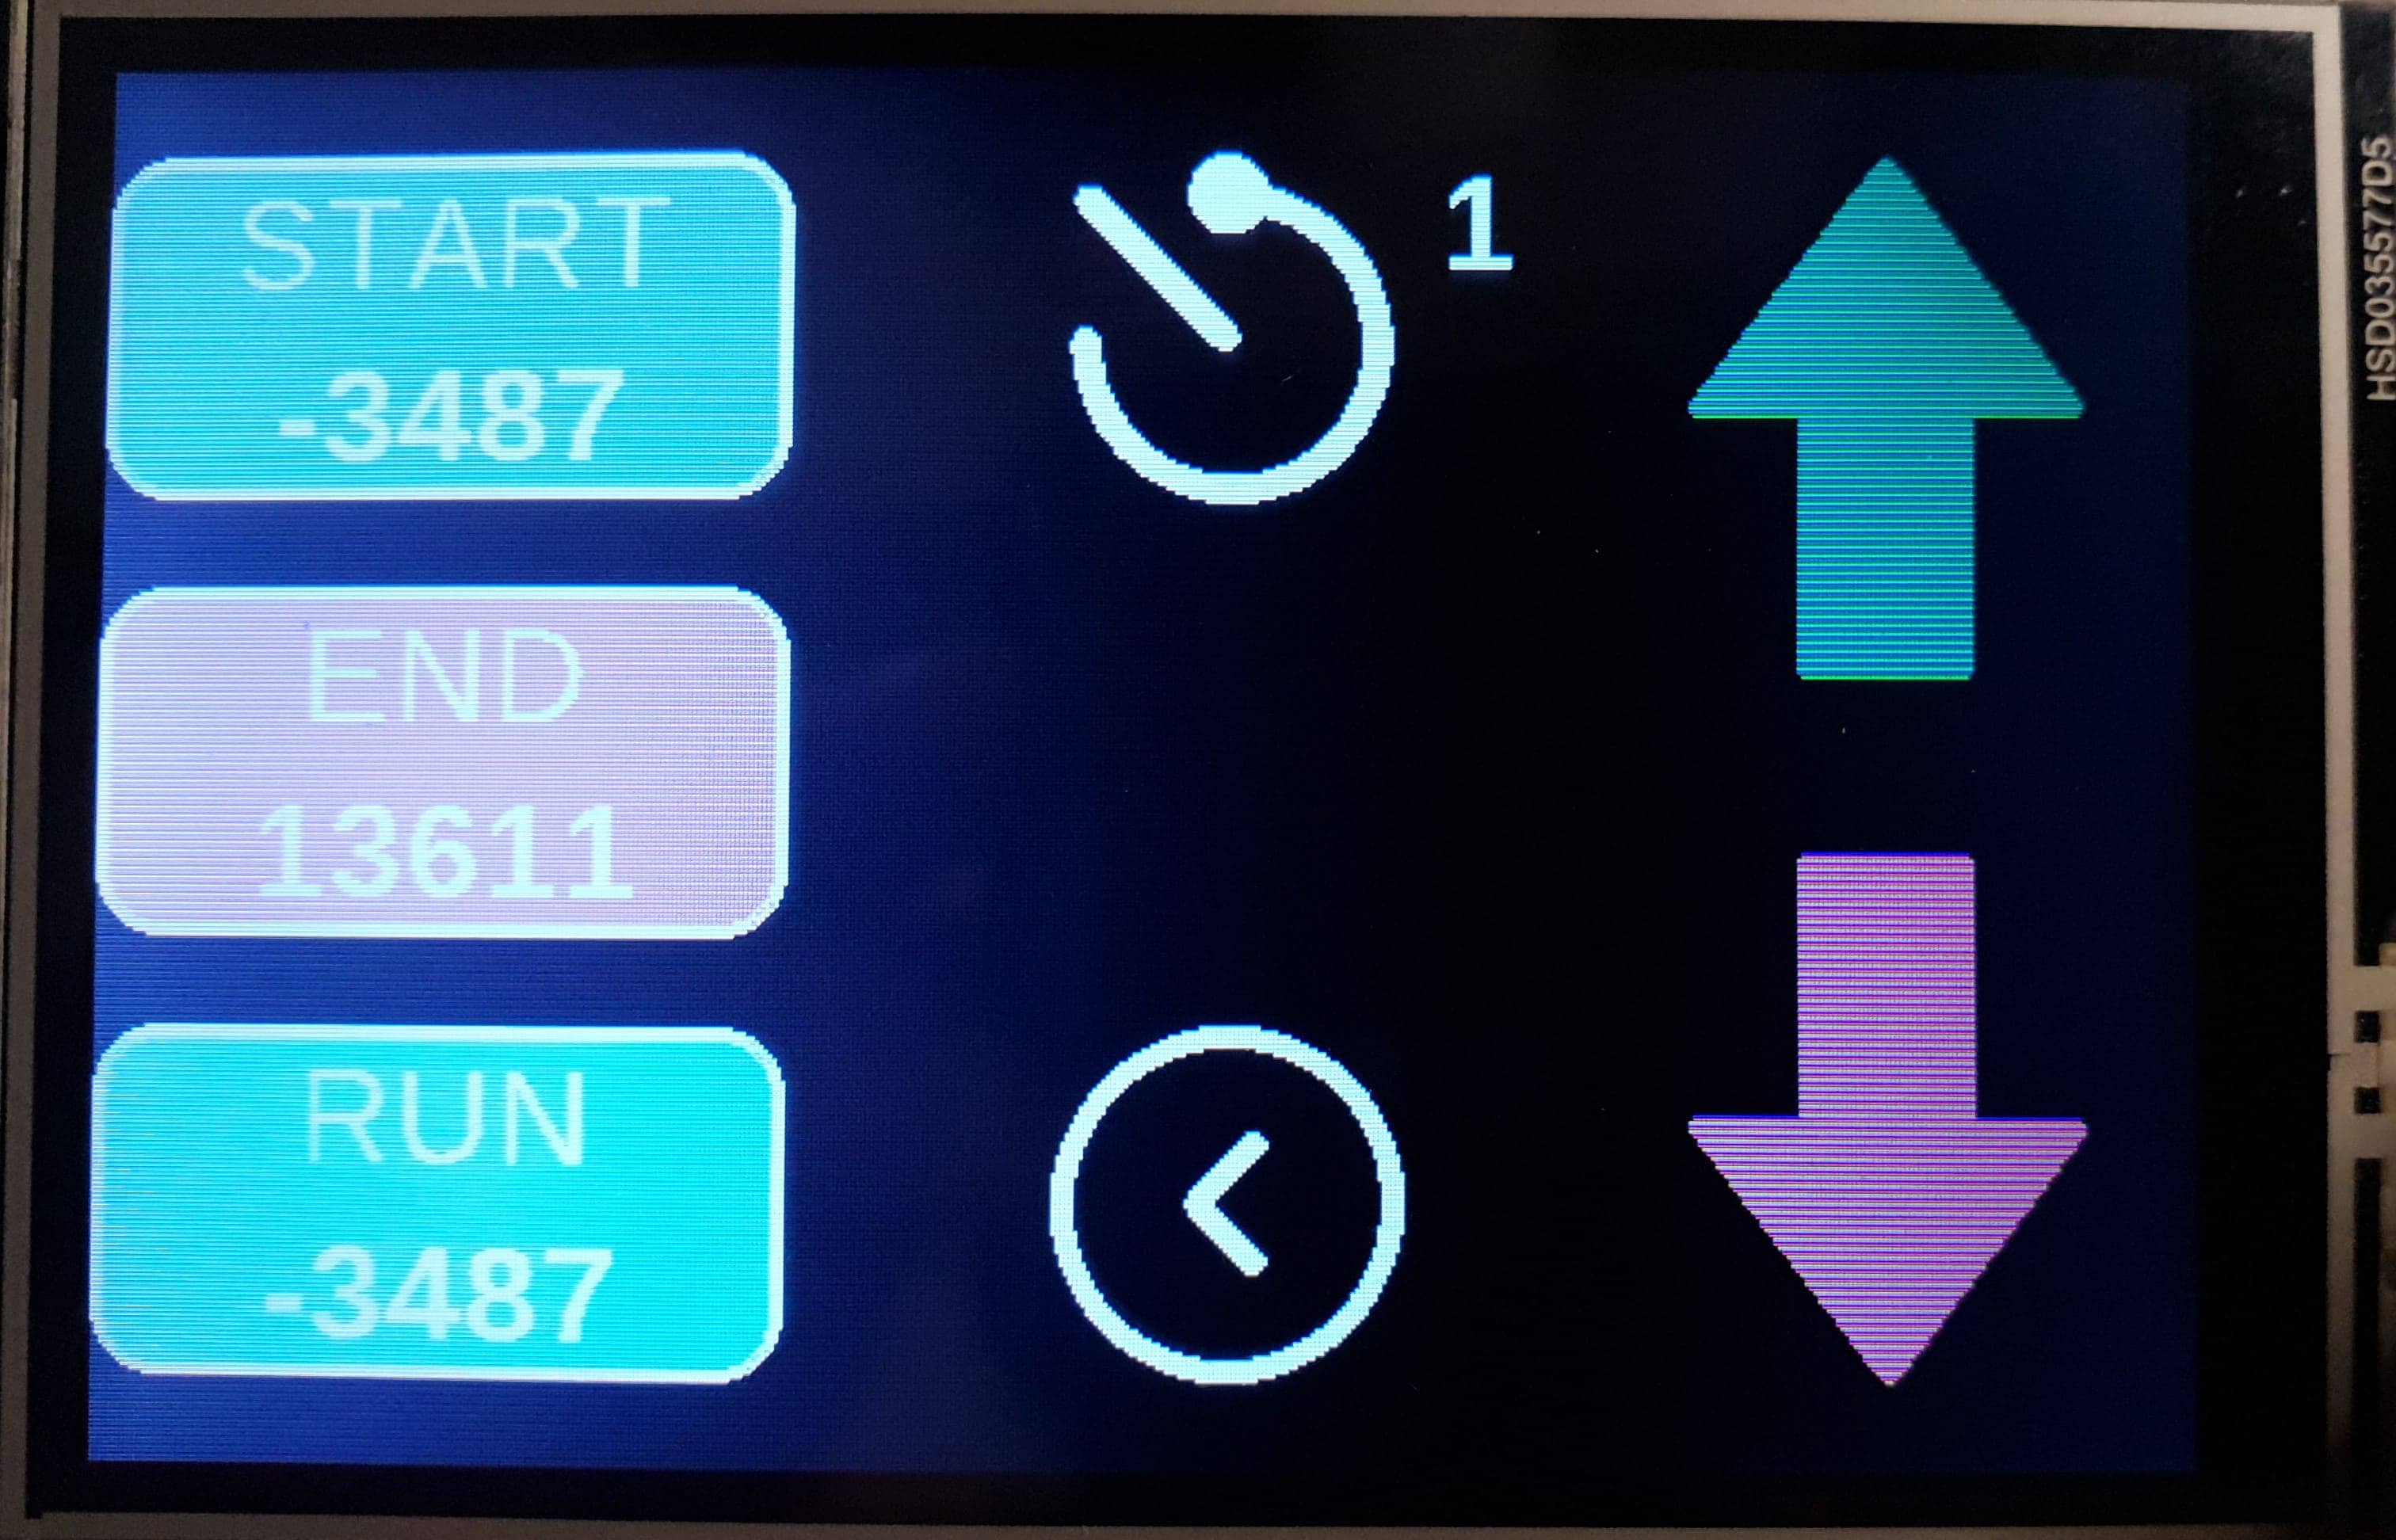
Once you have your step size you just need to work out the beginning and end position for the focus stack. This should always be the highest point of the coin and the lowest point of the coin. For an obverse with a portrait, this is typically the top of the head and the bottom edge of the coin. I start by moving to the camera to the high point and then keep going back until no part of the coin is in focus. Then , while looking at the preview image on the camera, I will slowly move the camera forward to the point just before the highest point of the coin is in focus. I save this position on my stacking controller and then move to find the lowest position for the end of the stack. This is usually the bottom edge of the coin and can be difficult to see since not much light typically reflects of the edges. You can introduce a temporary source of light such as a flashlight to help illuminate the bottom edge while you do this step. Similar to before, I’ll move to the lowest point and keep going, then move the camera back slowly until the bottom edge is nearly in-focus. I set this as the end point and I’m now ready to take the photos.
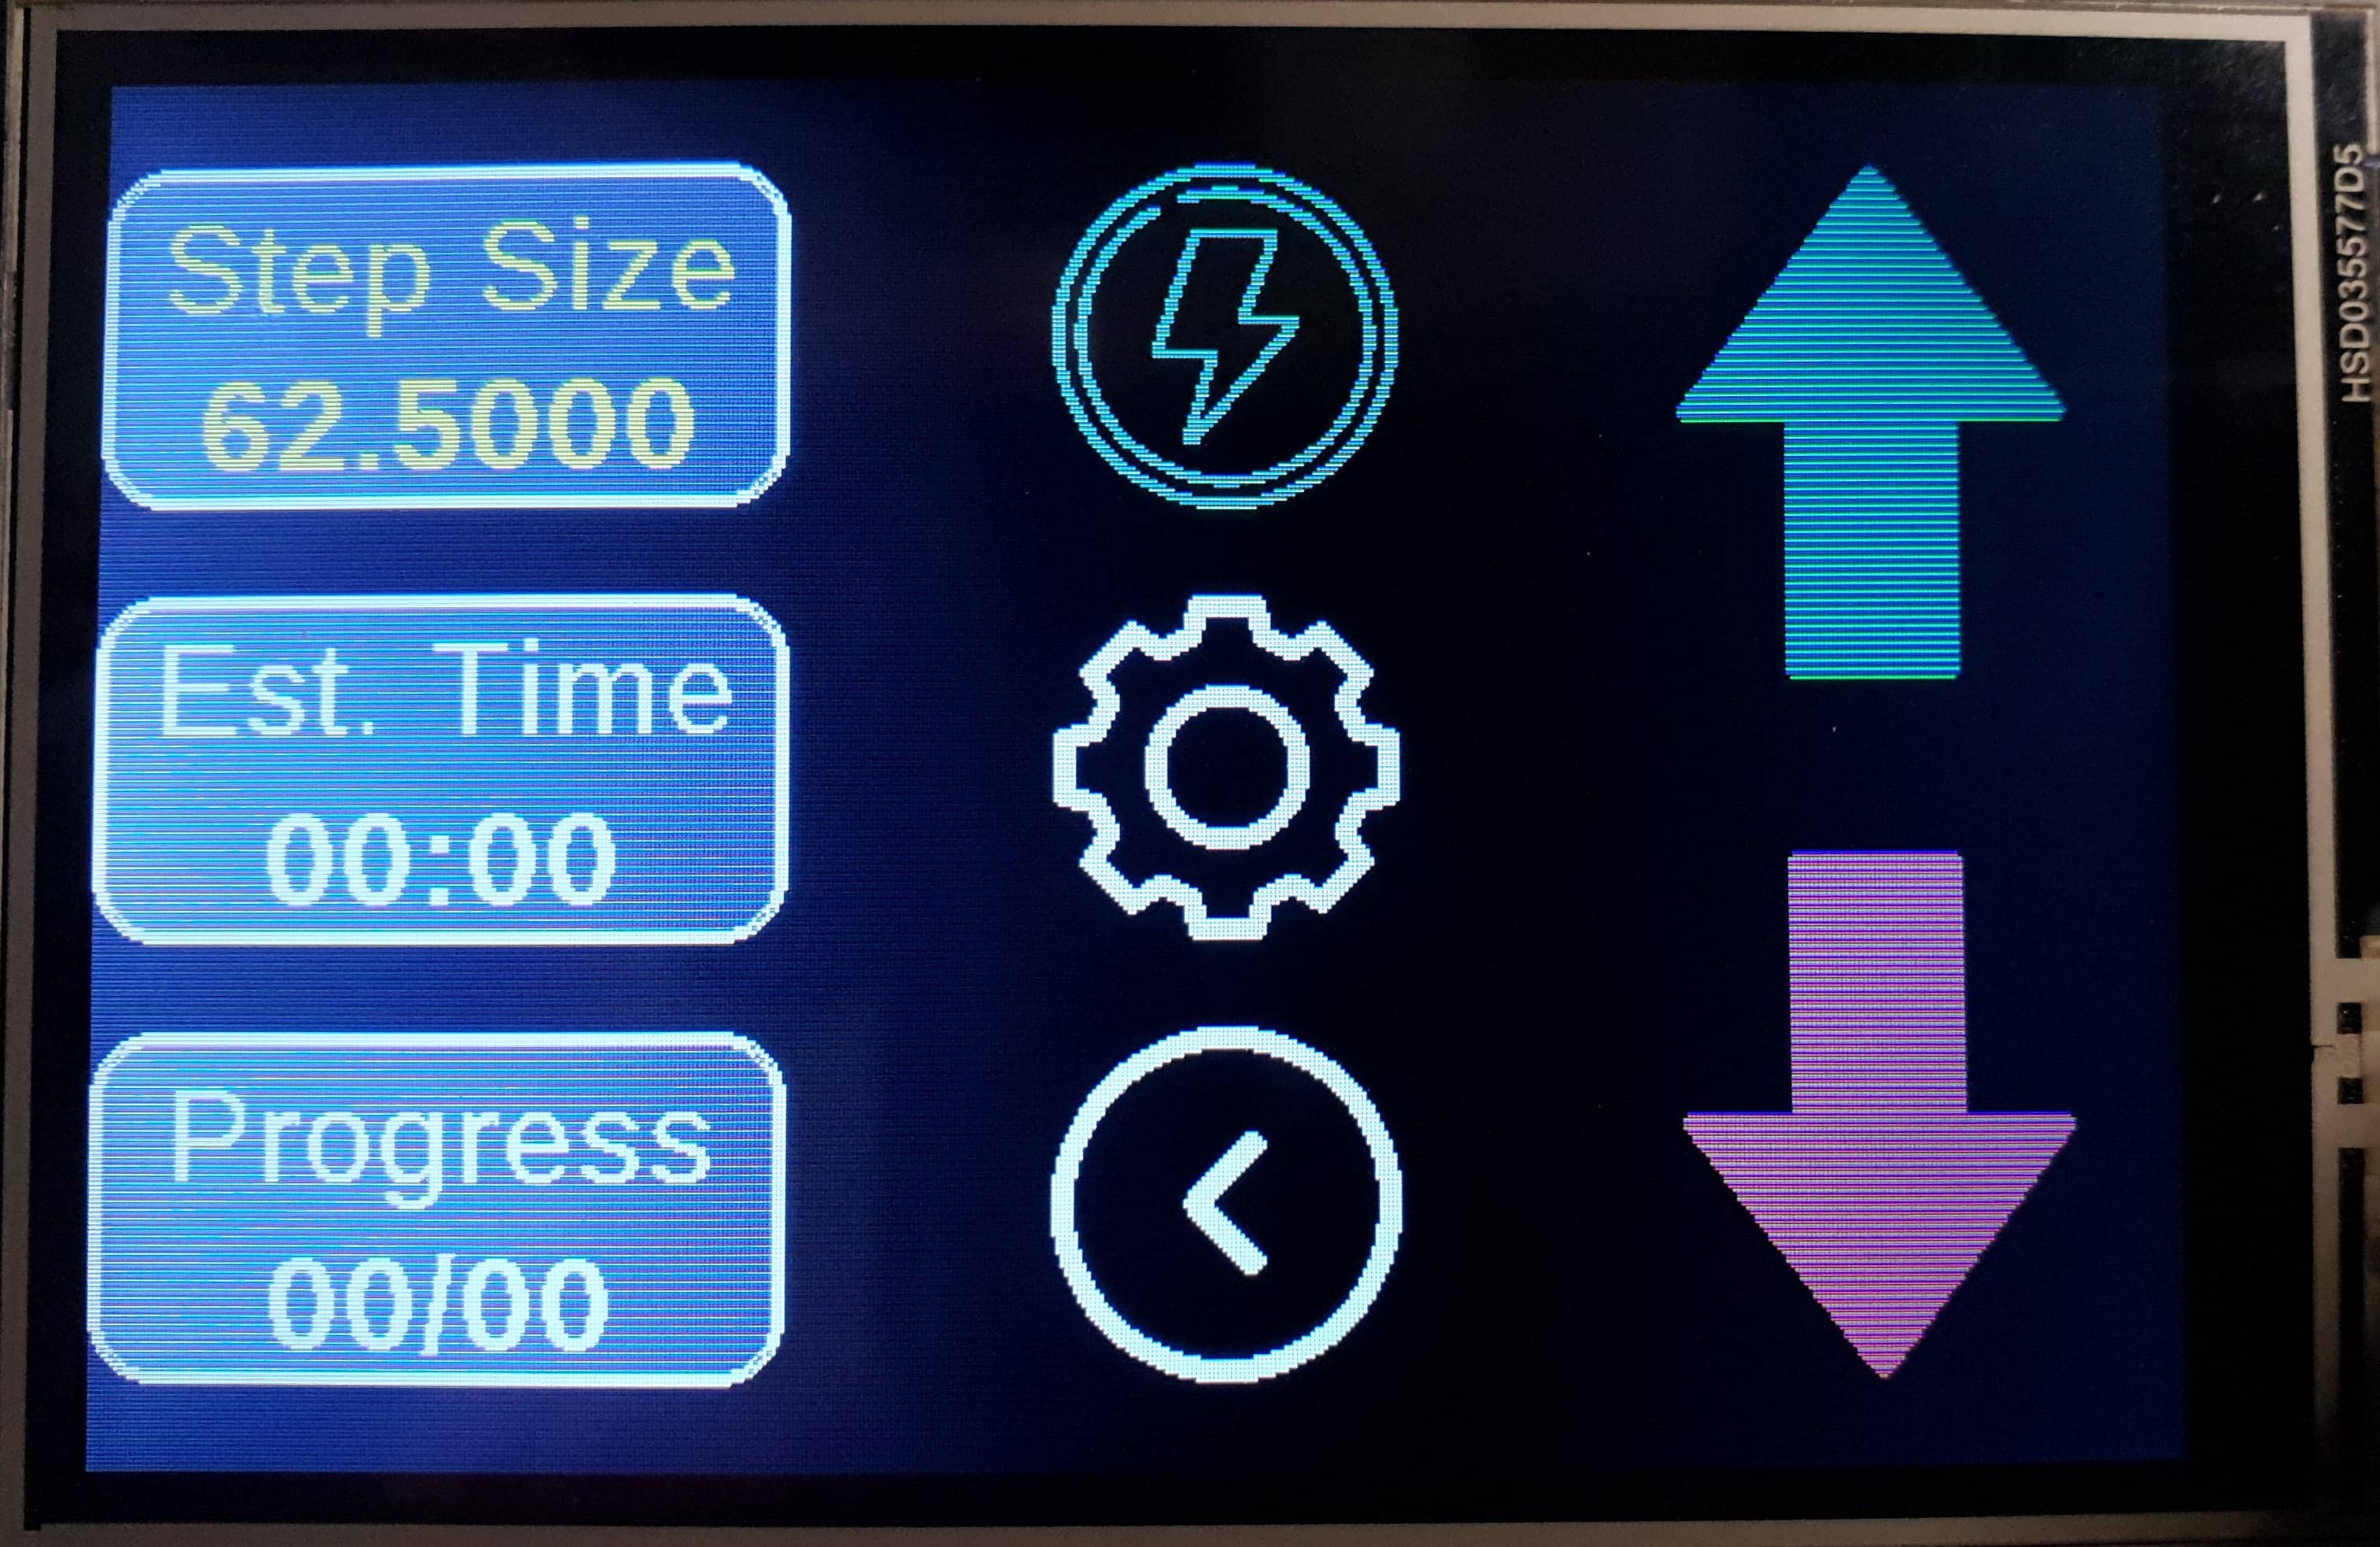
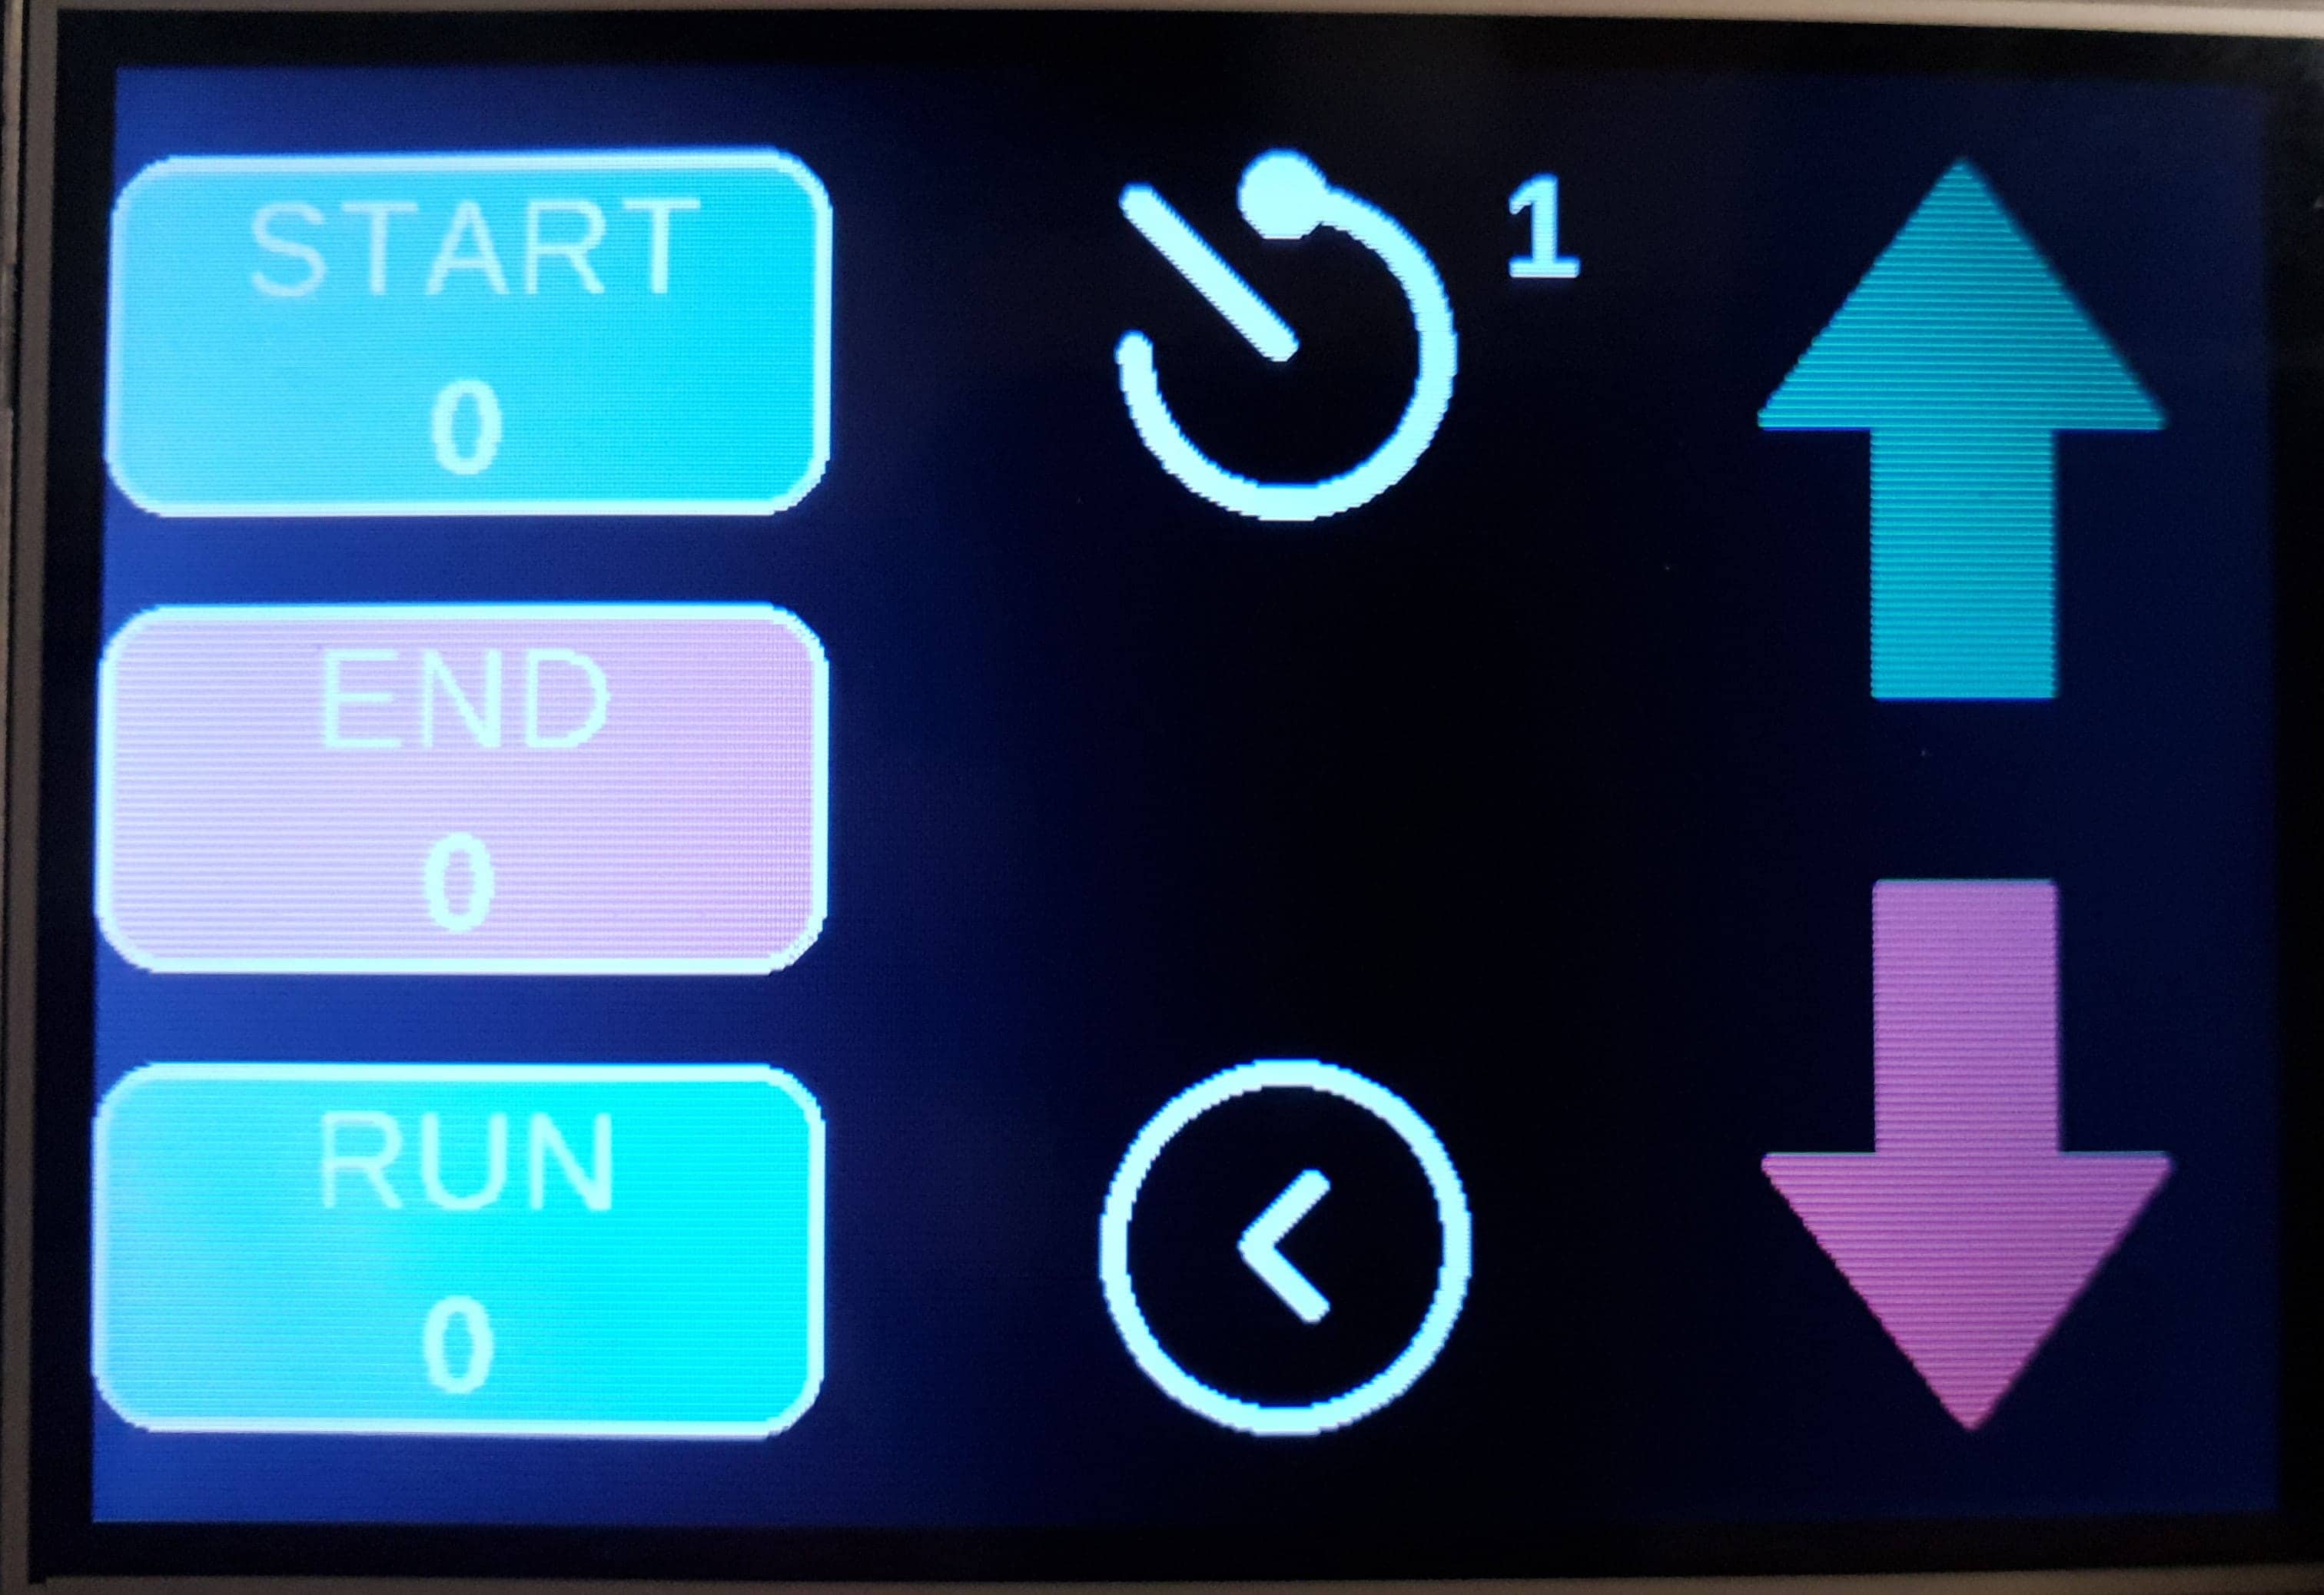
My homemade focus stacking controller allows me to set the beginning and end points and then for a given step size it will tell me how many photos will be taken in this focus stack and how long it will take. I can also control settings such as whether it will trigger the camera for me (and the flash, if used) or if I want to manually trigger the camera for each photo. I can also set a delay that controls how long it pauses before moving between each step. For a constant light source such as an LED ring, I set the delay to 1 second and have the controller take all the photos for me. I can then press play and take a break for a minute or two.

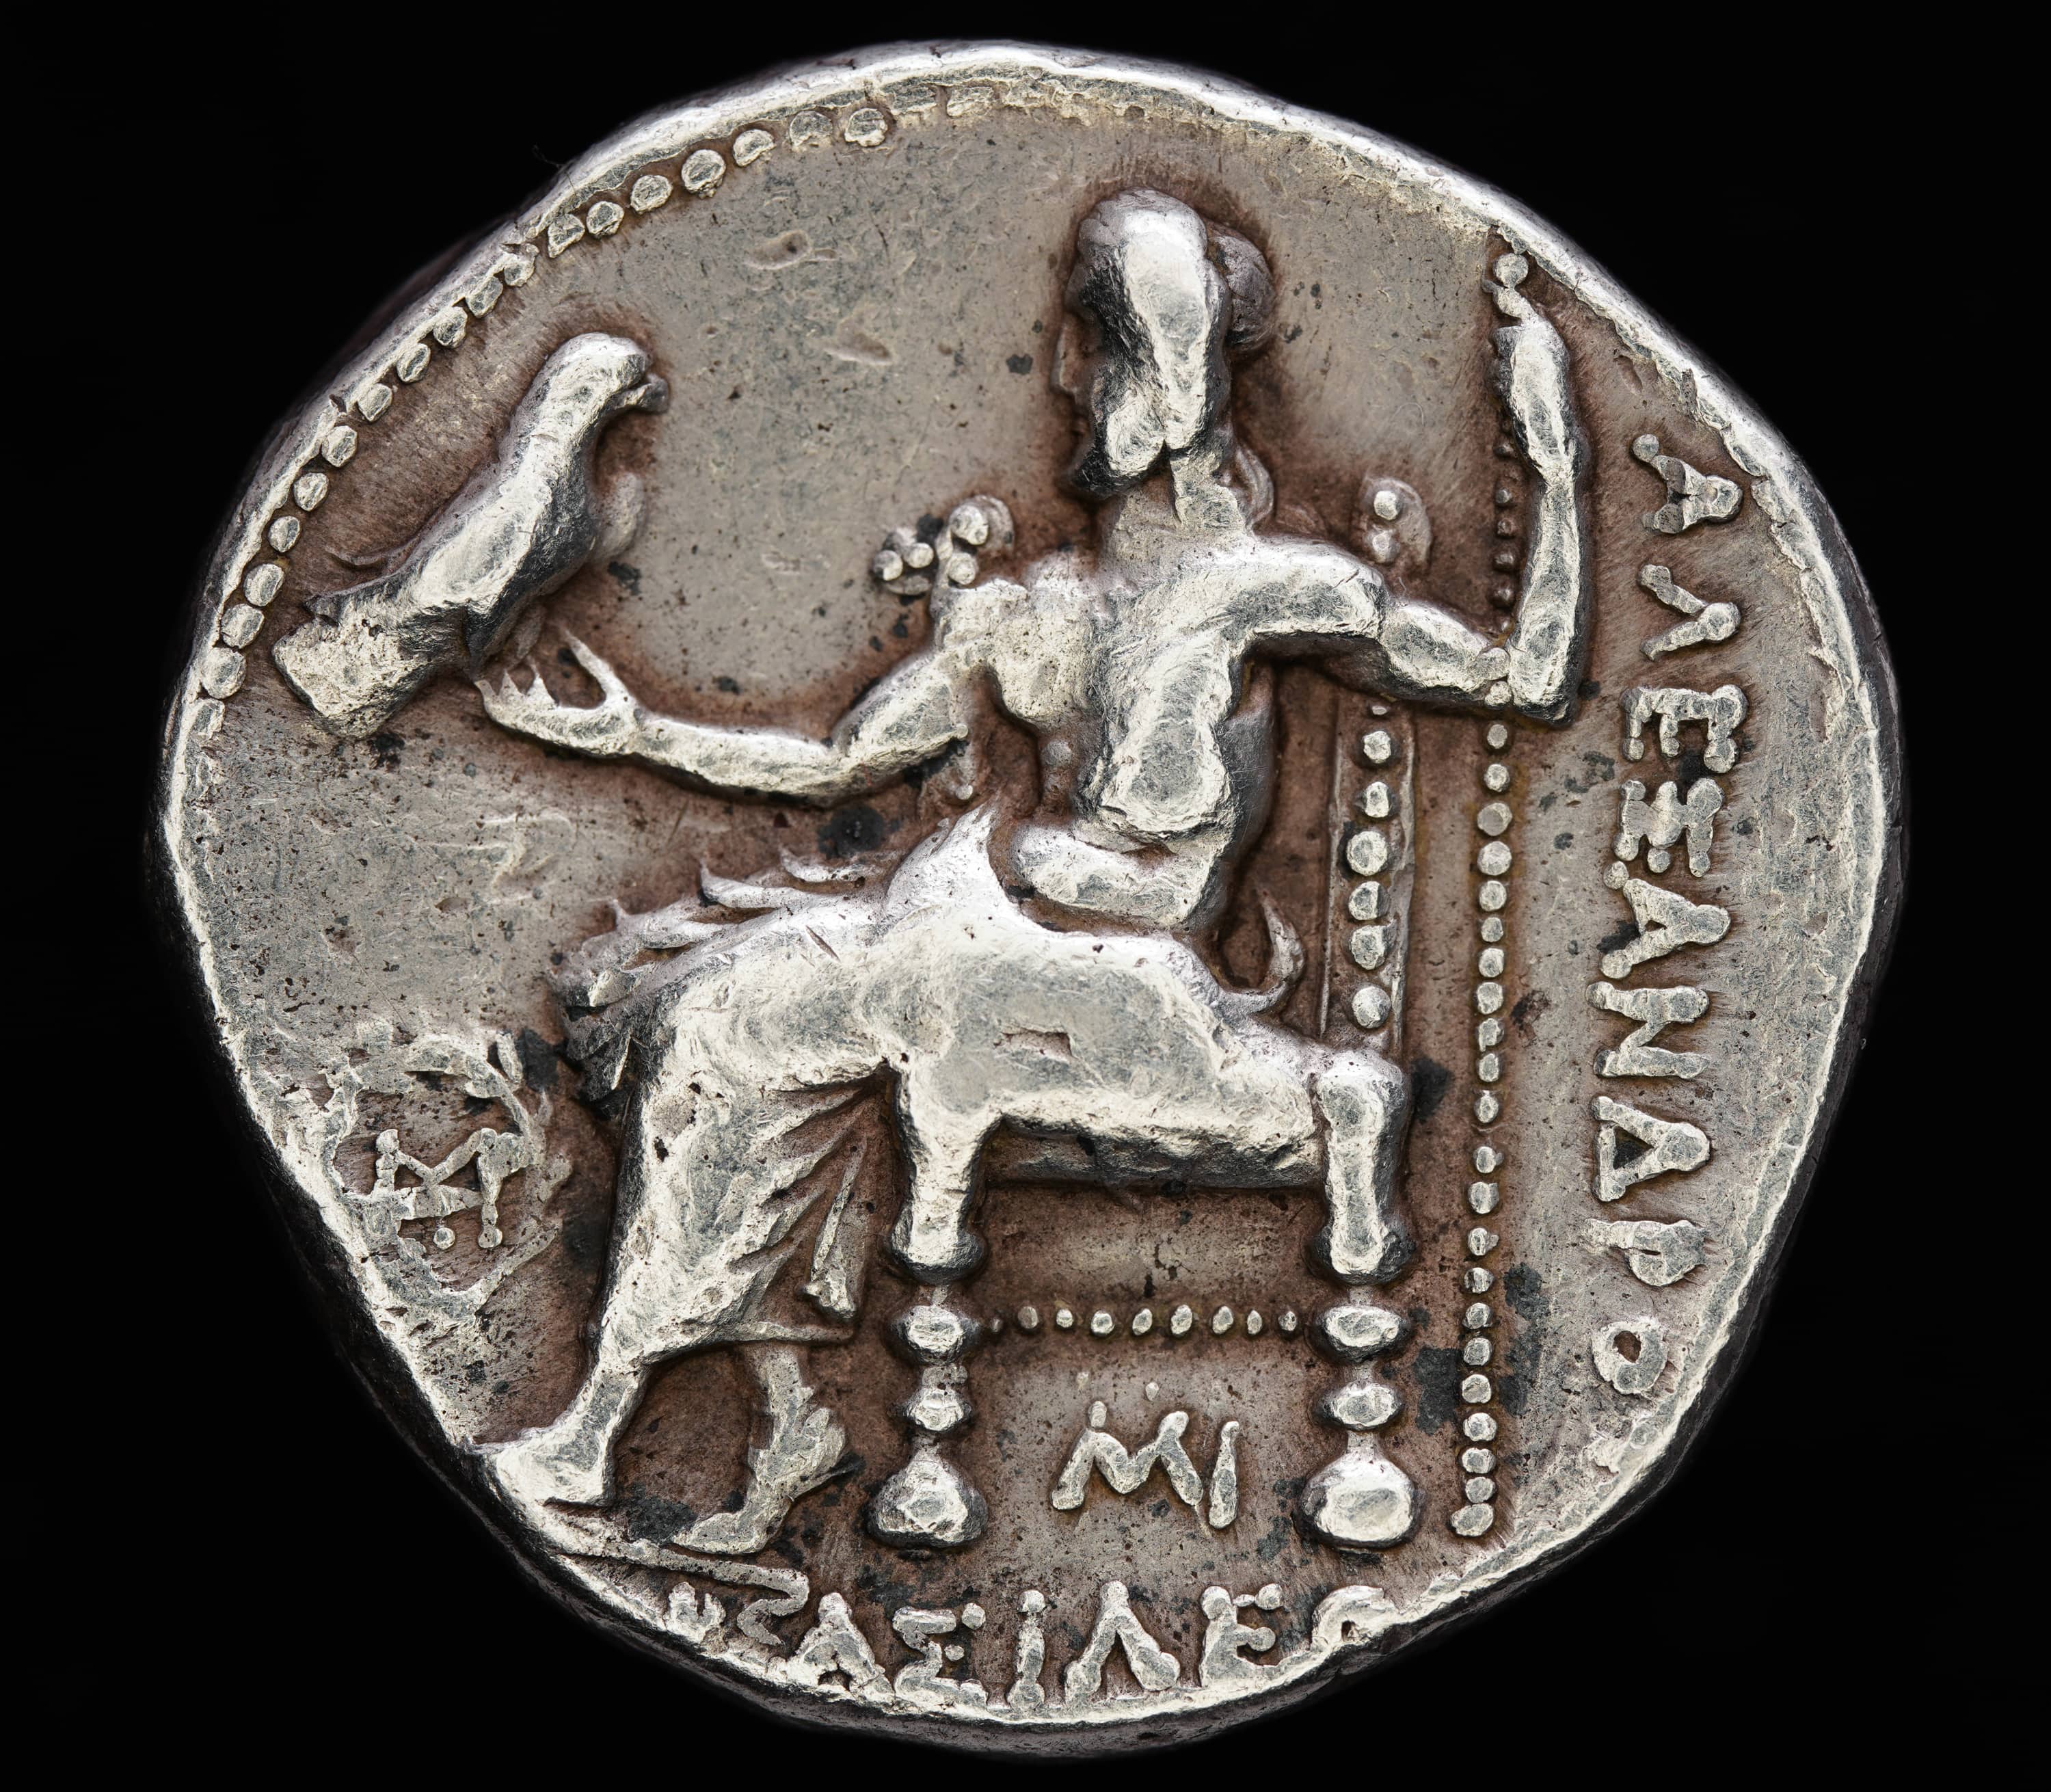
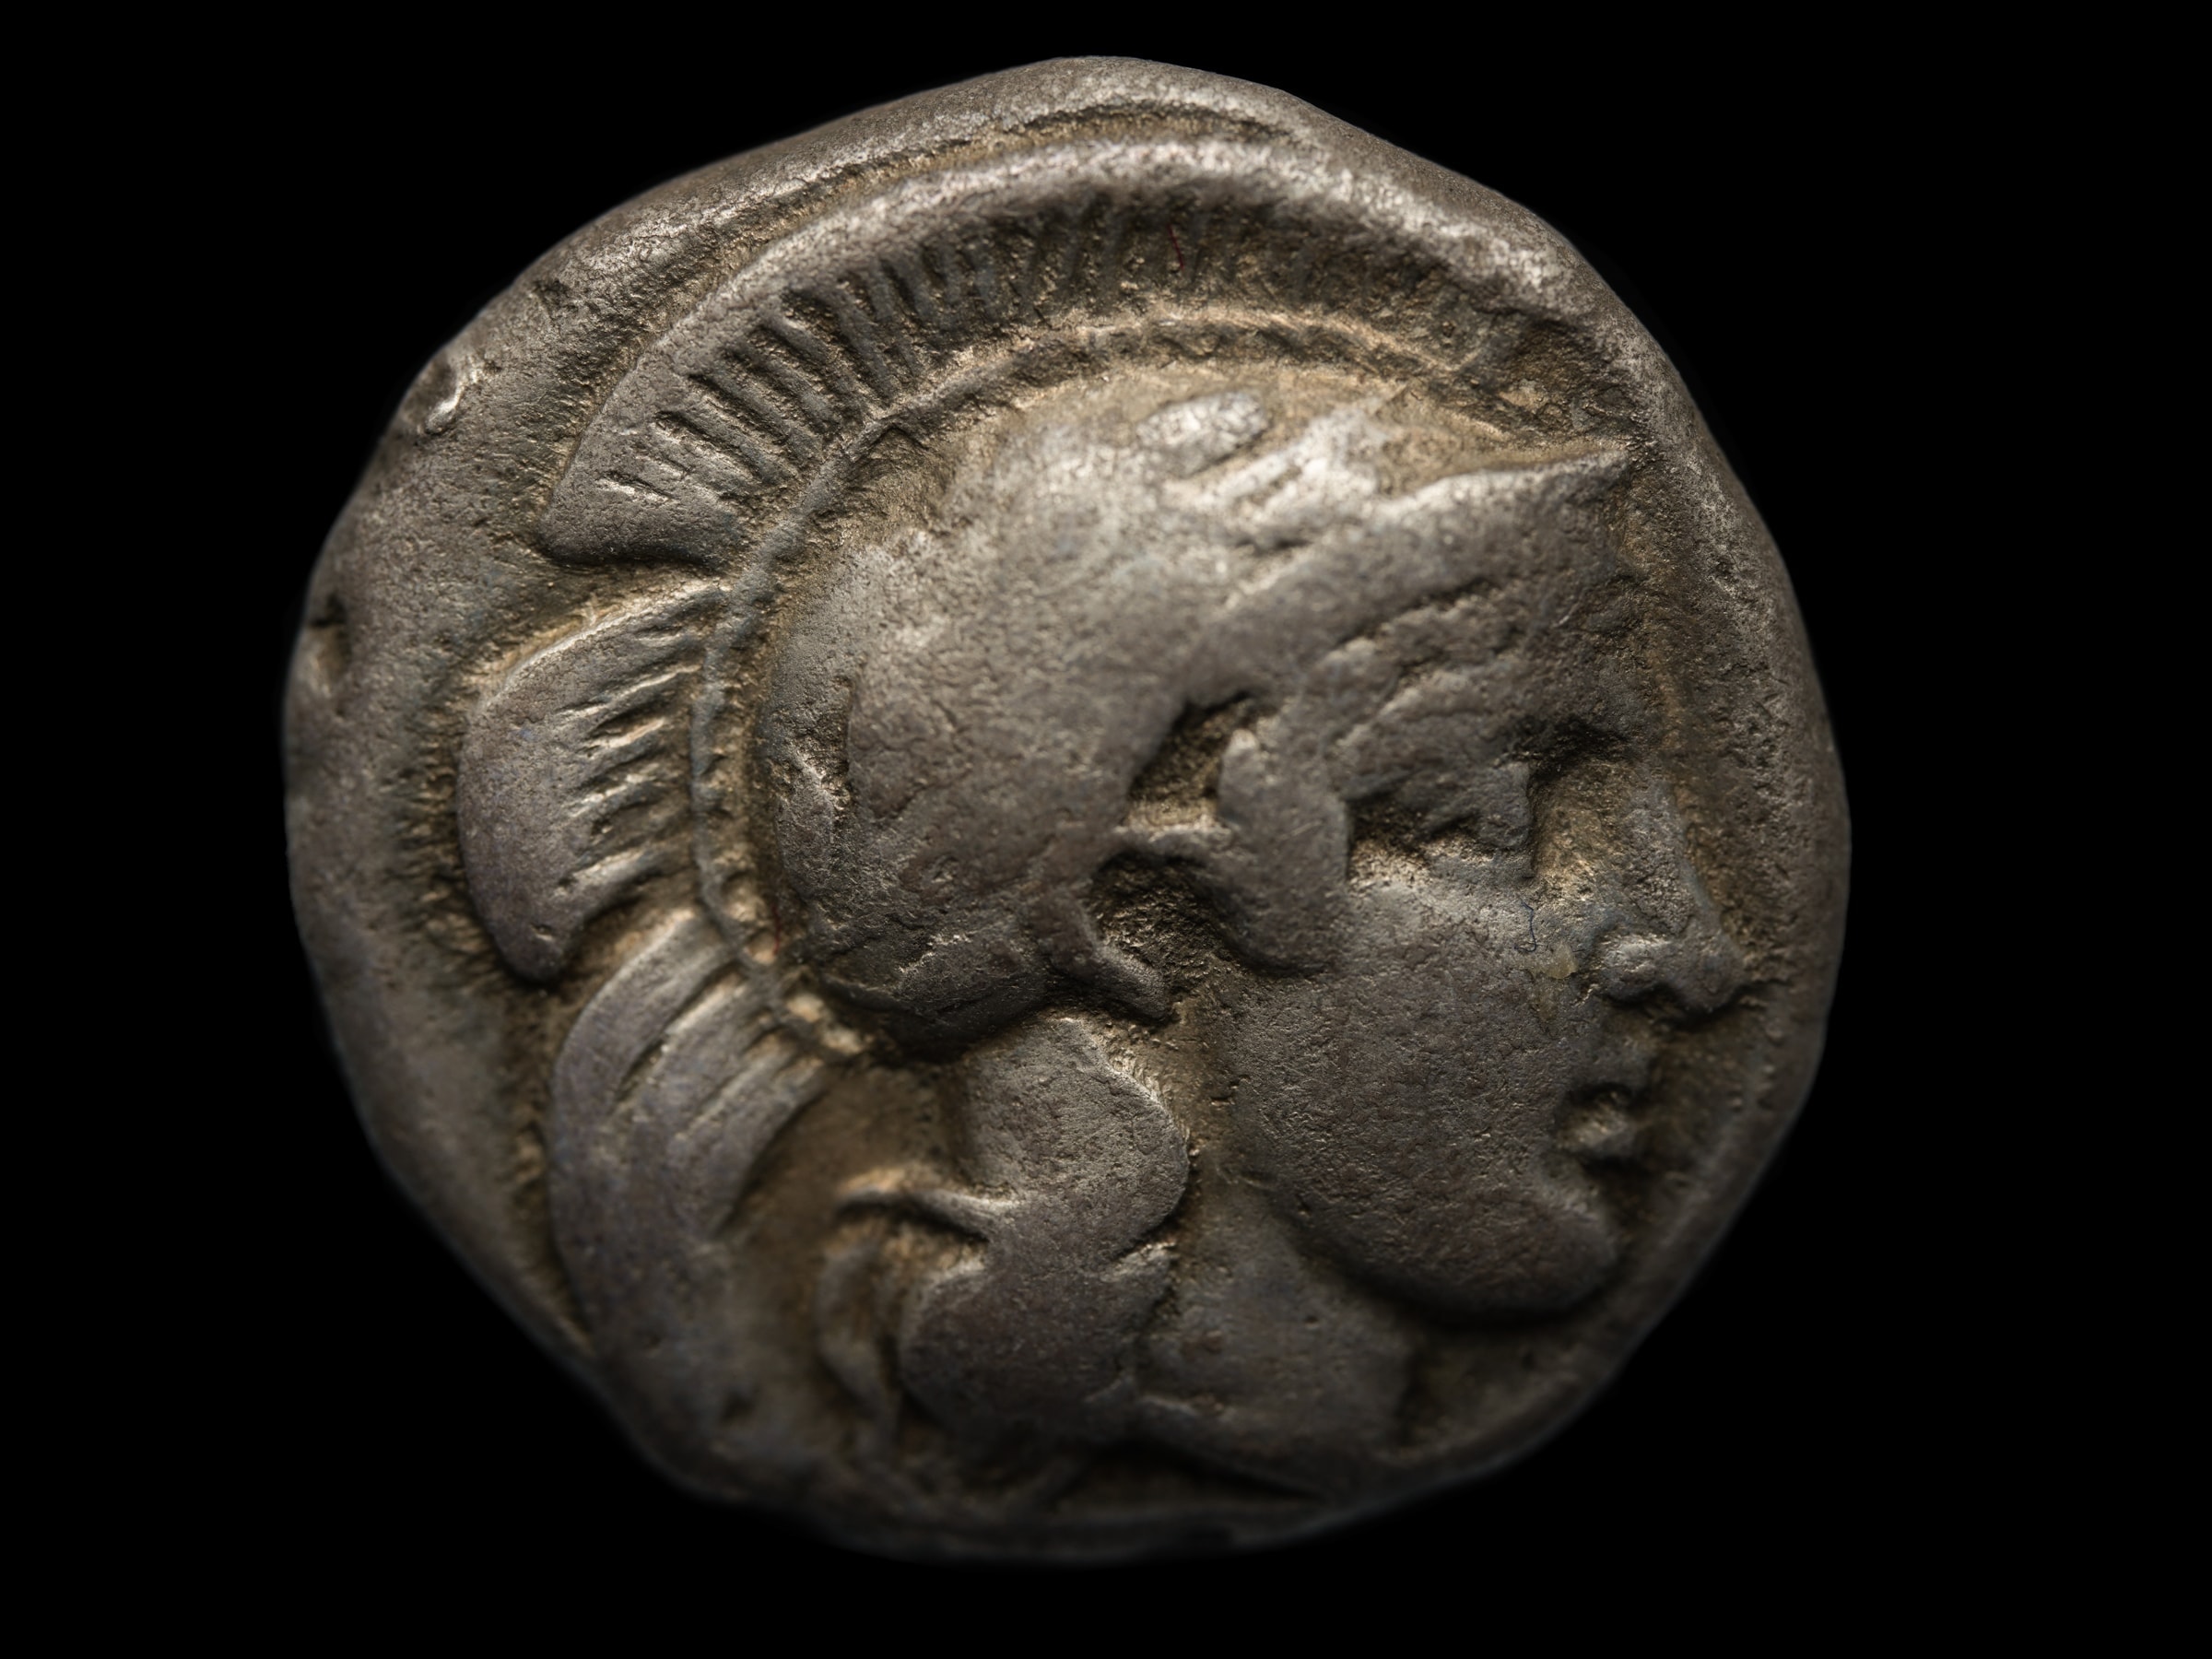
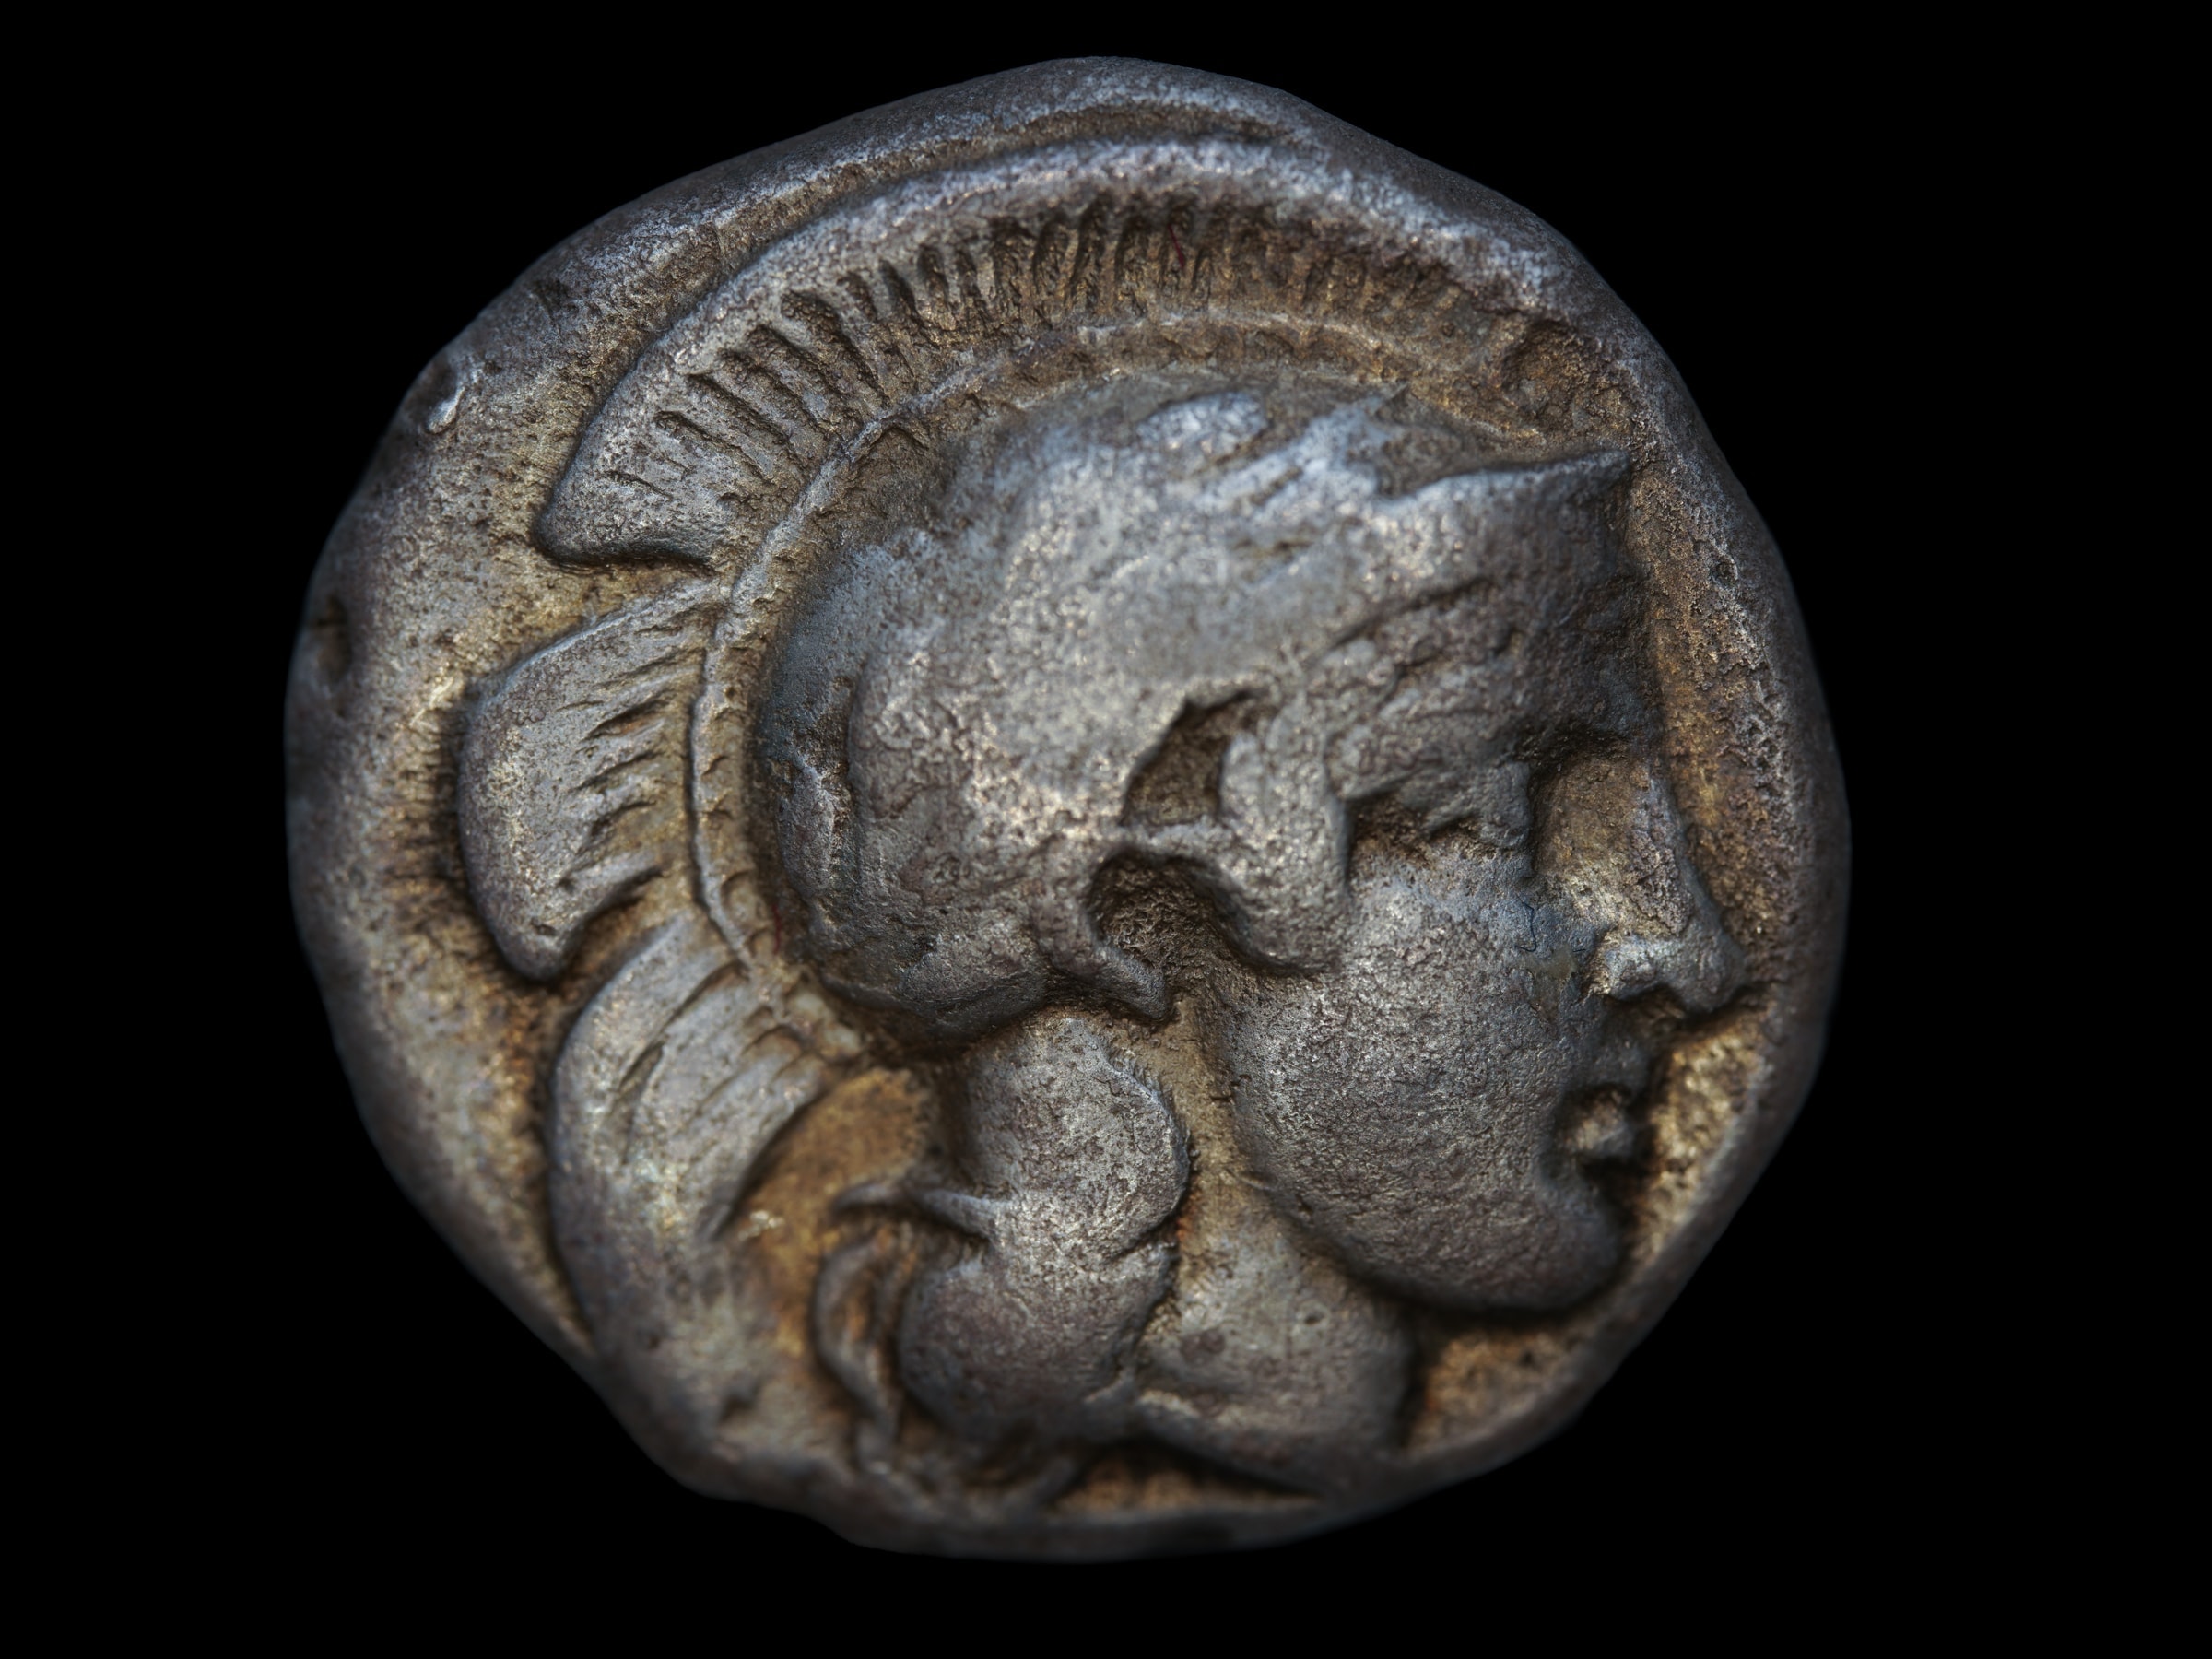
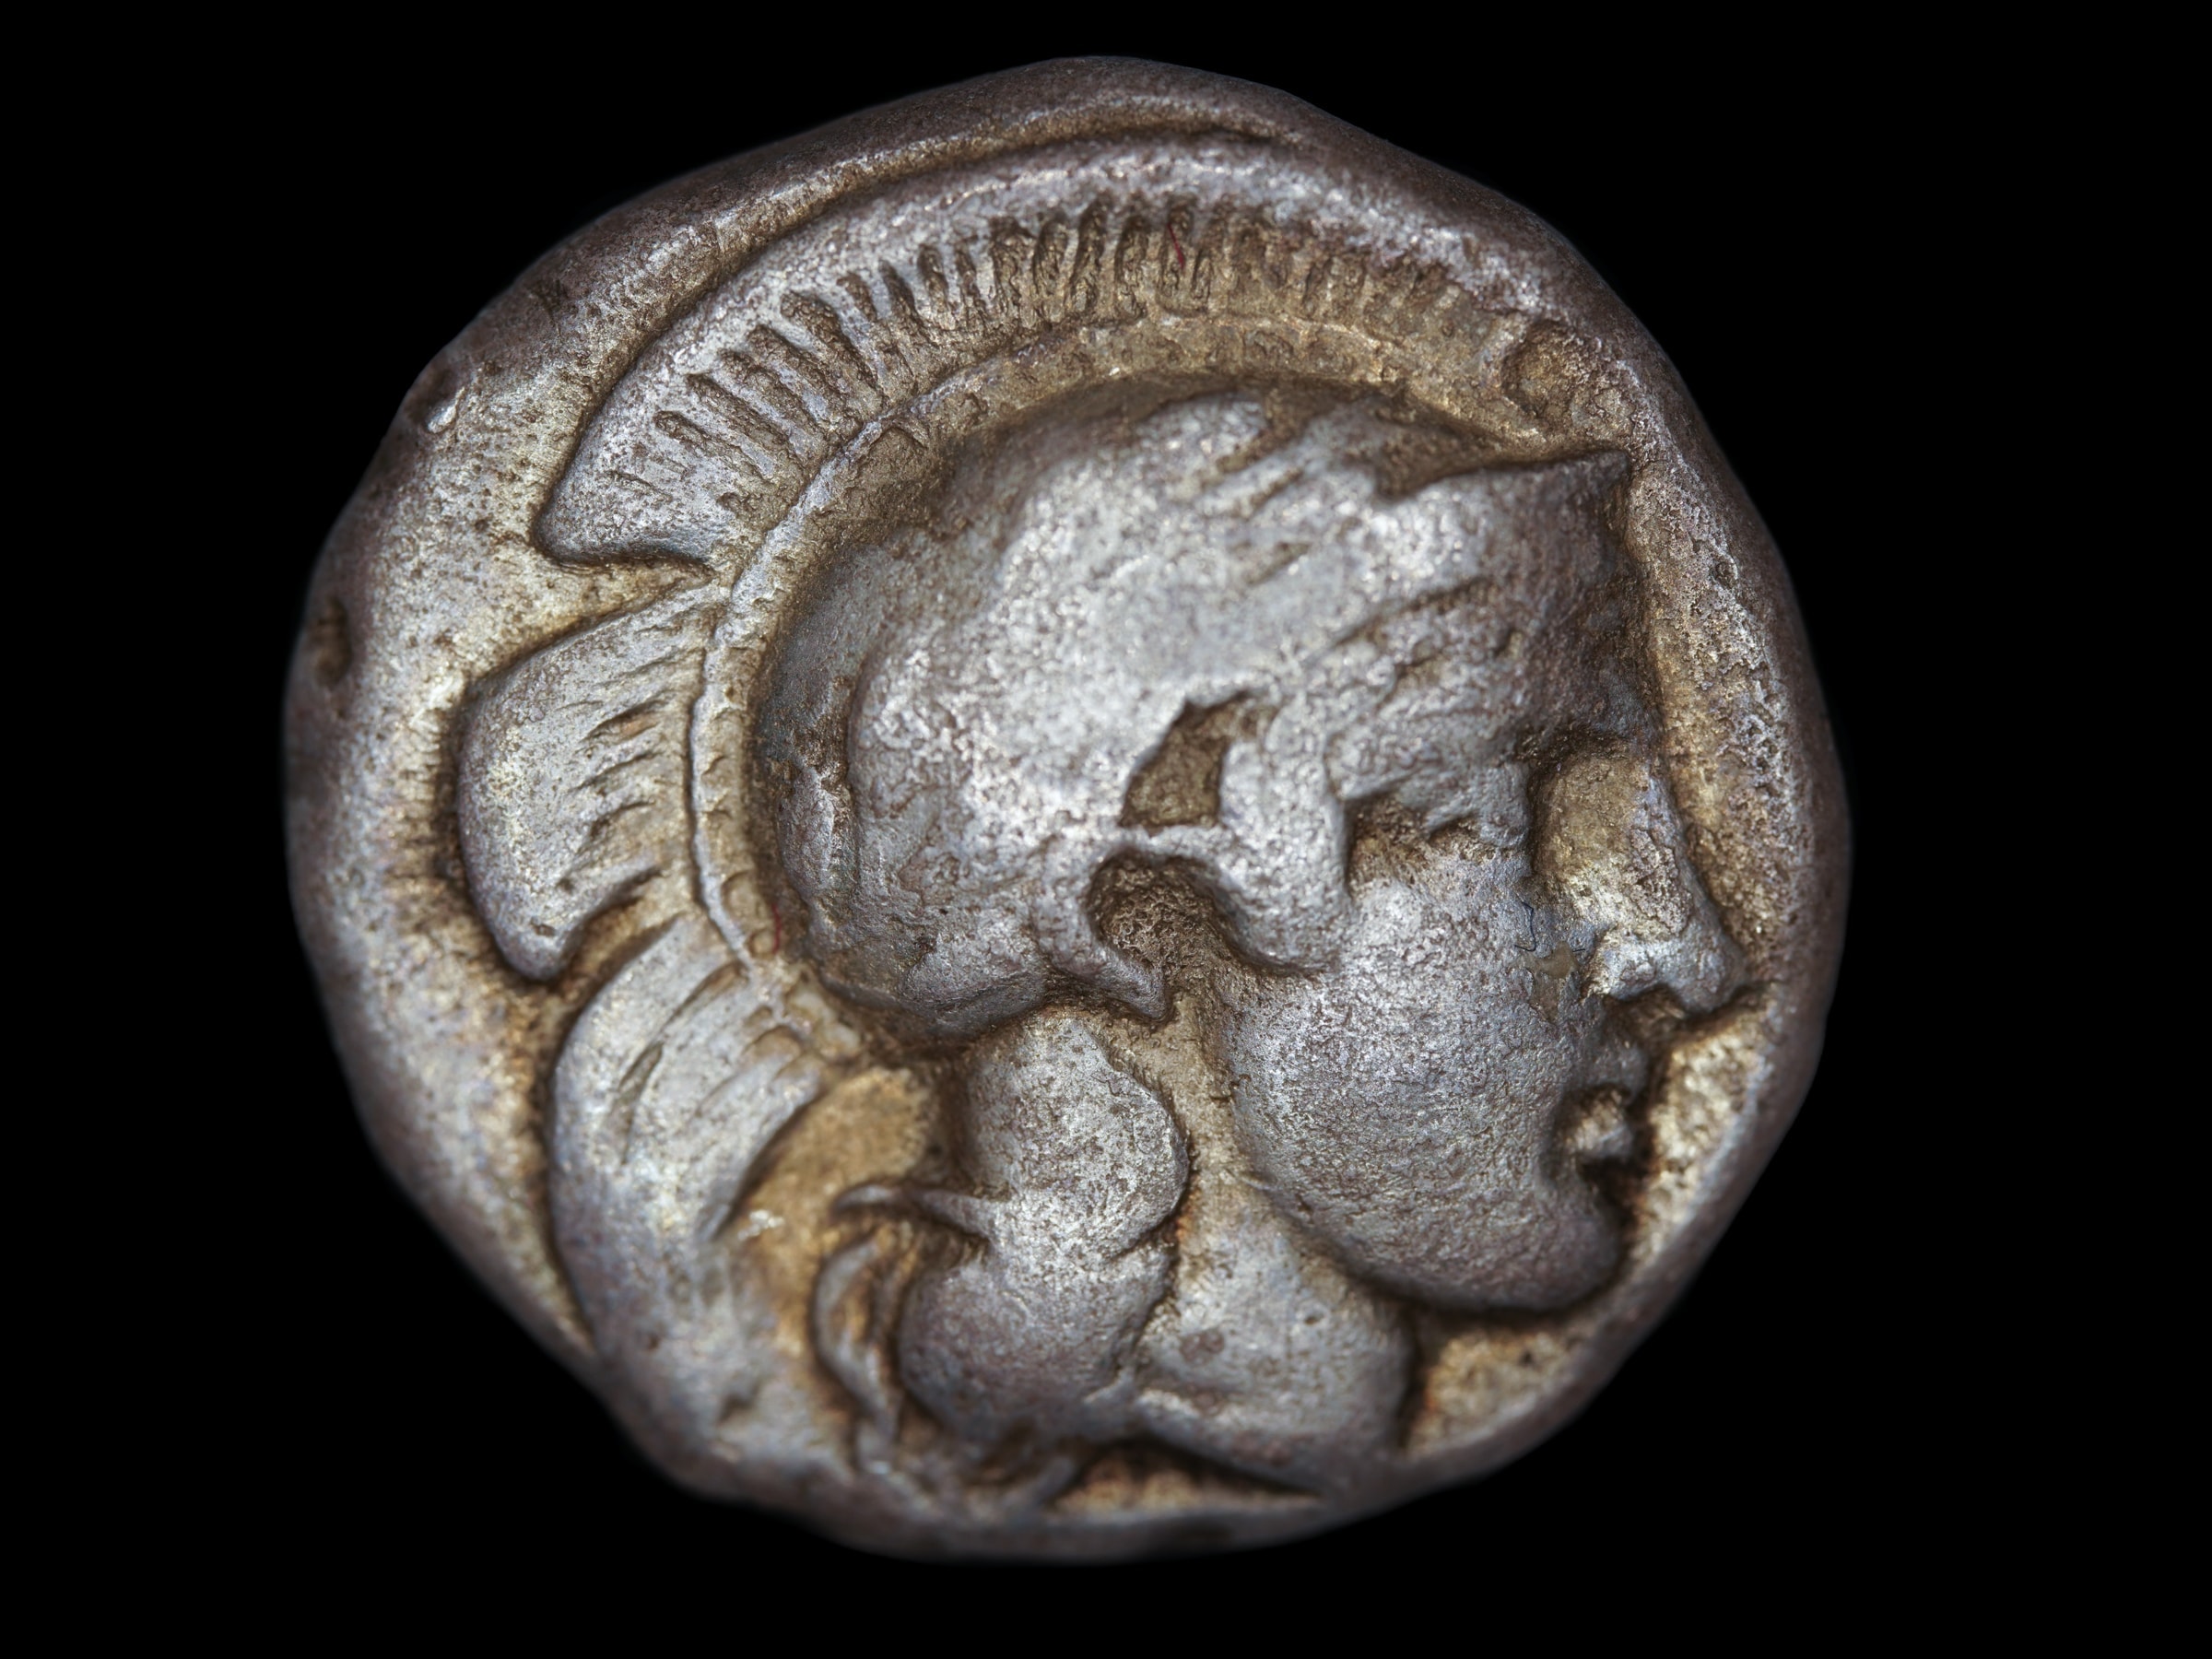
Use the arrows to swipe through the photos below.

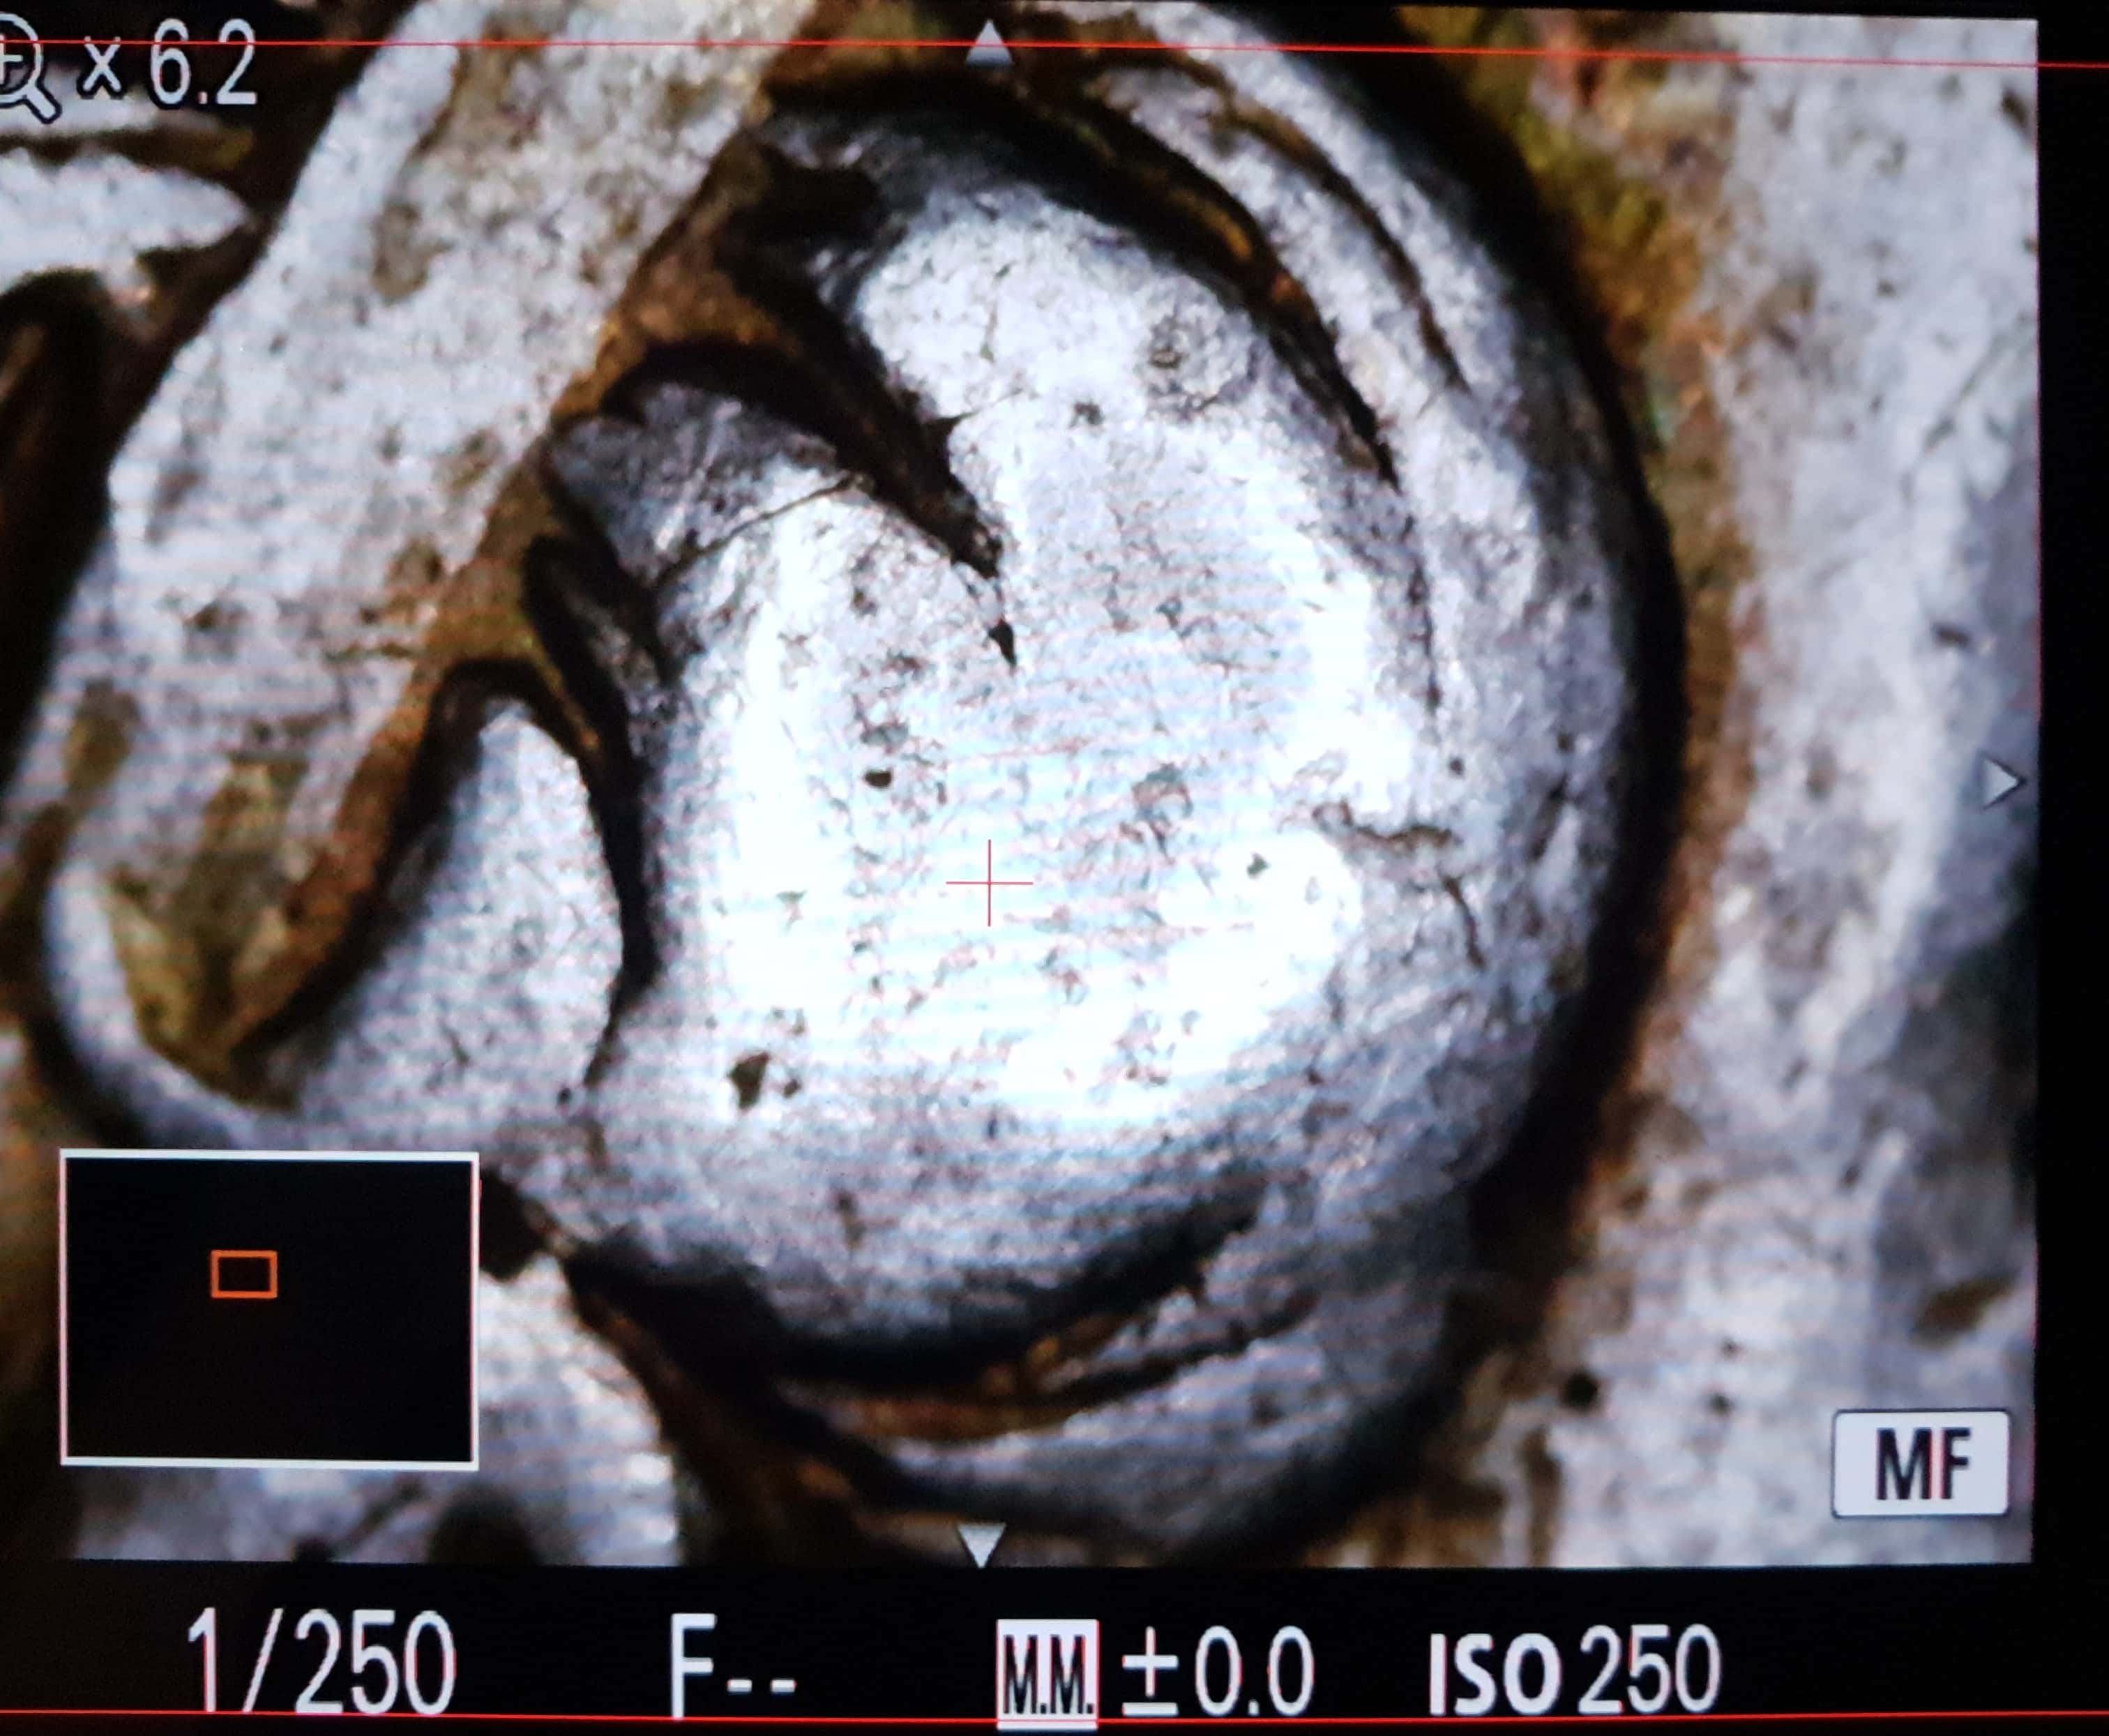
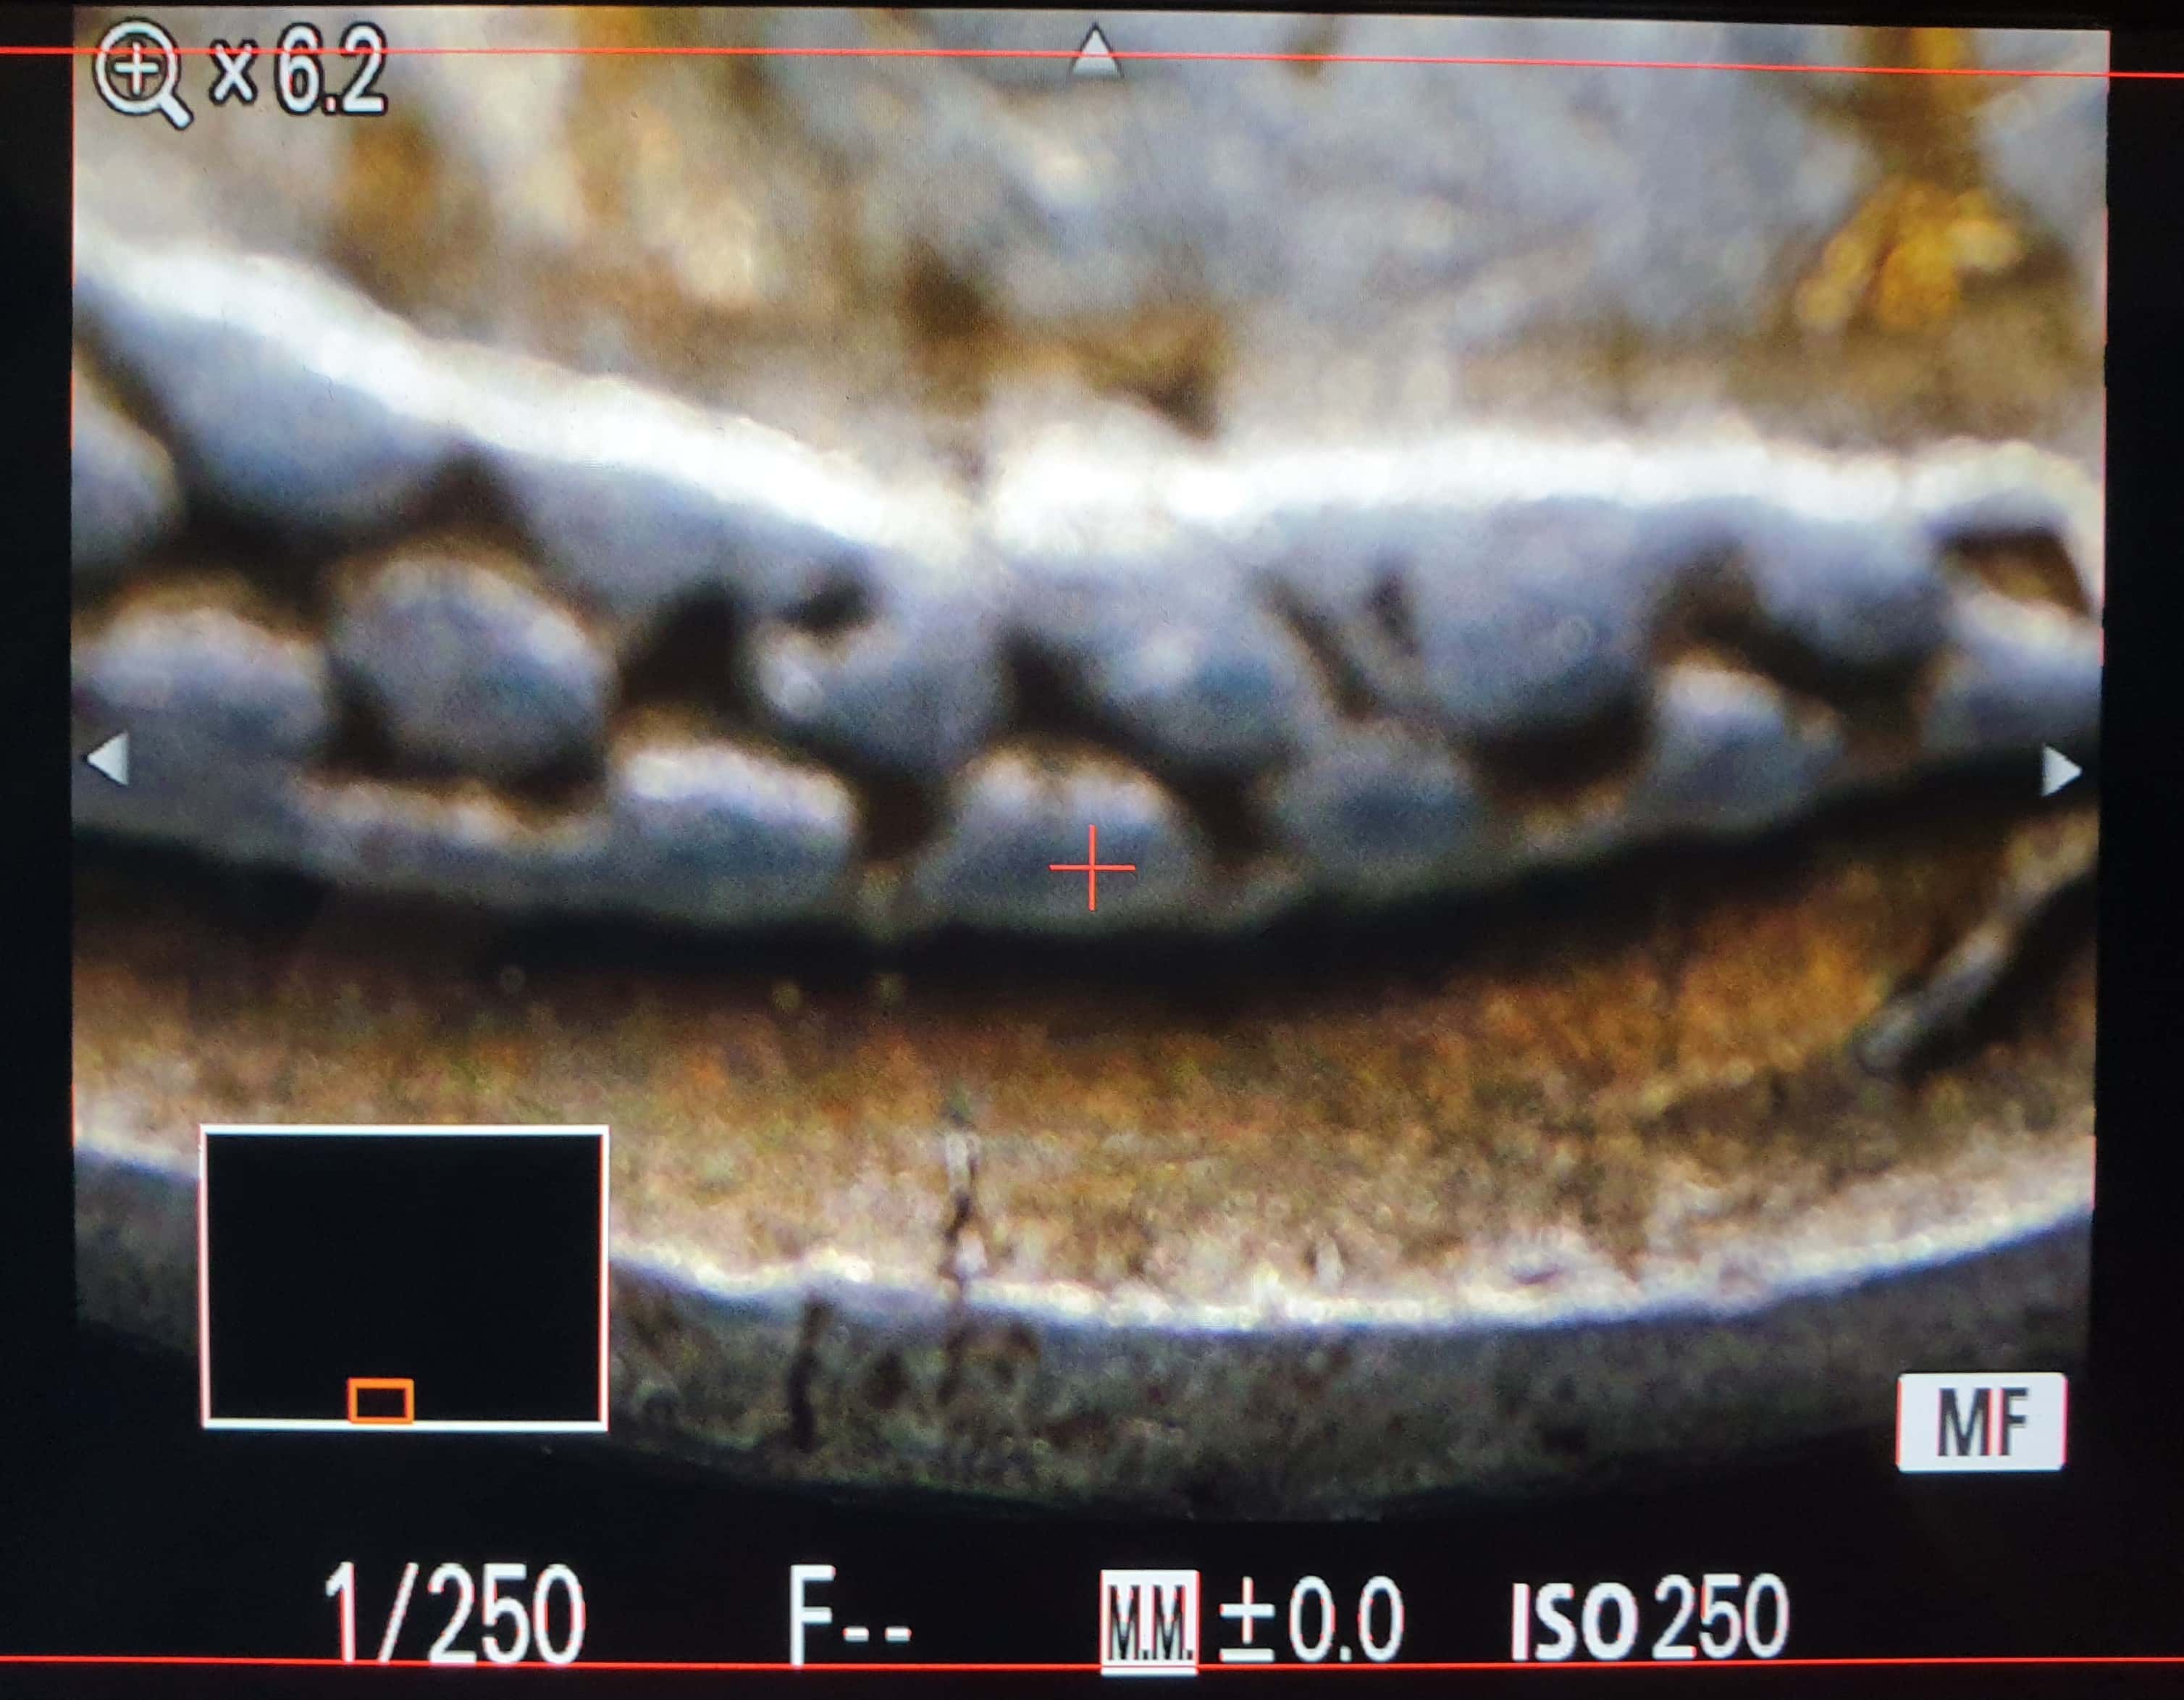
Starting position vs Ending position comparison. These photos show the first frame of the focus stack and the last frame of the focus stack. In the first frame only the very highest point on the coin will be close to focus. For the last frame only the bottom edge or lowest point of the coin will be close to focus.
Lighting
Initial Setup
It took me a long time to develop an intuitive feeling for the correct lighting for a given coin. These days, I often start with “pseudo-axial” lighting (mentioned here) as that typically provides the best lighting for me in most cases. If the coin has particularly high relief, I will also expect to use my Godox TT350 external flash to help reduce the contrast of the pseudo-axial lighting and give more depth to the photo with a creative use of shadows.
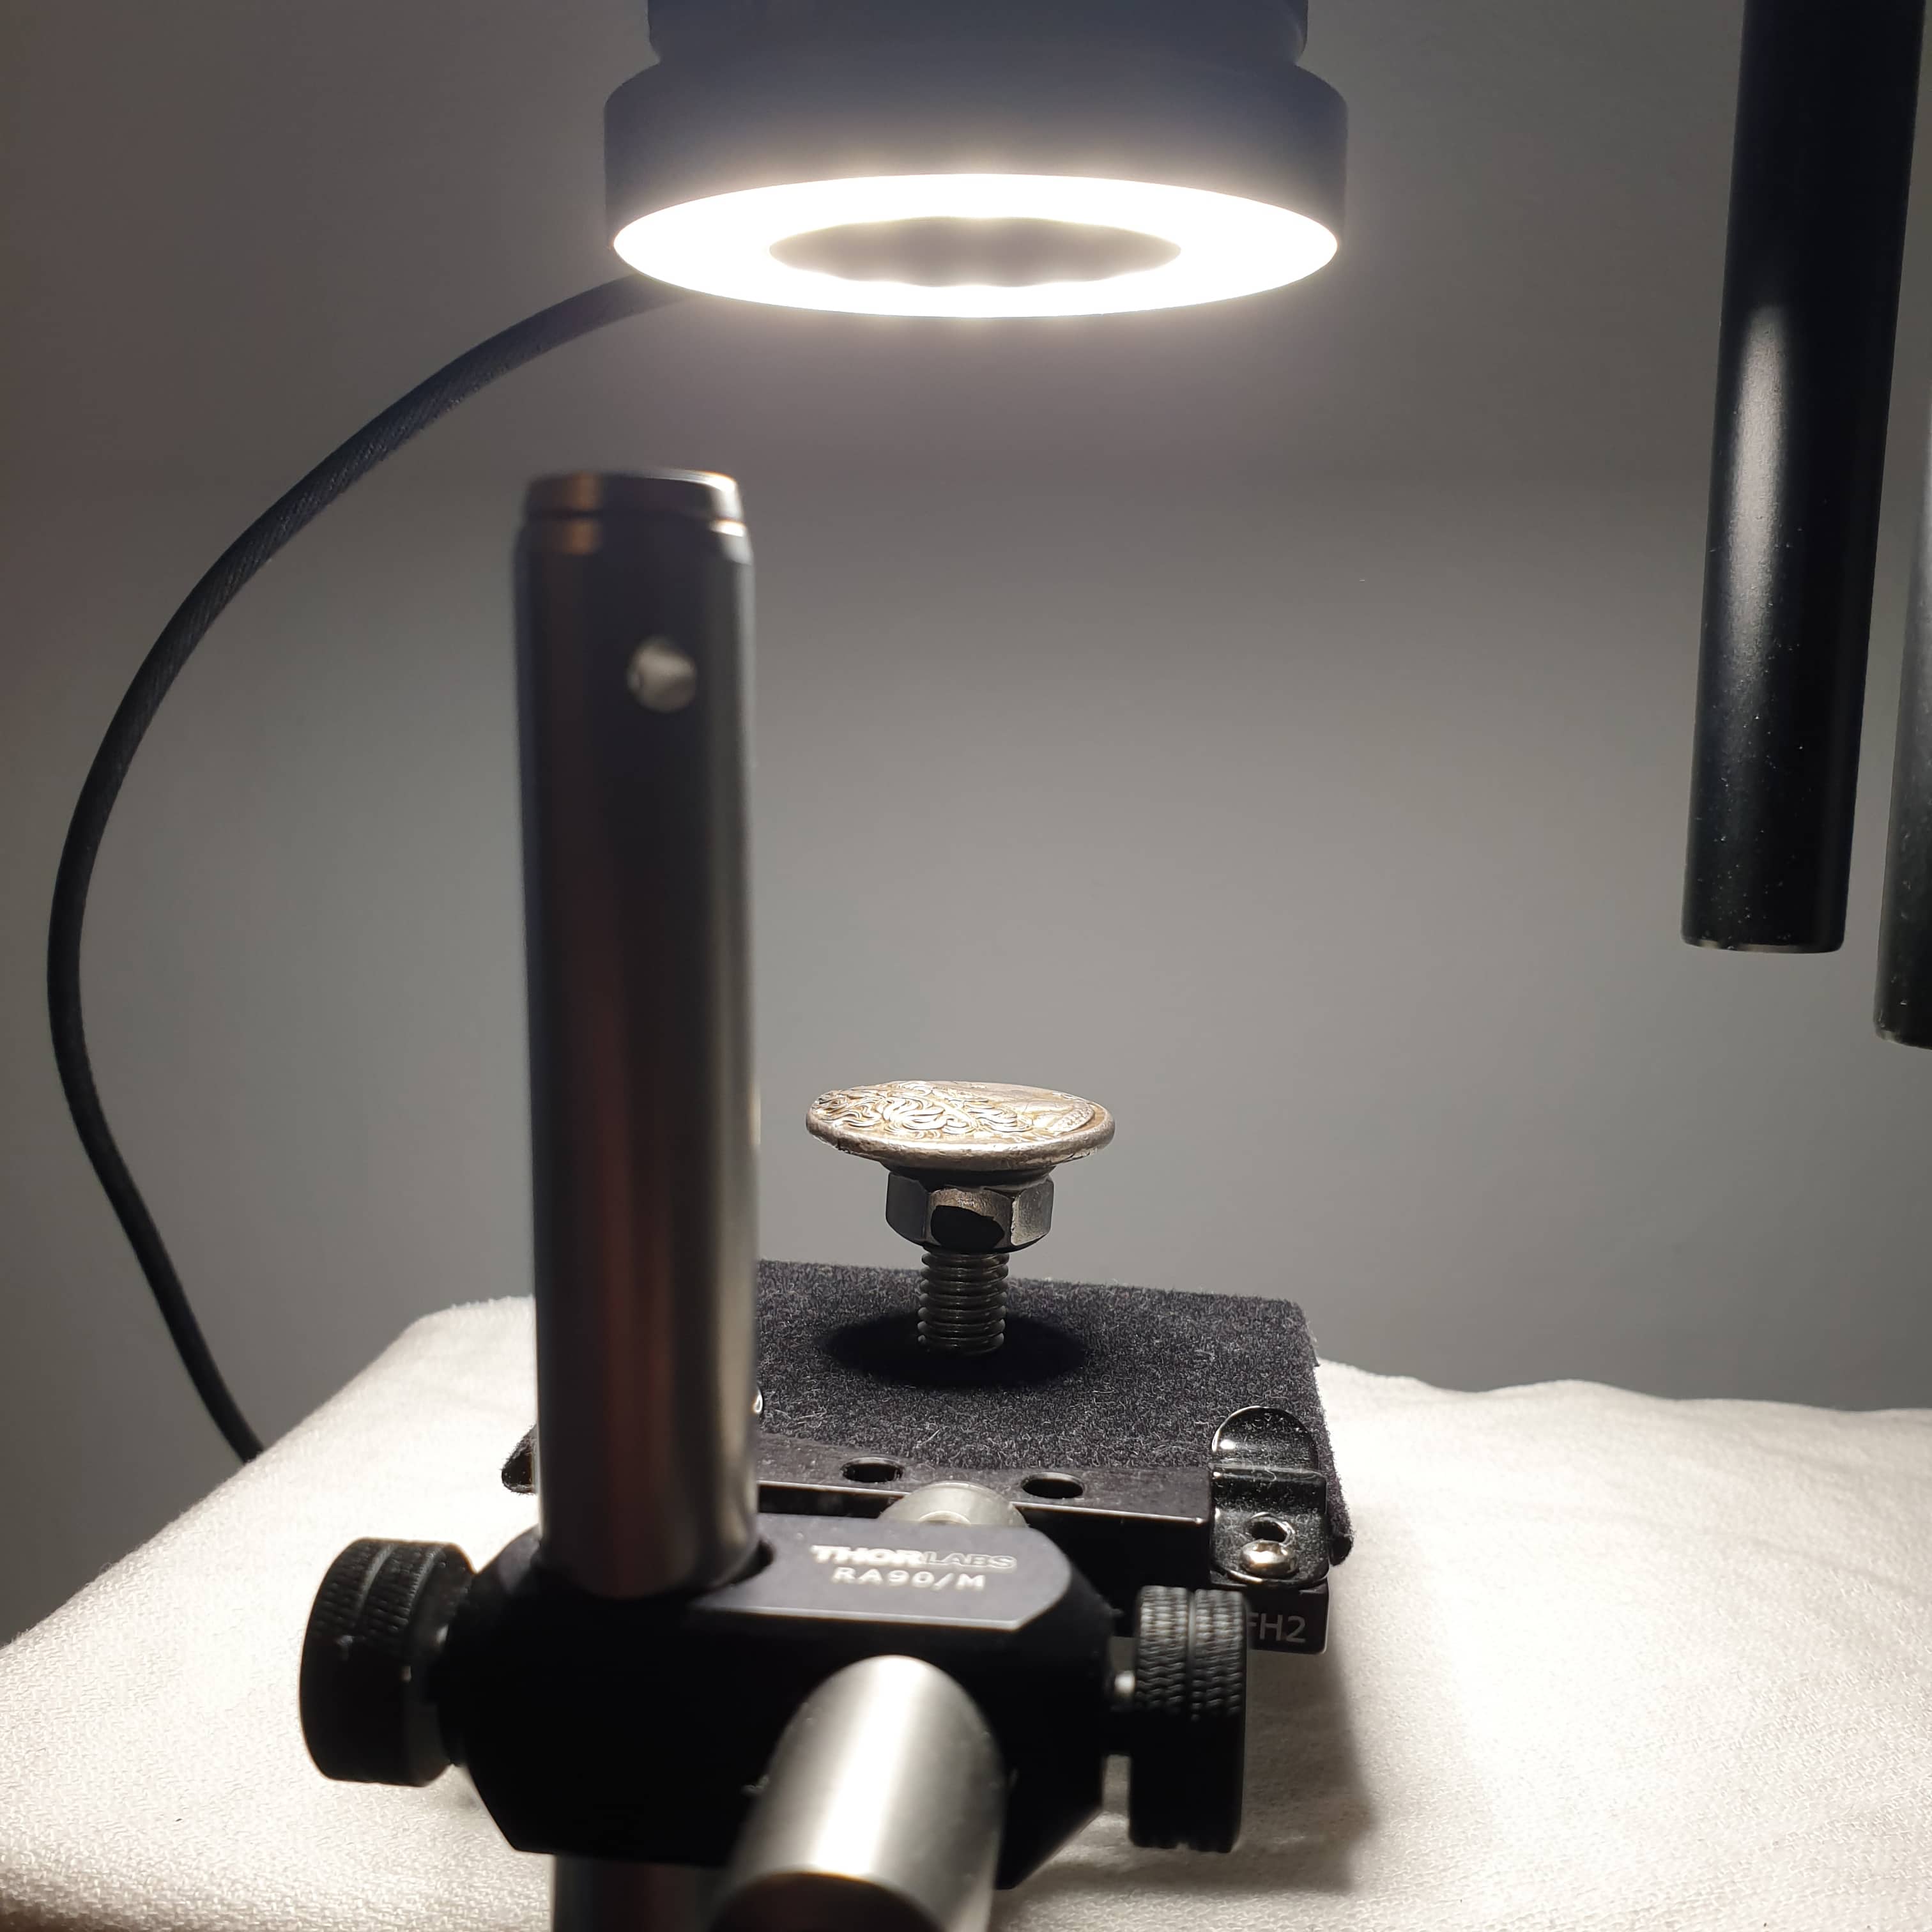
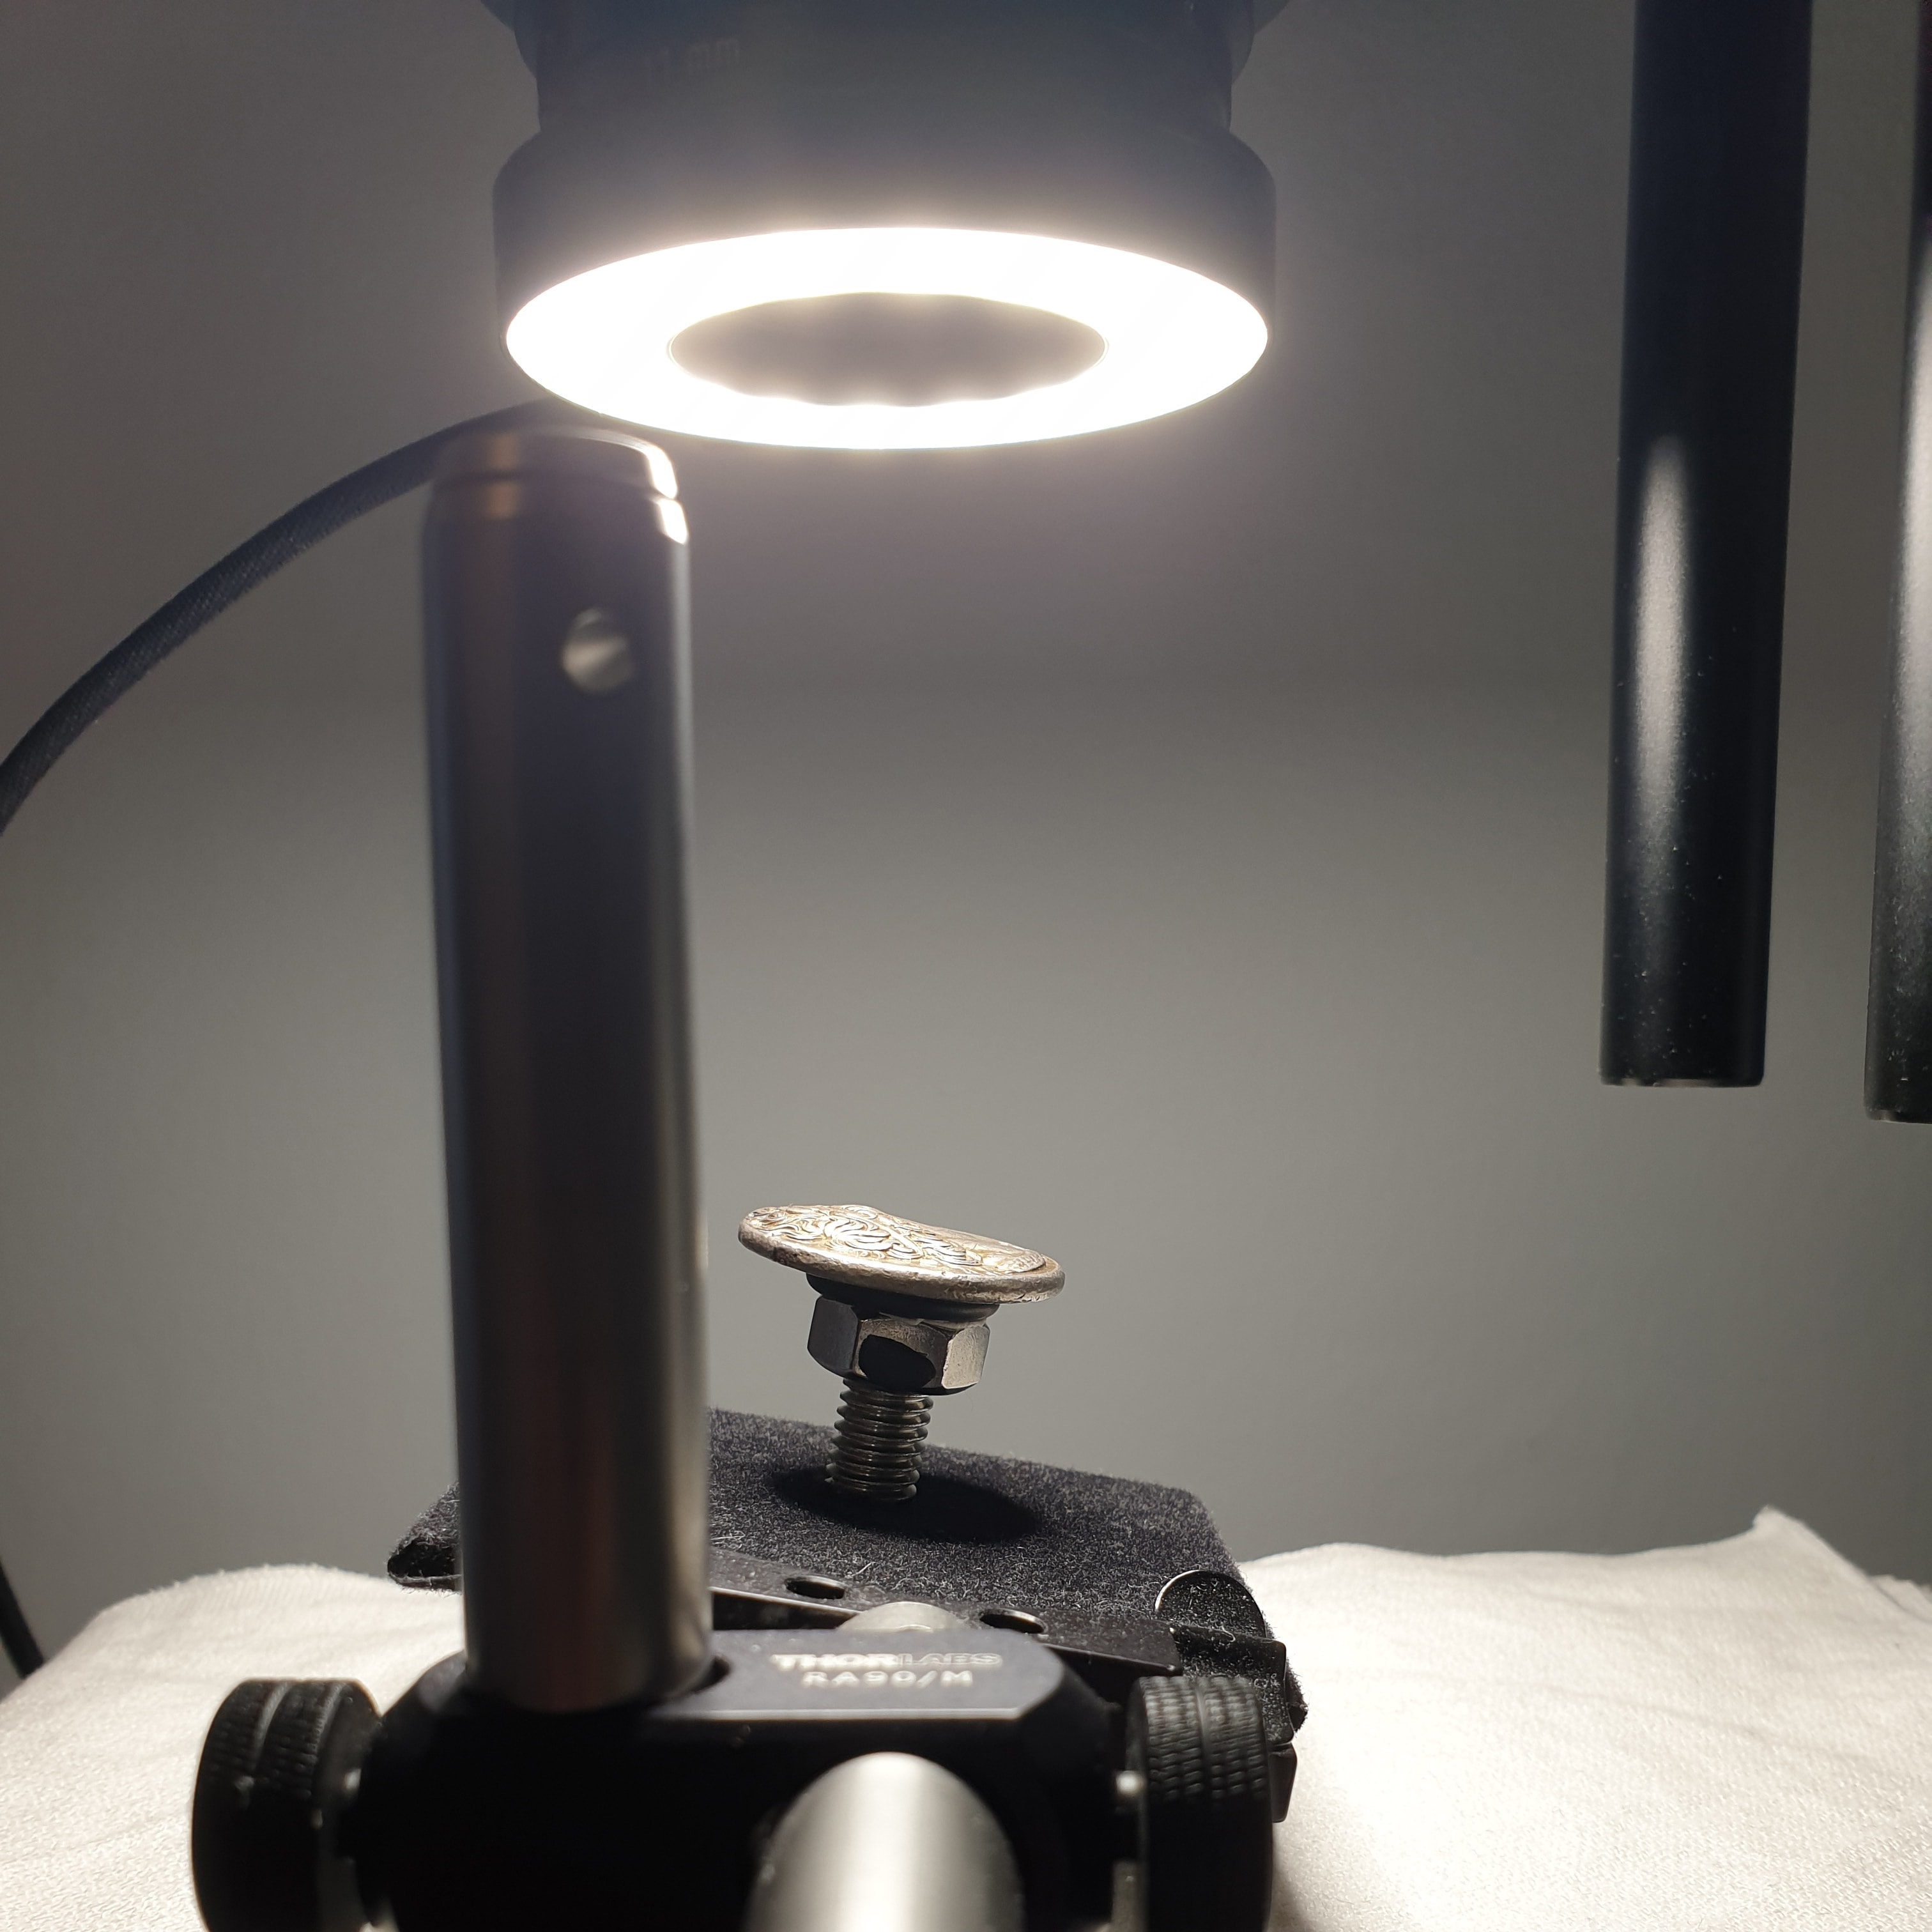
I start by placing the coin on the little pedestal or riser that keeps it above the background. After turning on the lighting (an LED ring light in this case), I observe how the coin looks in the camera display and ask myself a series of questions:
- Is the entire coin evenly lit?
- Are there any blown-out highlights that can’t be balanced out by adjusting the exposure?
- Are there any points that are not well lit and appear extremely dark, if so are these areas that I want to keep dark or brighten?
- If the coin has toning in-the-hand, is the toning replicated in the preview image?
- Are there any flowlines present that do not show up well in the preview?
- Does the coin look “flat” or the the surface dull?
- Is there too much shadow?
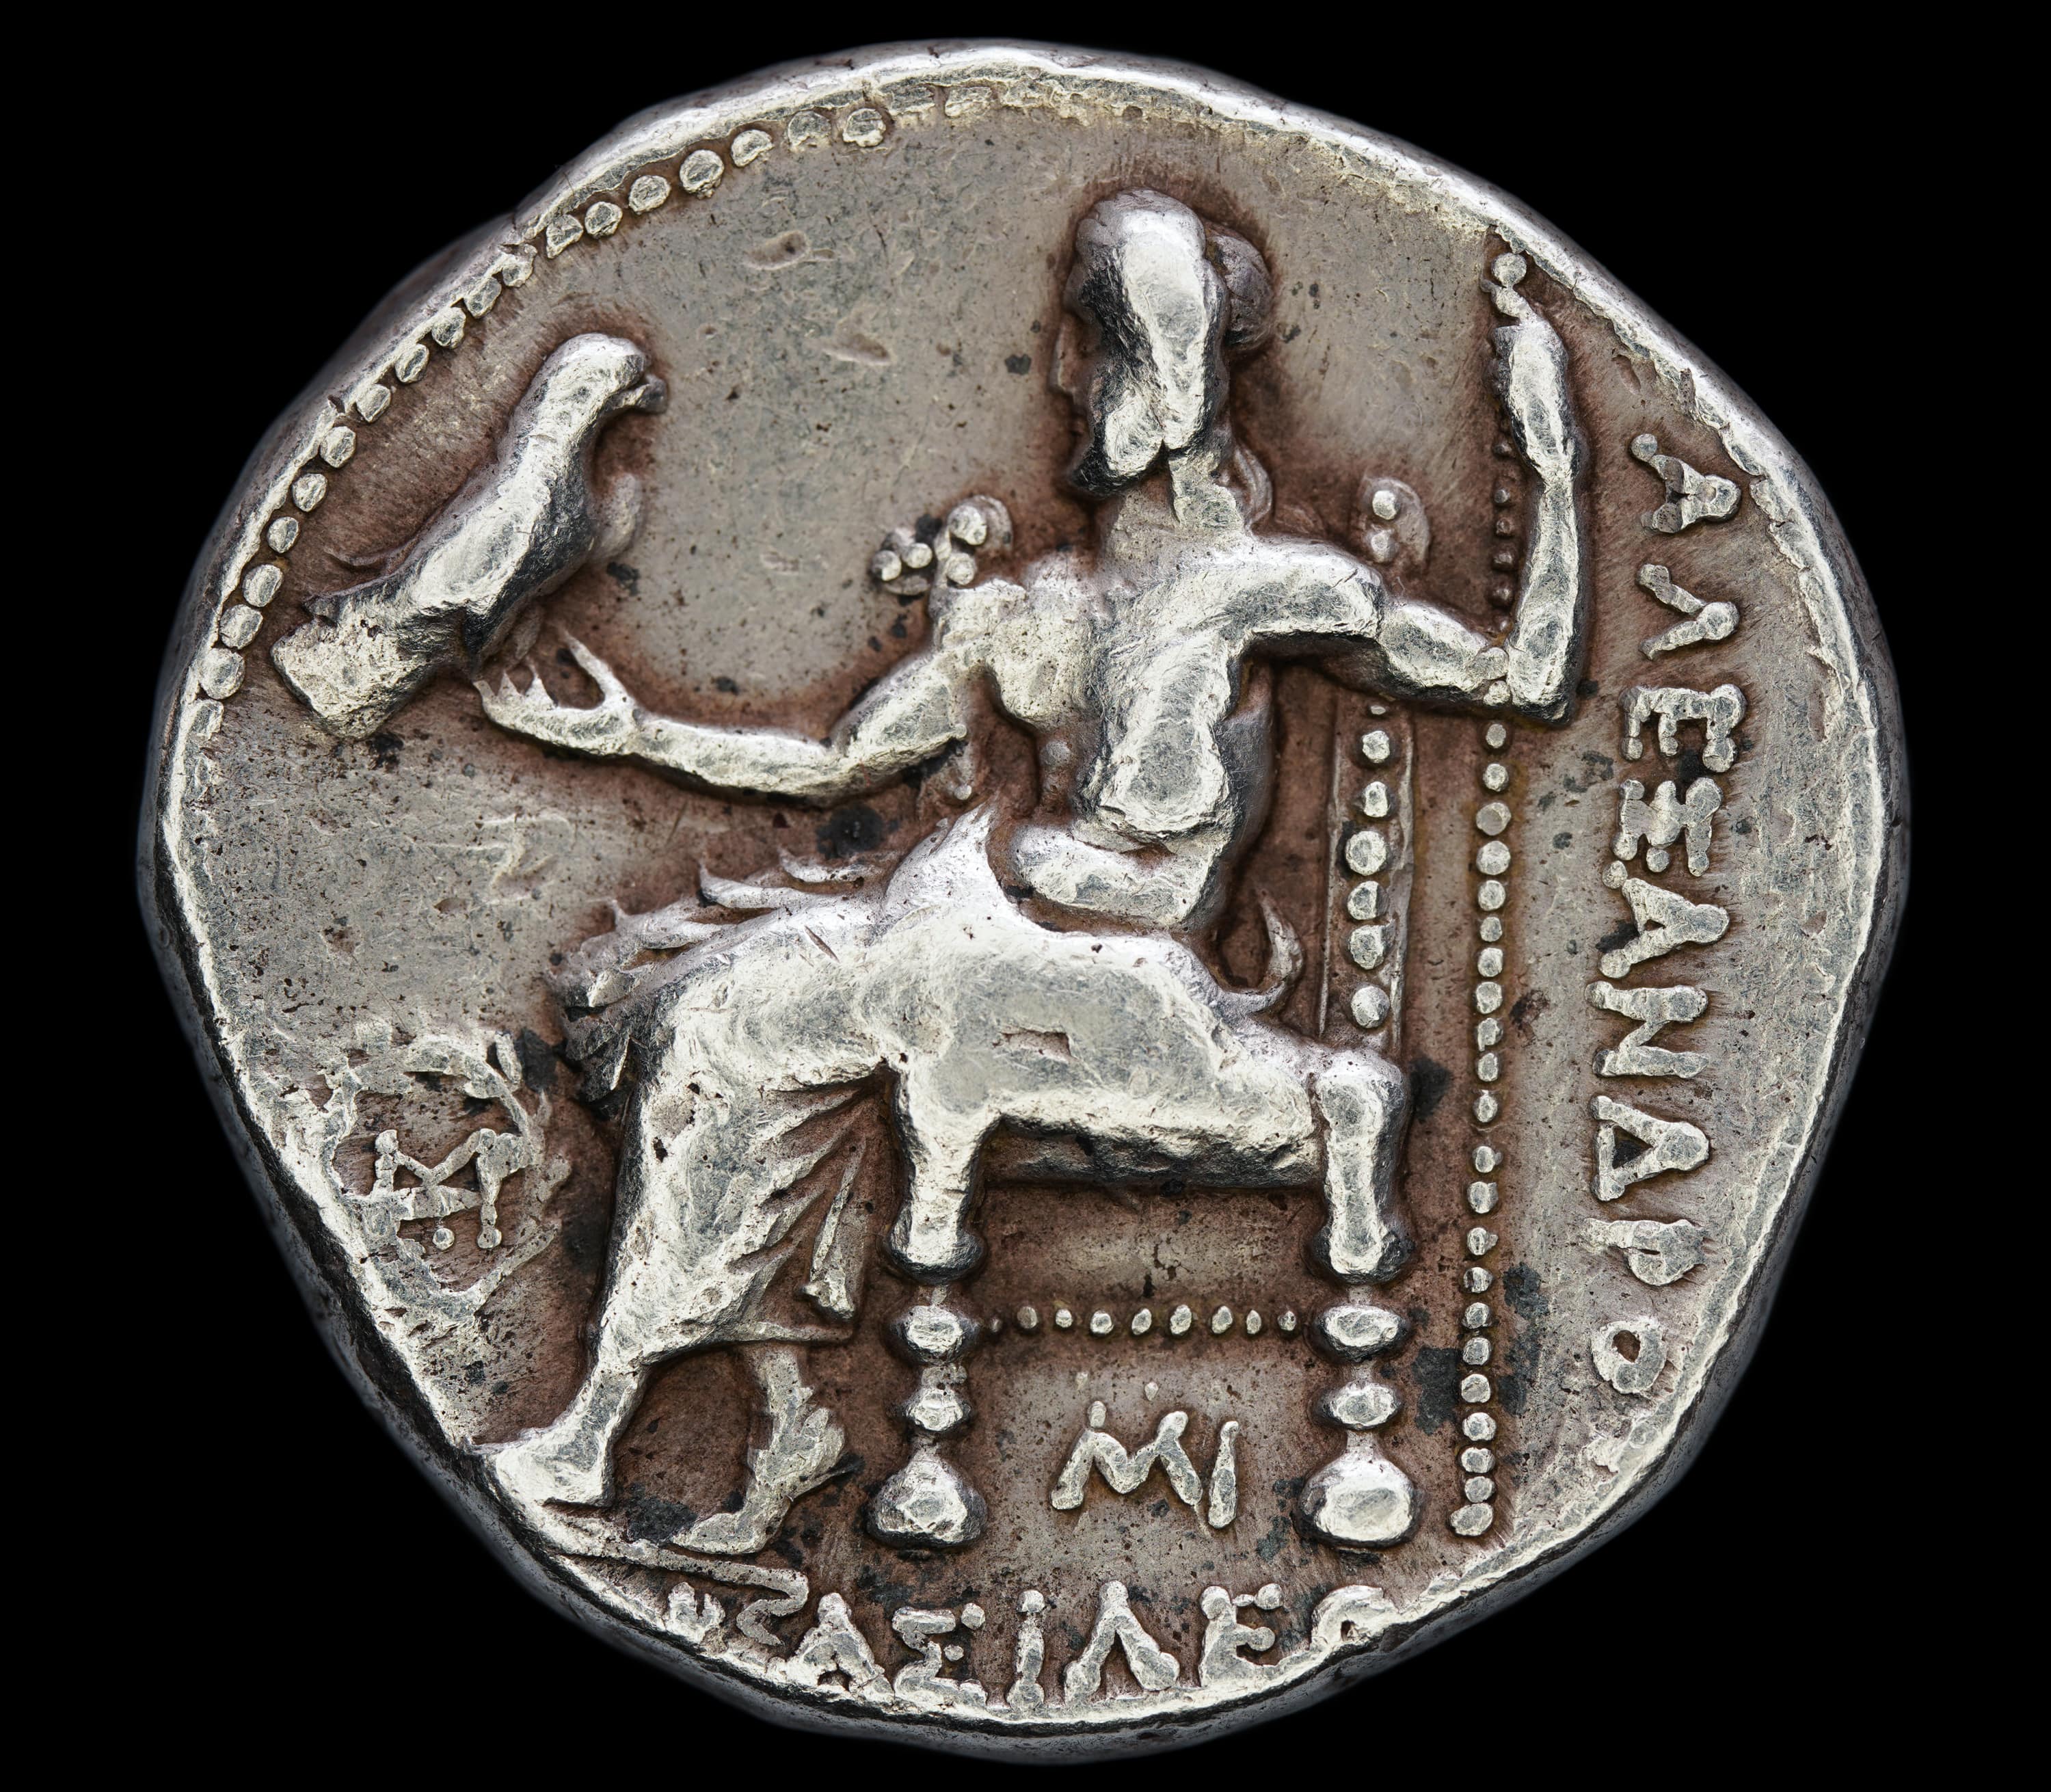
These questions and more are worth considering for every photo. You want to make your coin look as best as it can without having to rely too much on saturation, sharpness, contrast, or similar tools during editing. I also tend to aim for a particular style of photo where the coin appears as it might in the hand but with some areas that have more contrast to accentuate a specific feature, such as a portrait, symbol, or legend. I also like to have the edges of the coin bleed into the dark background, which I will talk more about below.
Lighting Adjustments
If I’m not happy with how the coin looks under the current lighting I will first try some tricks to see if I can get it to pop. The first is tilting the coin, either forwards or backwards but not often side-to-side. Tilting the coin produces a similar effect to rotating a coin in-the-hand so it catches the light at the right angle. Particularly with high-angled lighting, a tilt of 3 to 10 degrees can help bring out the toning and colour of a coin as well as any flowlines or other microdetails. Tilting the coin can also diminish any bright spots, particularly on the highest point of a portrait.
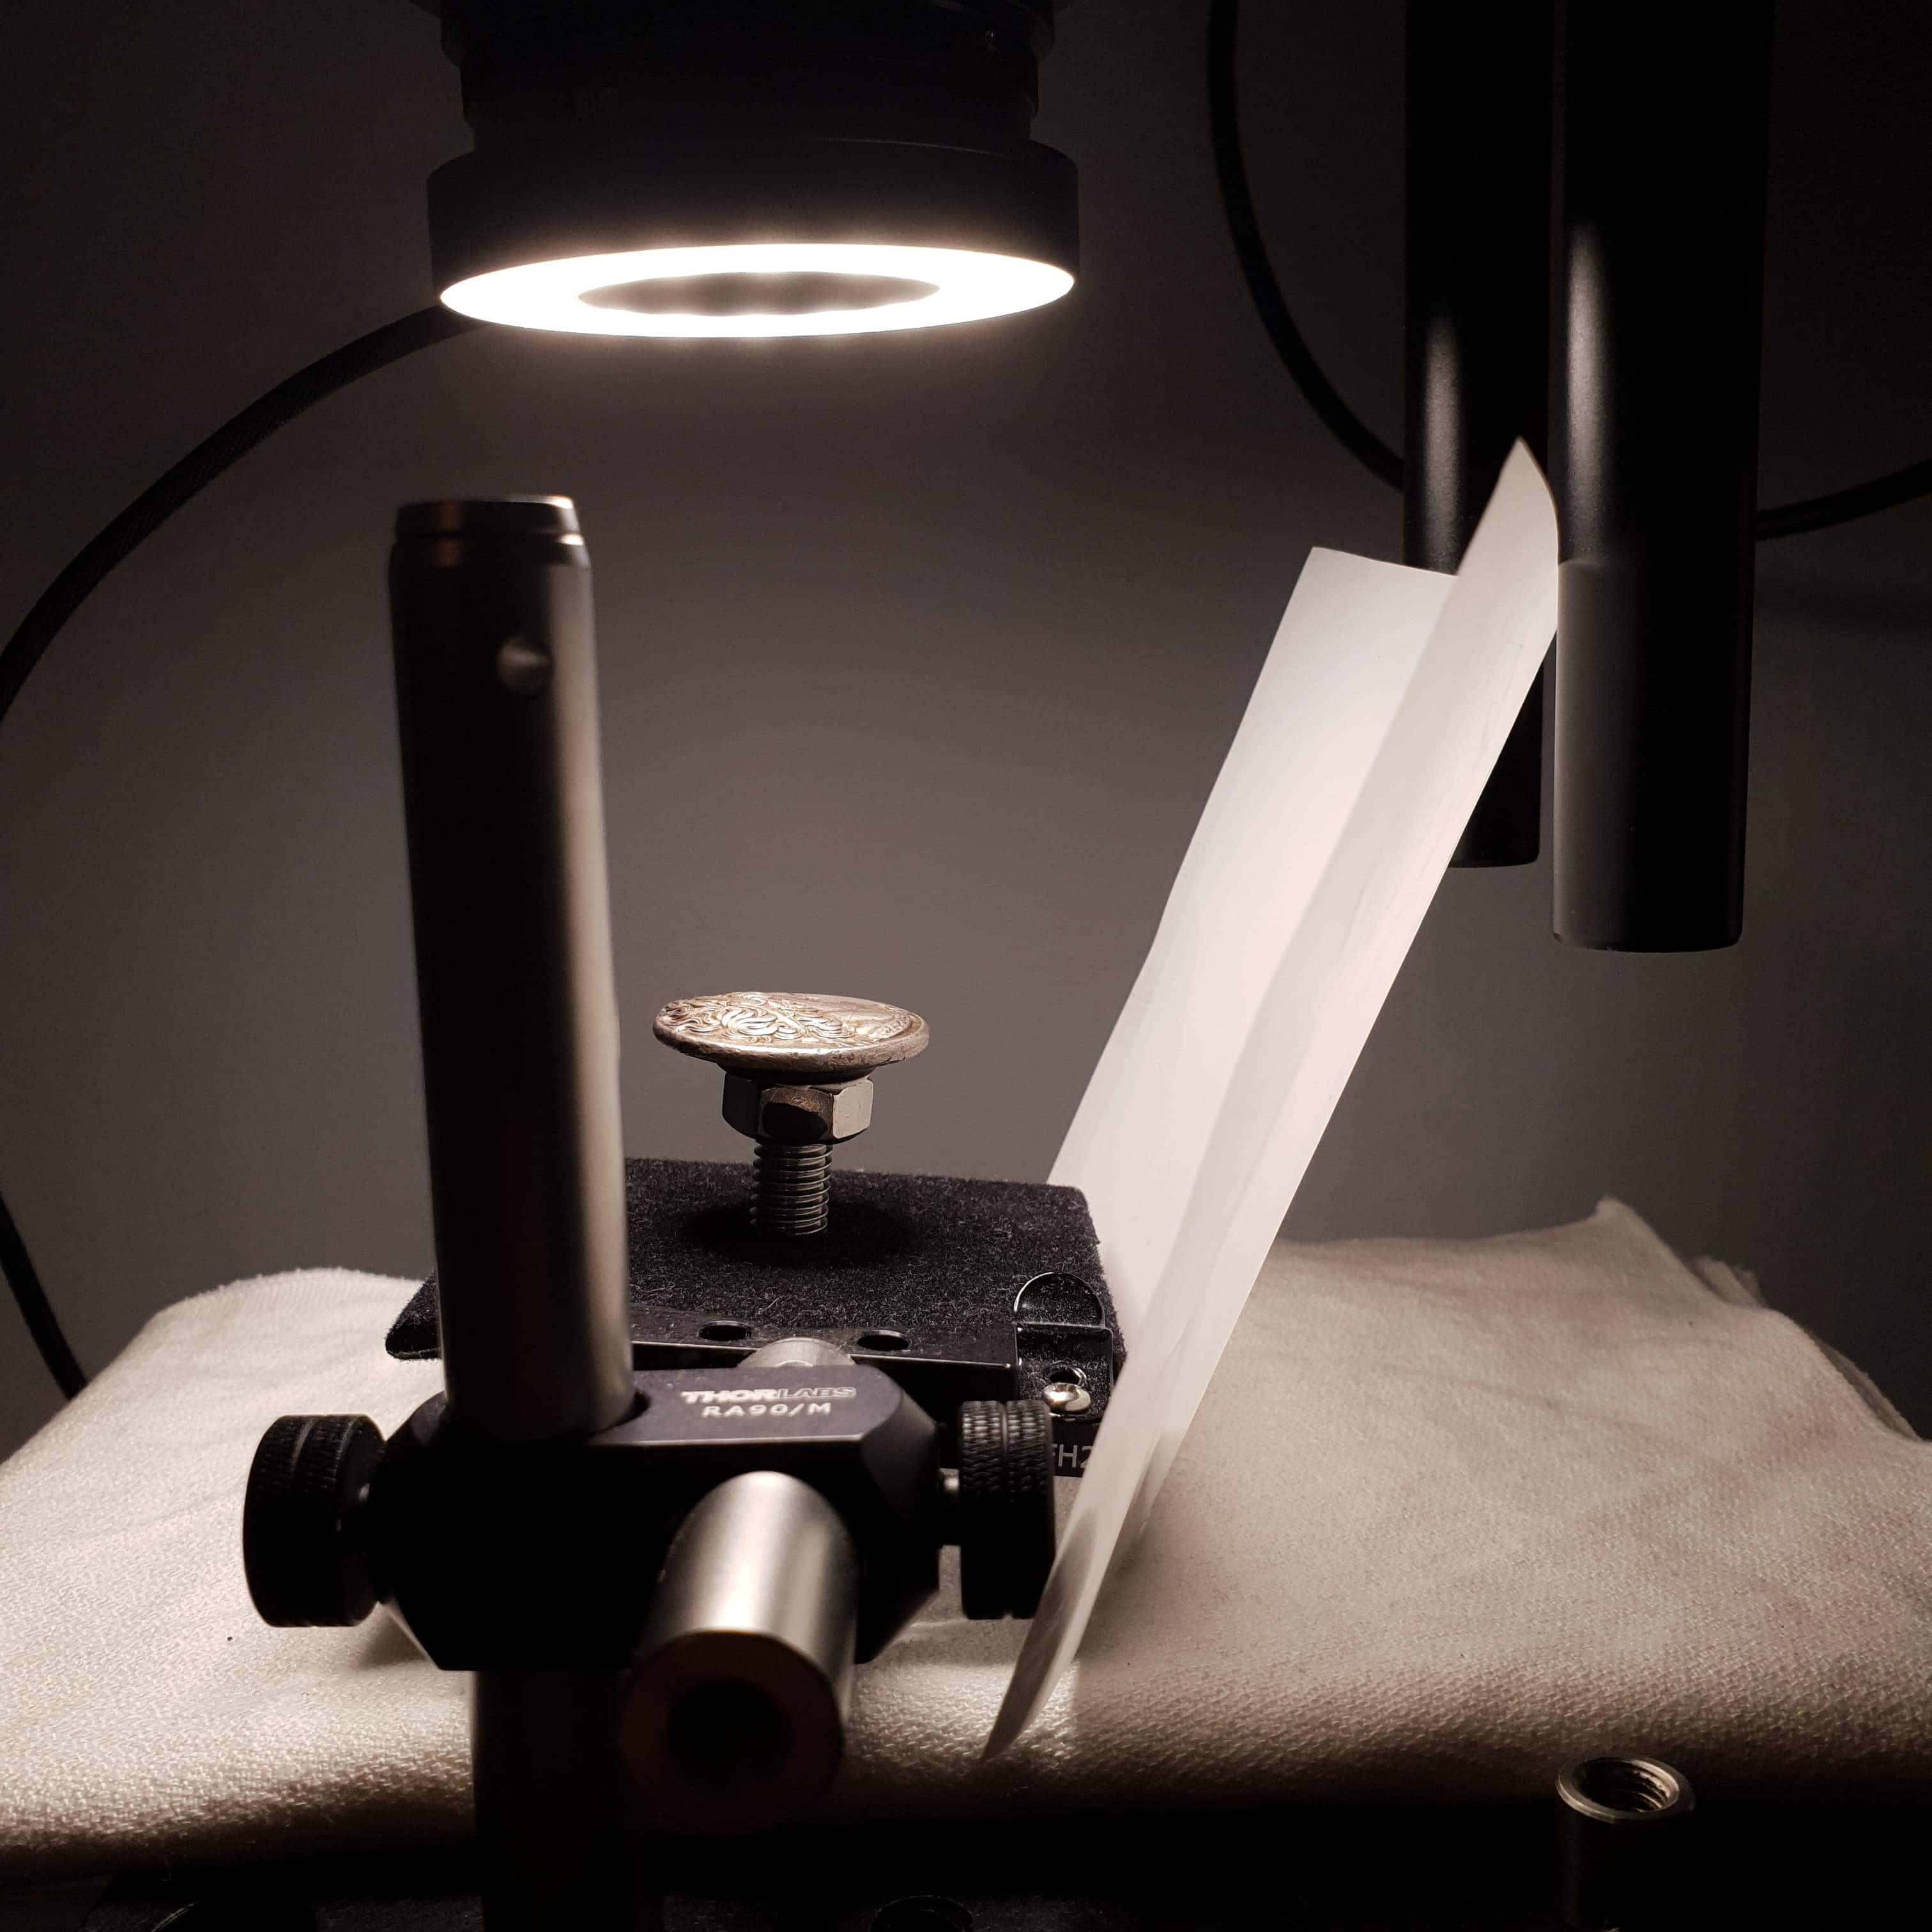
Other things I will try include introducing secondary light sources, adding diffusion, or adding reflectors. All three options can tackle the problem of getting light where it needs to be without overpowering the main light. For a secondary light, you could use a small LED panel (e.g. the Godox LED64) or a camera flash with the power settings reduced to the lower levels (e.g. 1/64 or 1/128 in manual mode). Diffusion can help spread the light of your primary or secondary light source and in the case of the latter I will use it to add a touch more light in a certain area without wanting to remove shadow or greatly alter the effect the primary light is providing. For professional diffusion material I recommend Lee filters (e.g. Lee 216) as they’re quite cheap and come in all sorts of specifications with different transmission ratios and colour. In a pinch, you can also use baking paper, tracing paper, or some thin white cloth (e.g. a piece cut from a bed sheet).
Background Separation
How you light your coin can greatly affect how easy it will be to remove the background during editing. If you’re already shooting the coin against a black velvet or dull white material, with the coin raised several centimetres on a pedestal, your coin should have good separation and the background may already appear as one solid colour. However, if you want to completely remove the background in editing and then replace it with an entirely different colour or image, it’s important to ensure the edges of the coin are well lit.
My preference is to bleed the edges into a black background as it helps the coin appear as if it’s a natural part of the photo and not cut-out and pasted onto a plain background. Therefore I don’t often worry about ensuring all edges of the coin are well let, usually I only aim to have the bottom half of the coin’s edges somewhat illuminated to show the thickness of the flan. When using high-angled or pseudo-axial lighting you may need to reflect light onto the edges since most of the light is pointing directly down on the coin. I will use a piece of white paper or diffusion material placed at an angle to the coin to reflect a small amount of light onto the edge. Be careful not to over-do it however, too much reflection can make the edges appear much brighter than the rest of the coin and will stand out in the final image.
Use the arrows to swipe through the photos below.

Different Lighting Arrangements
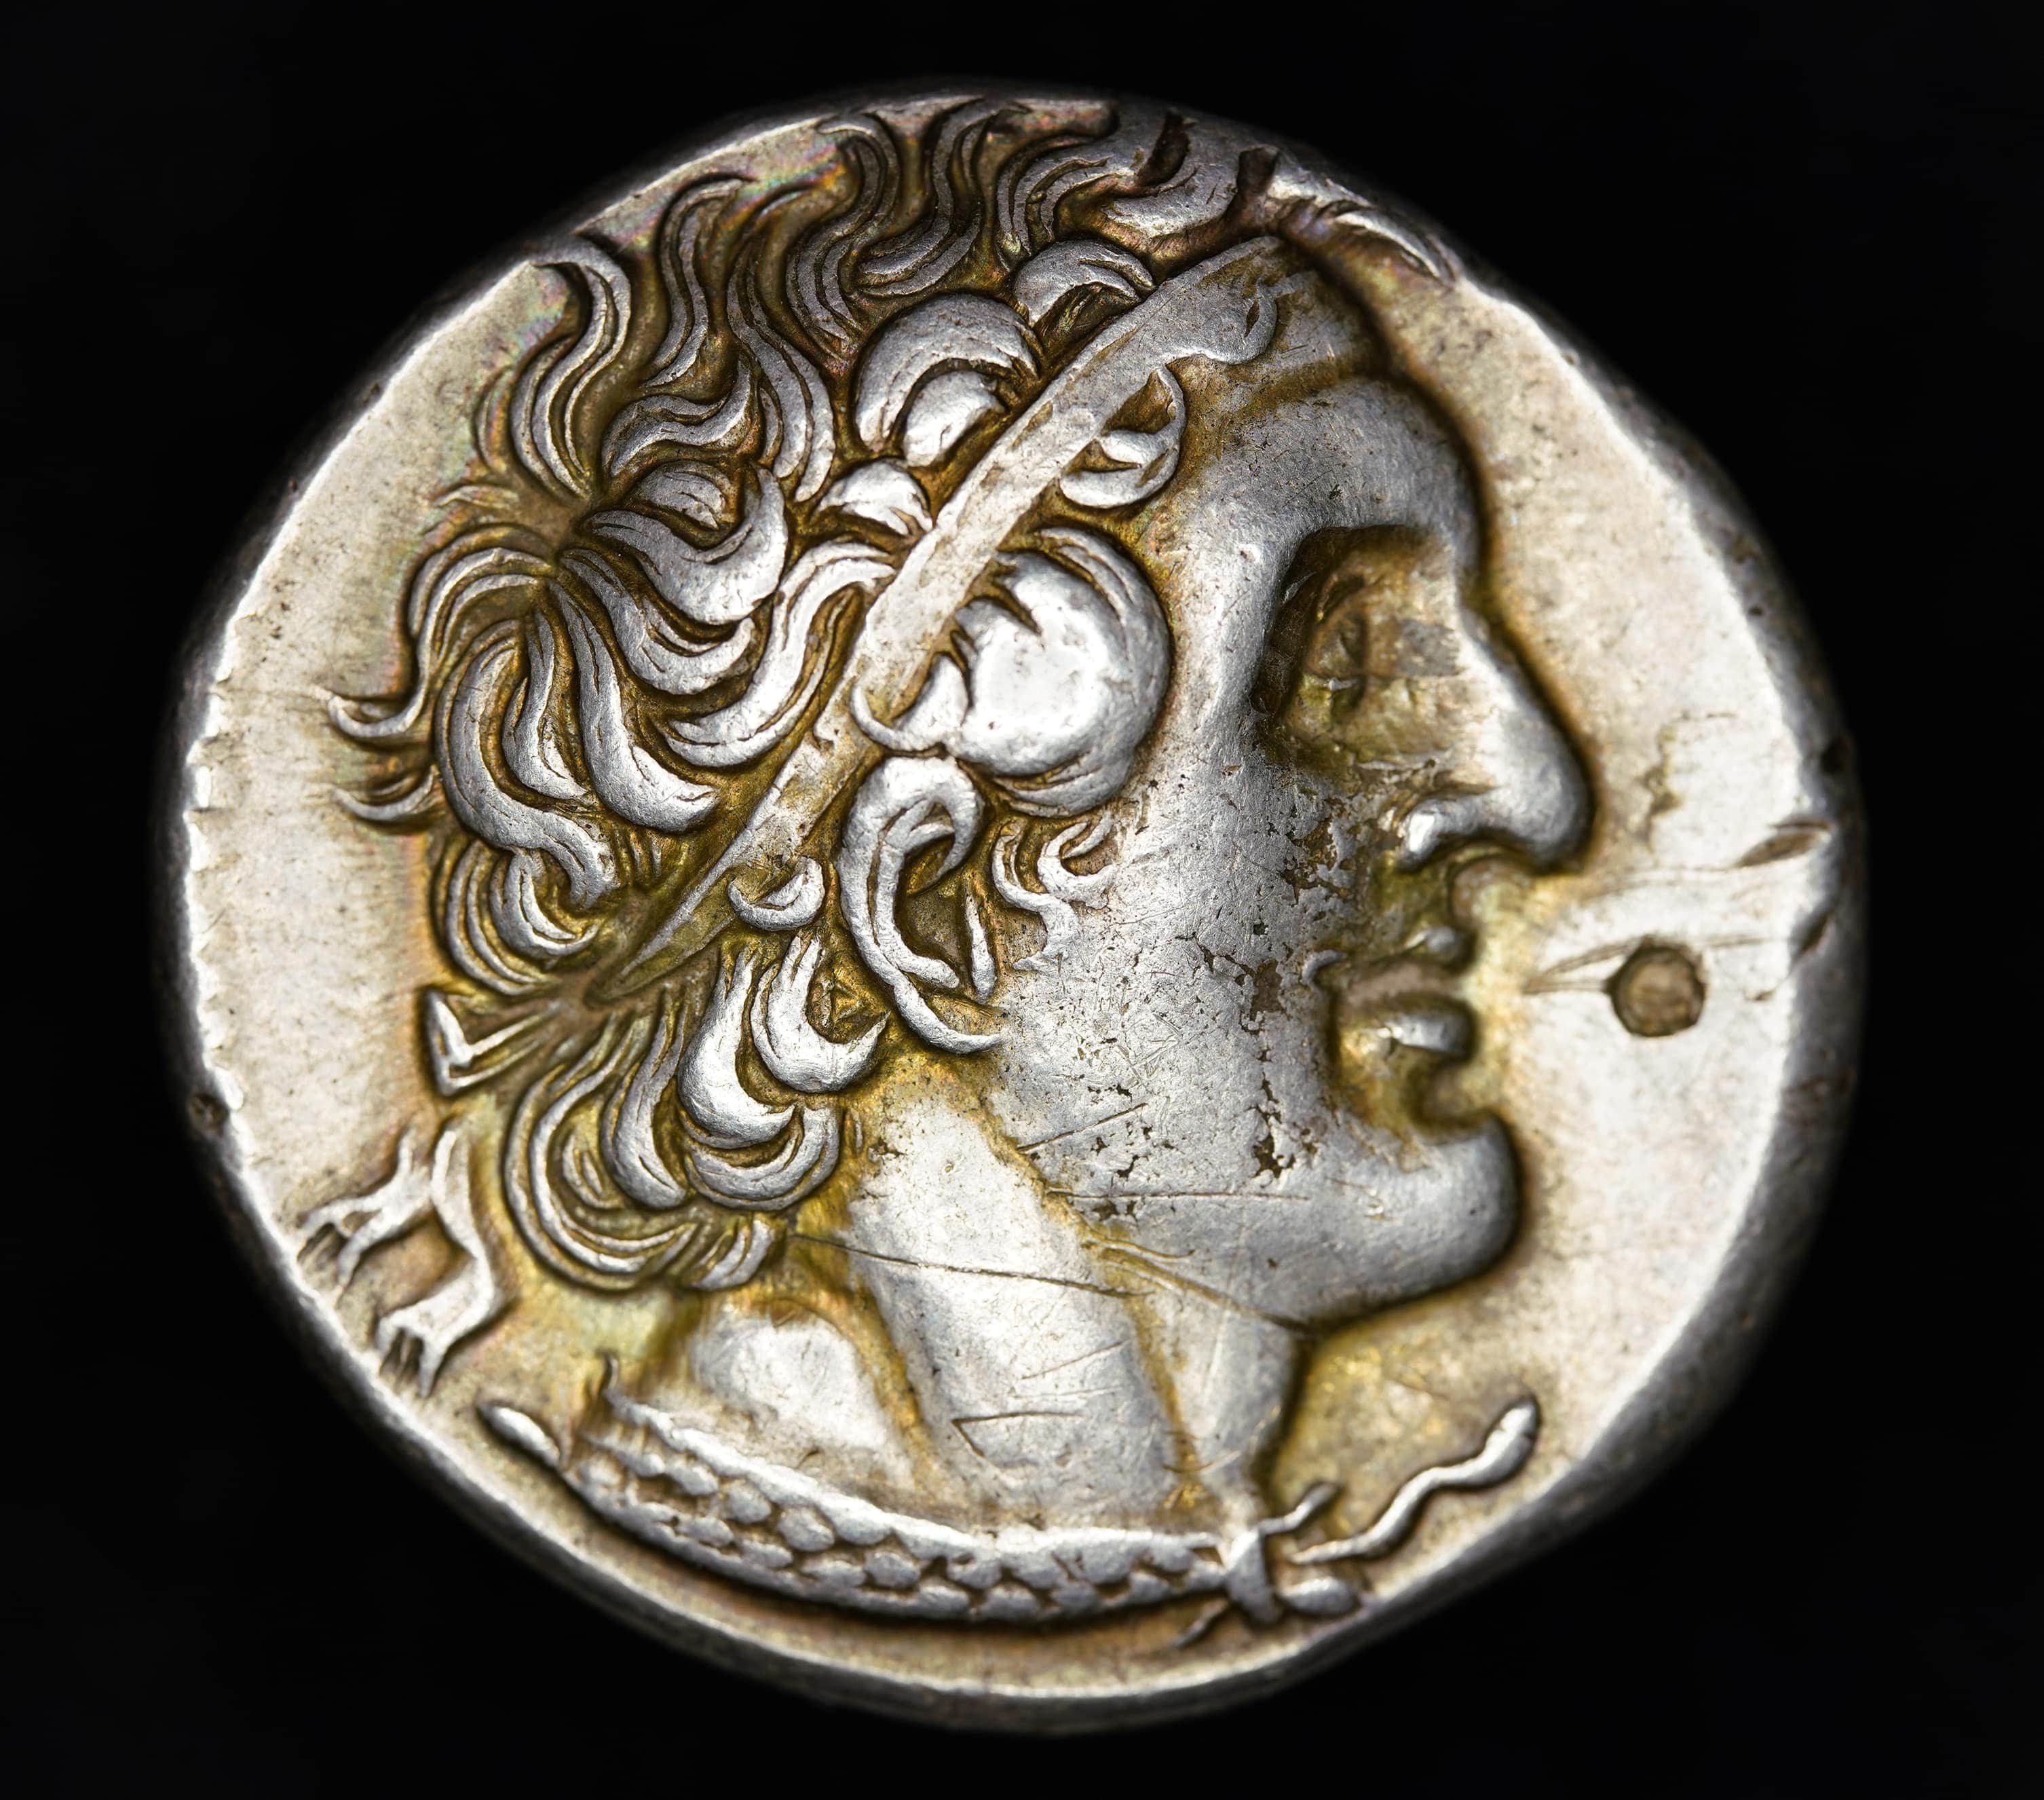
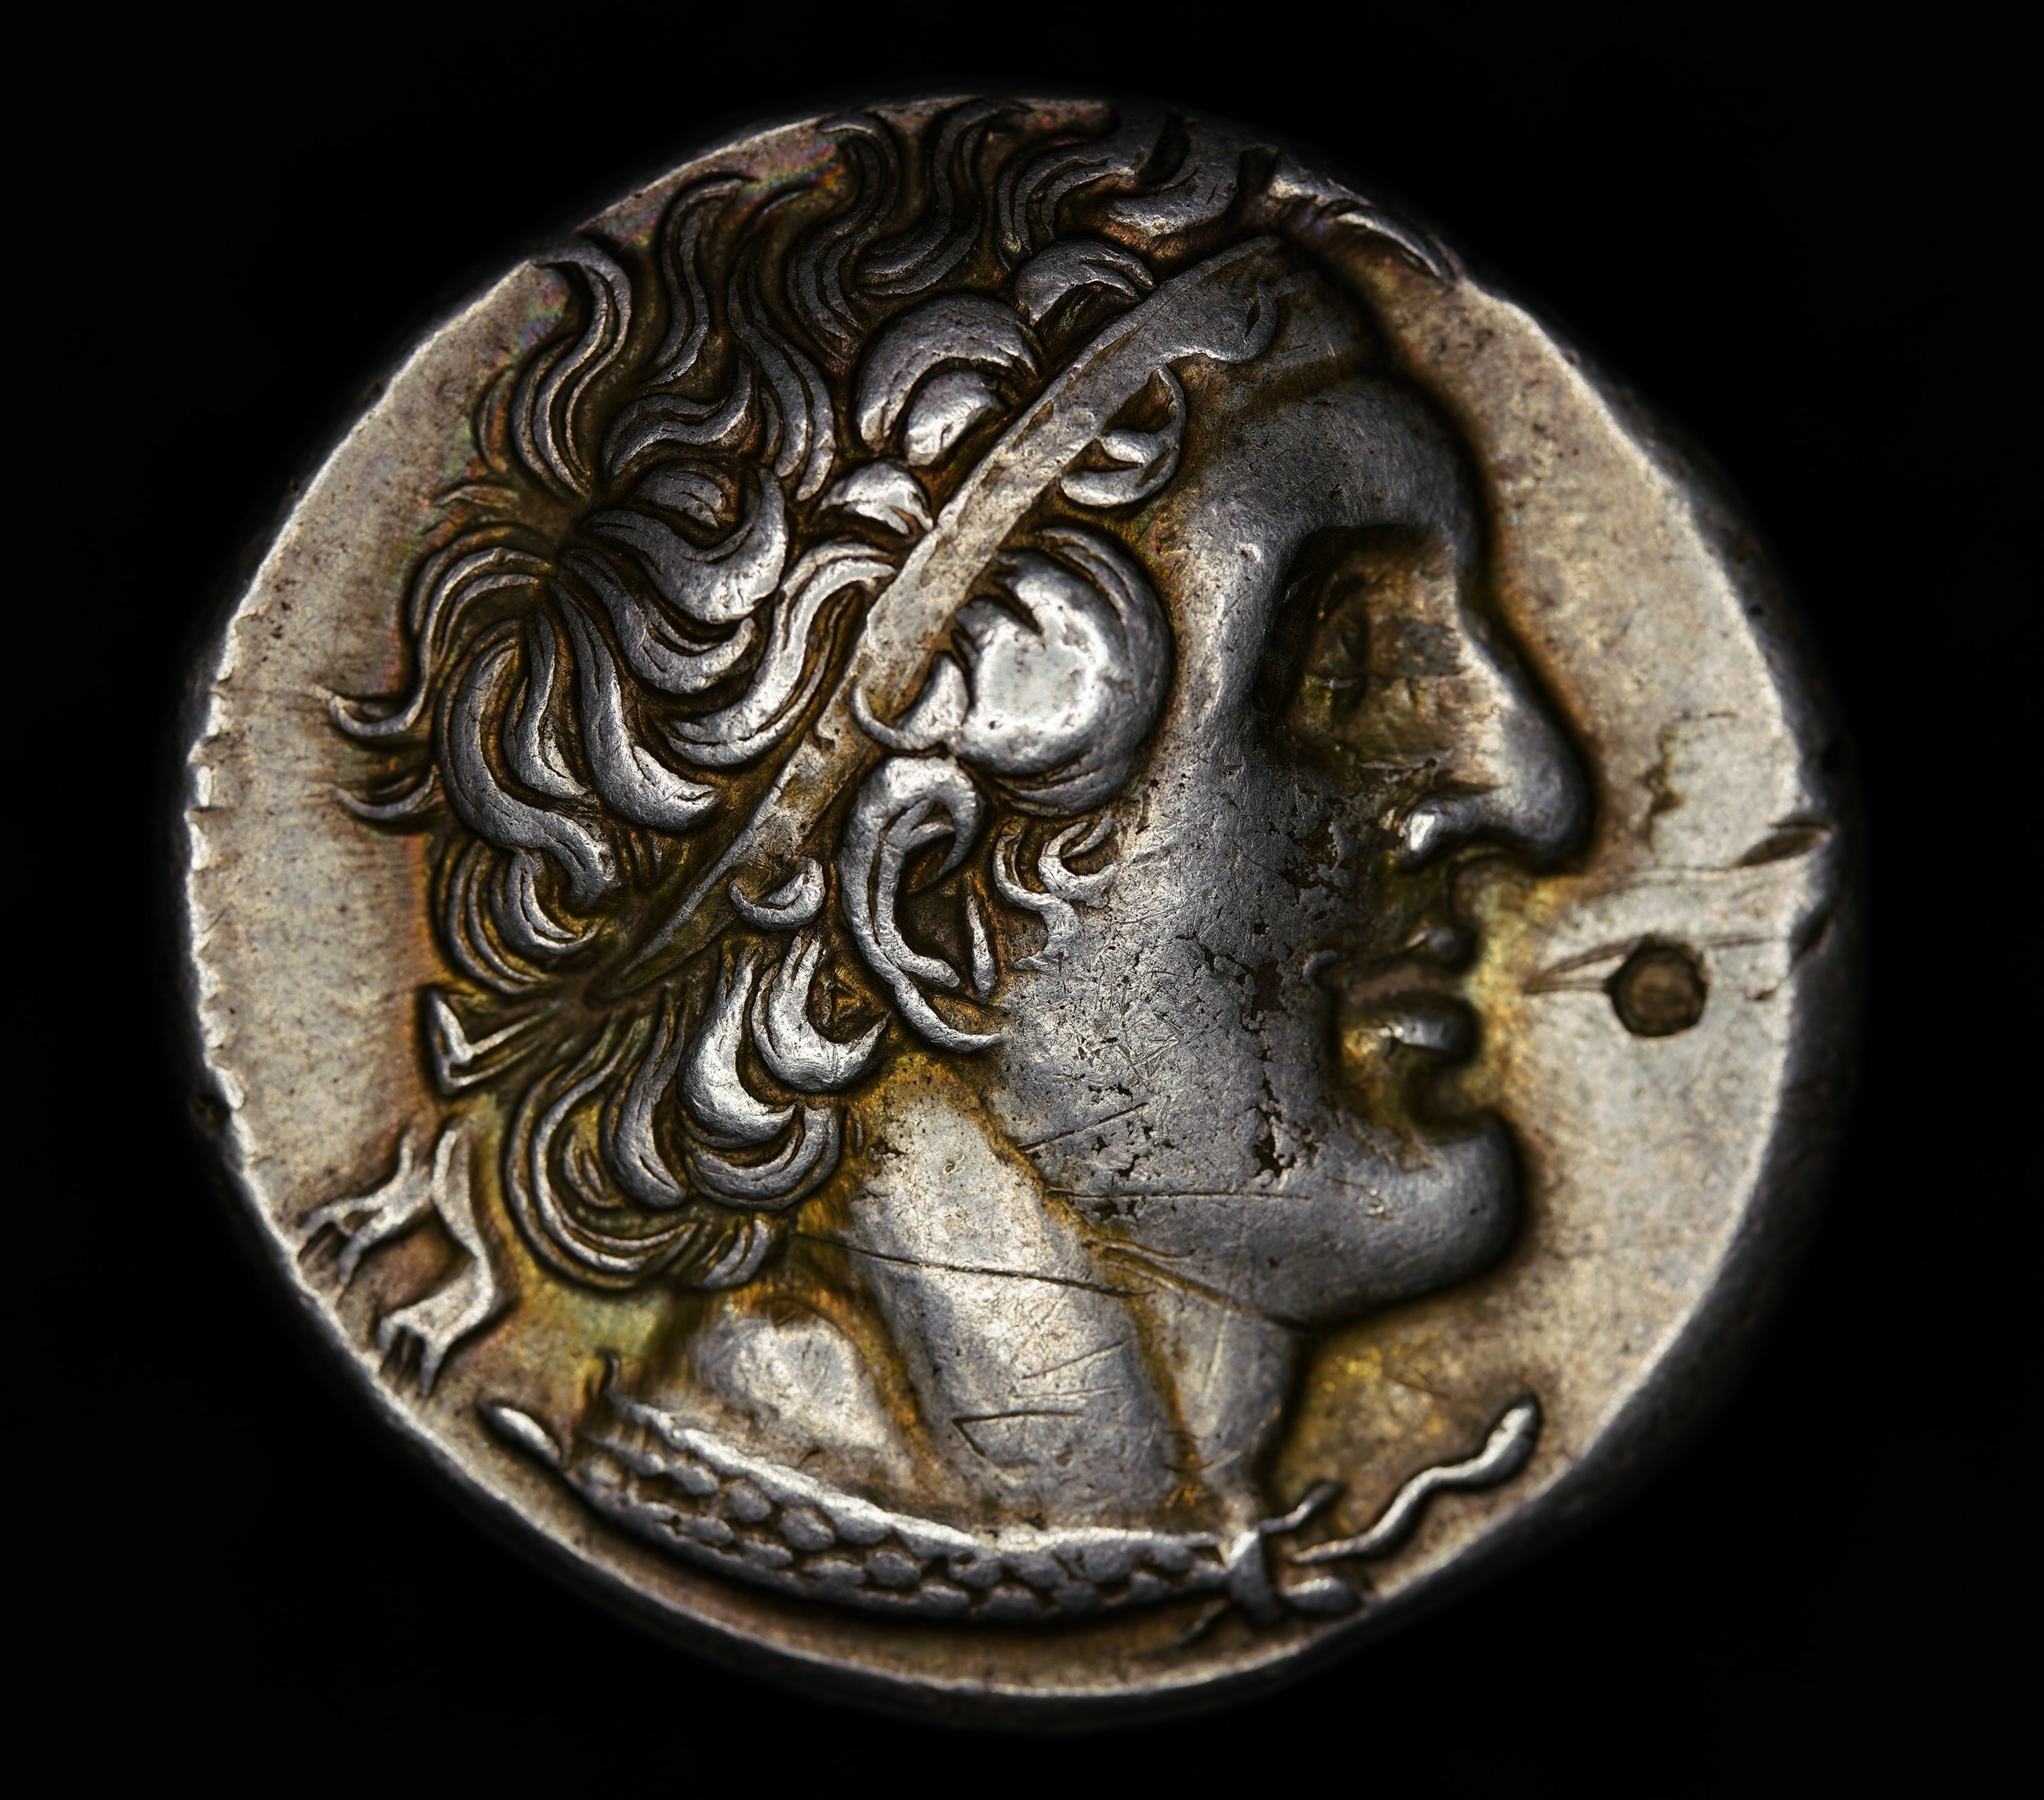
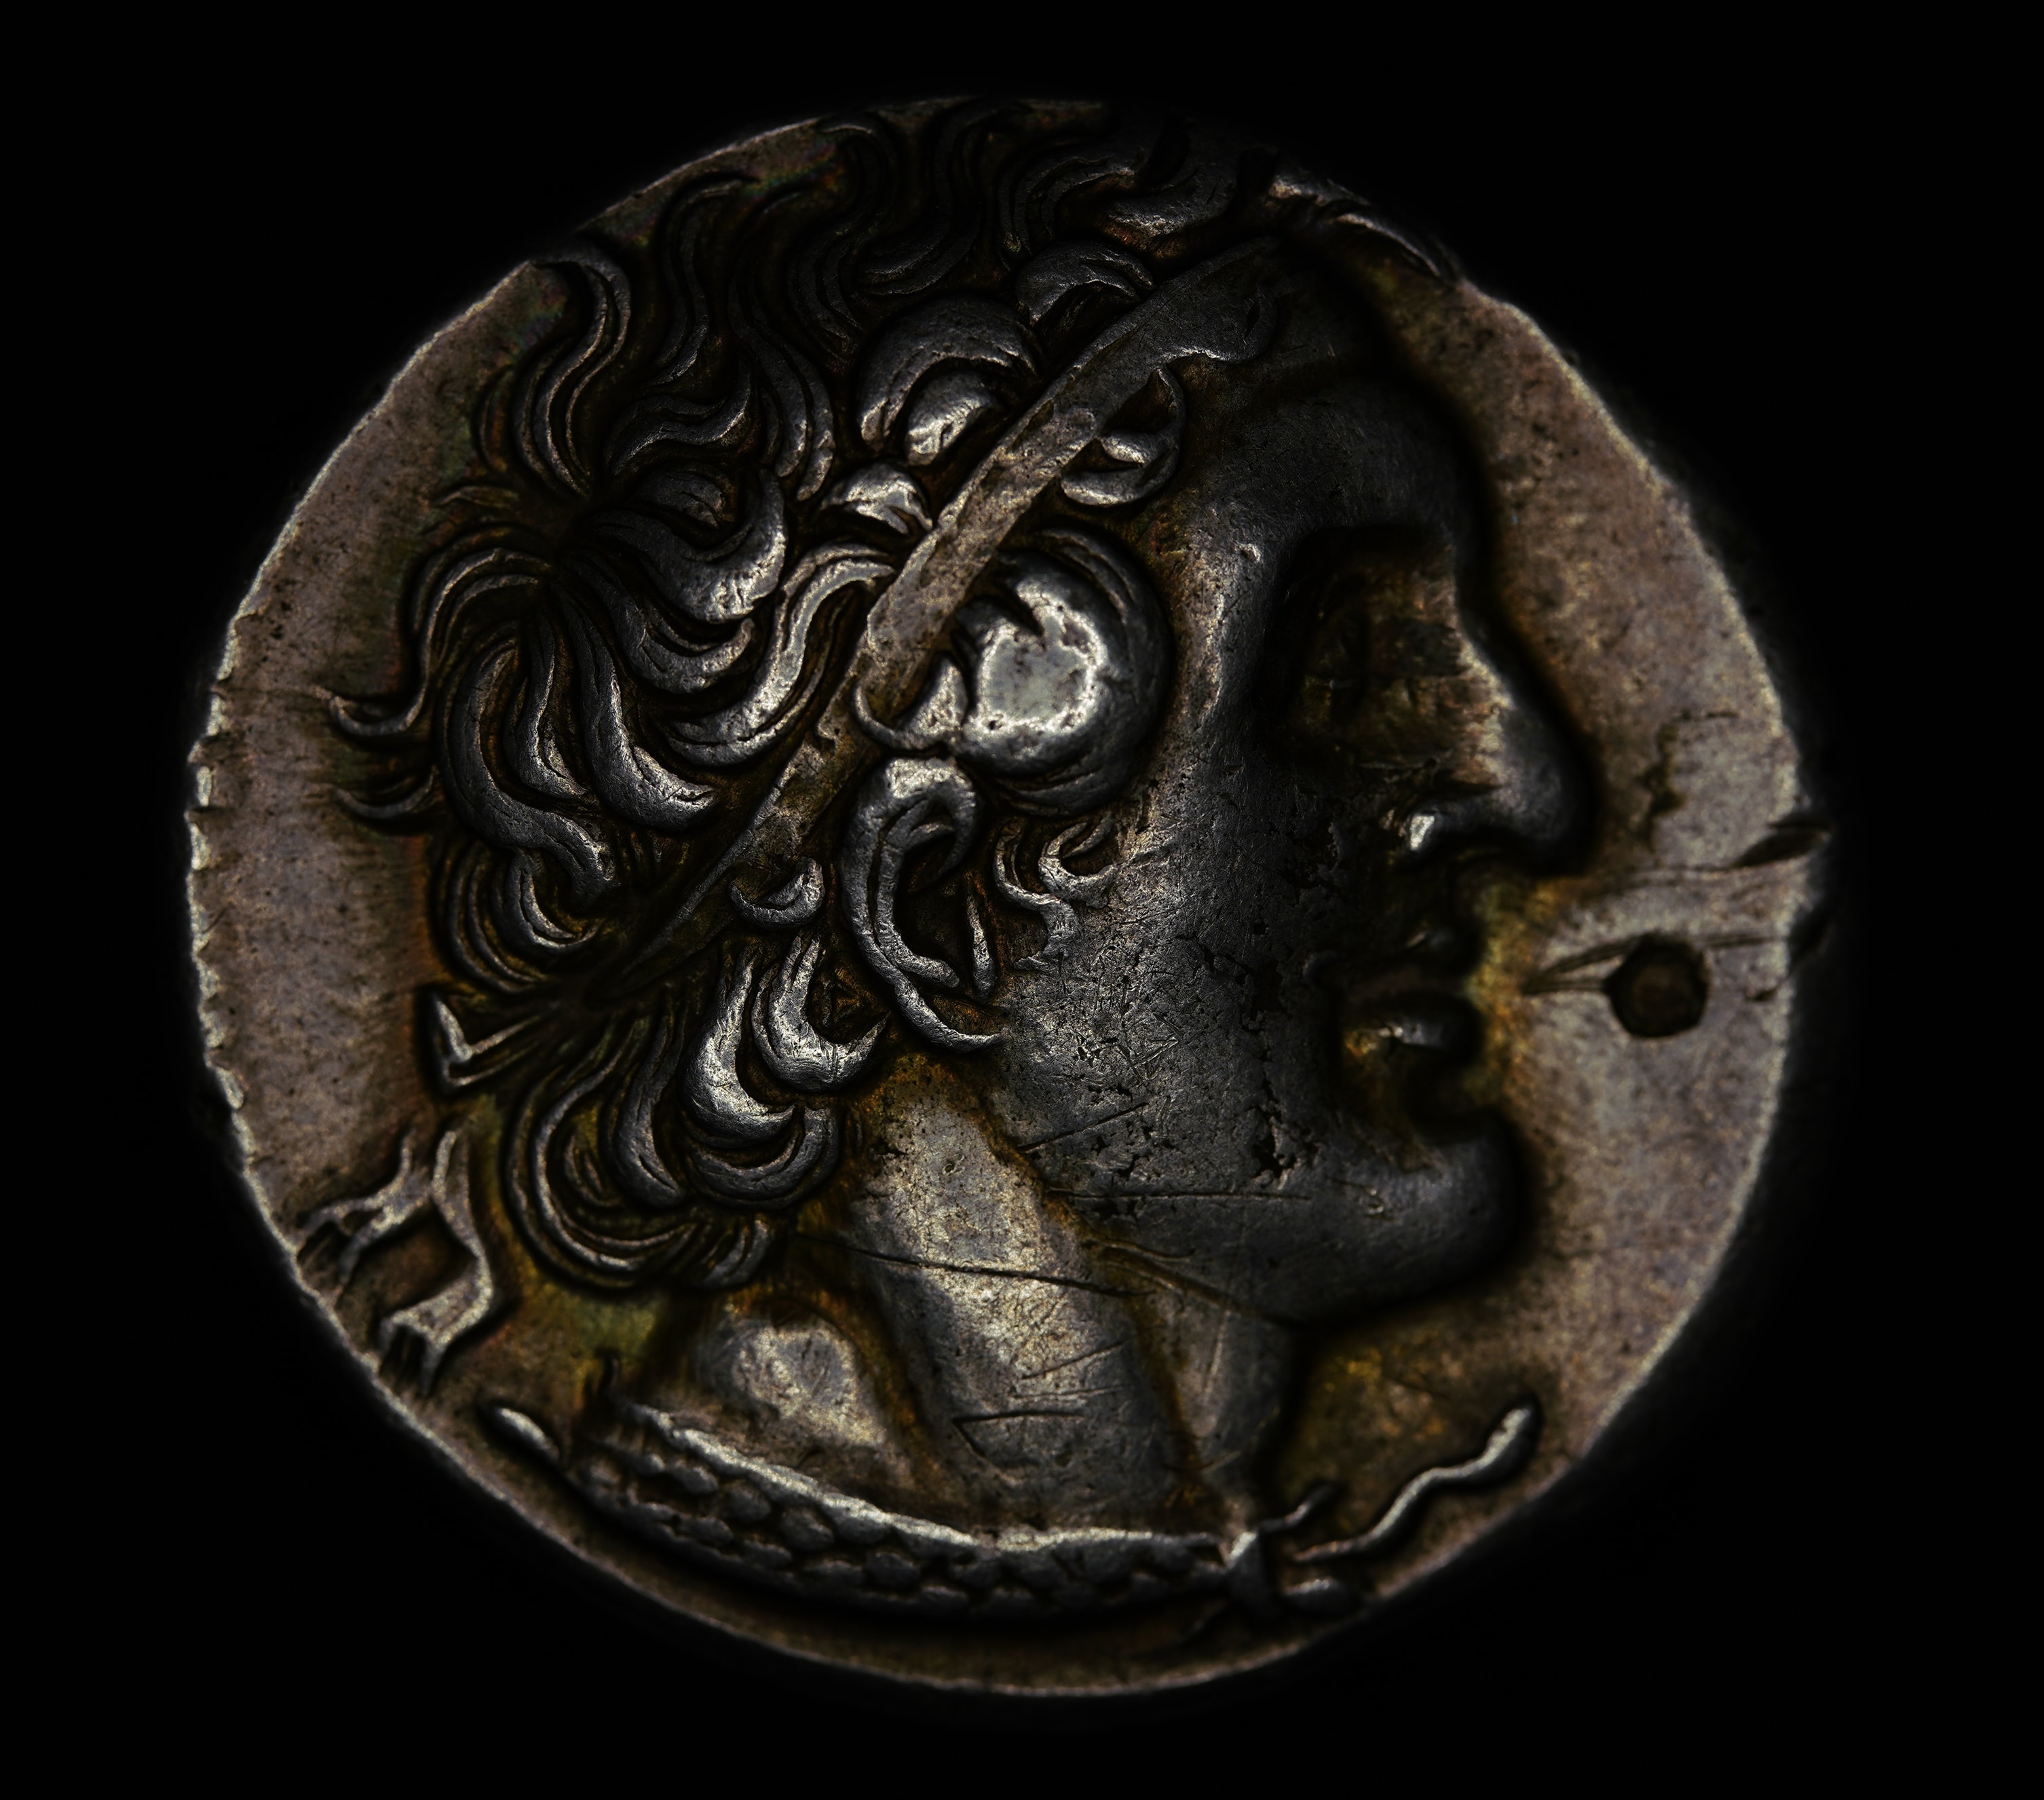
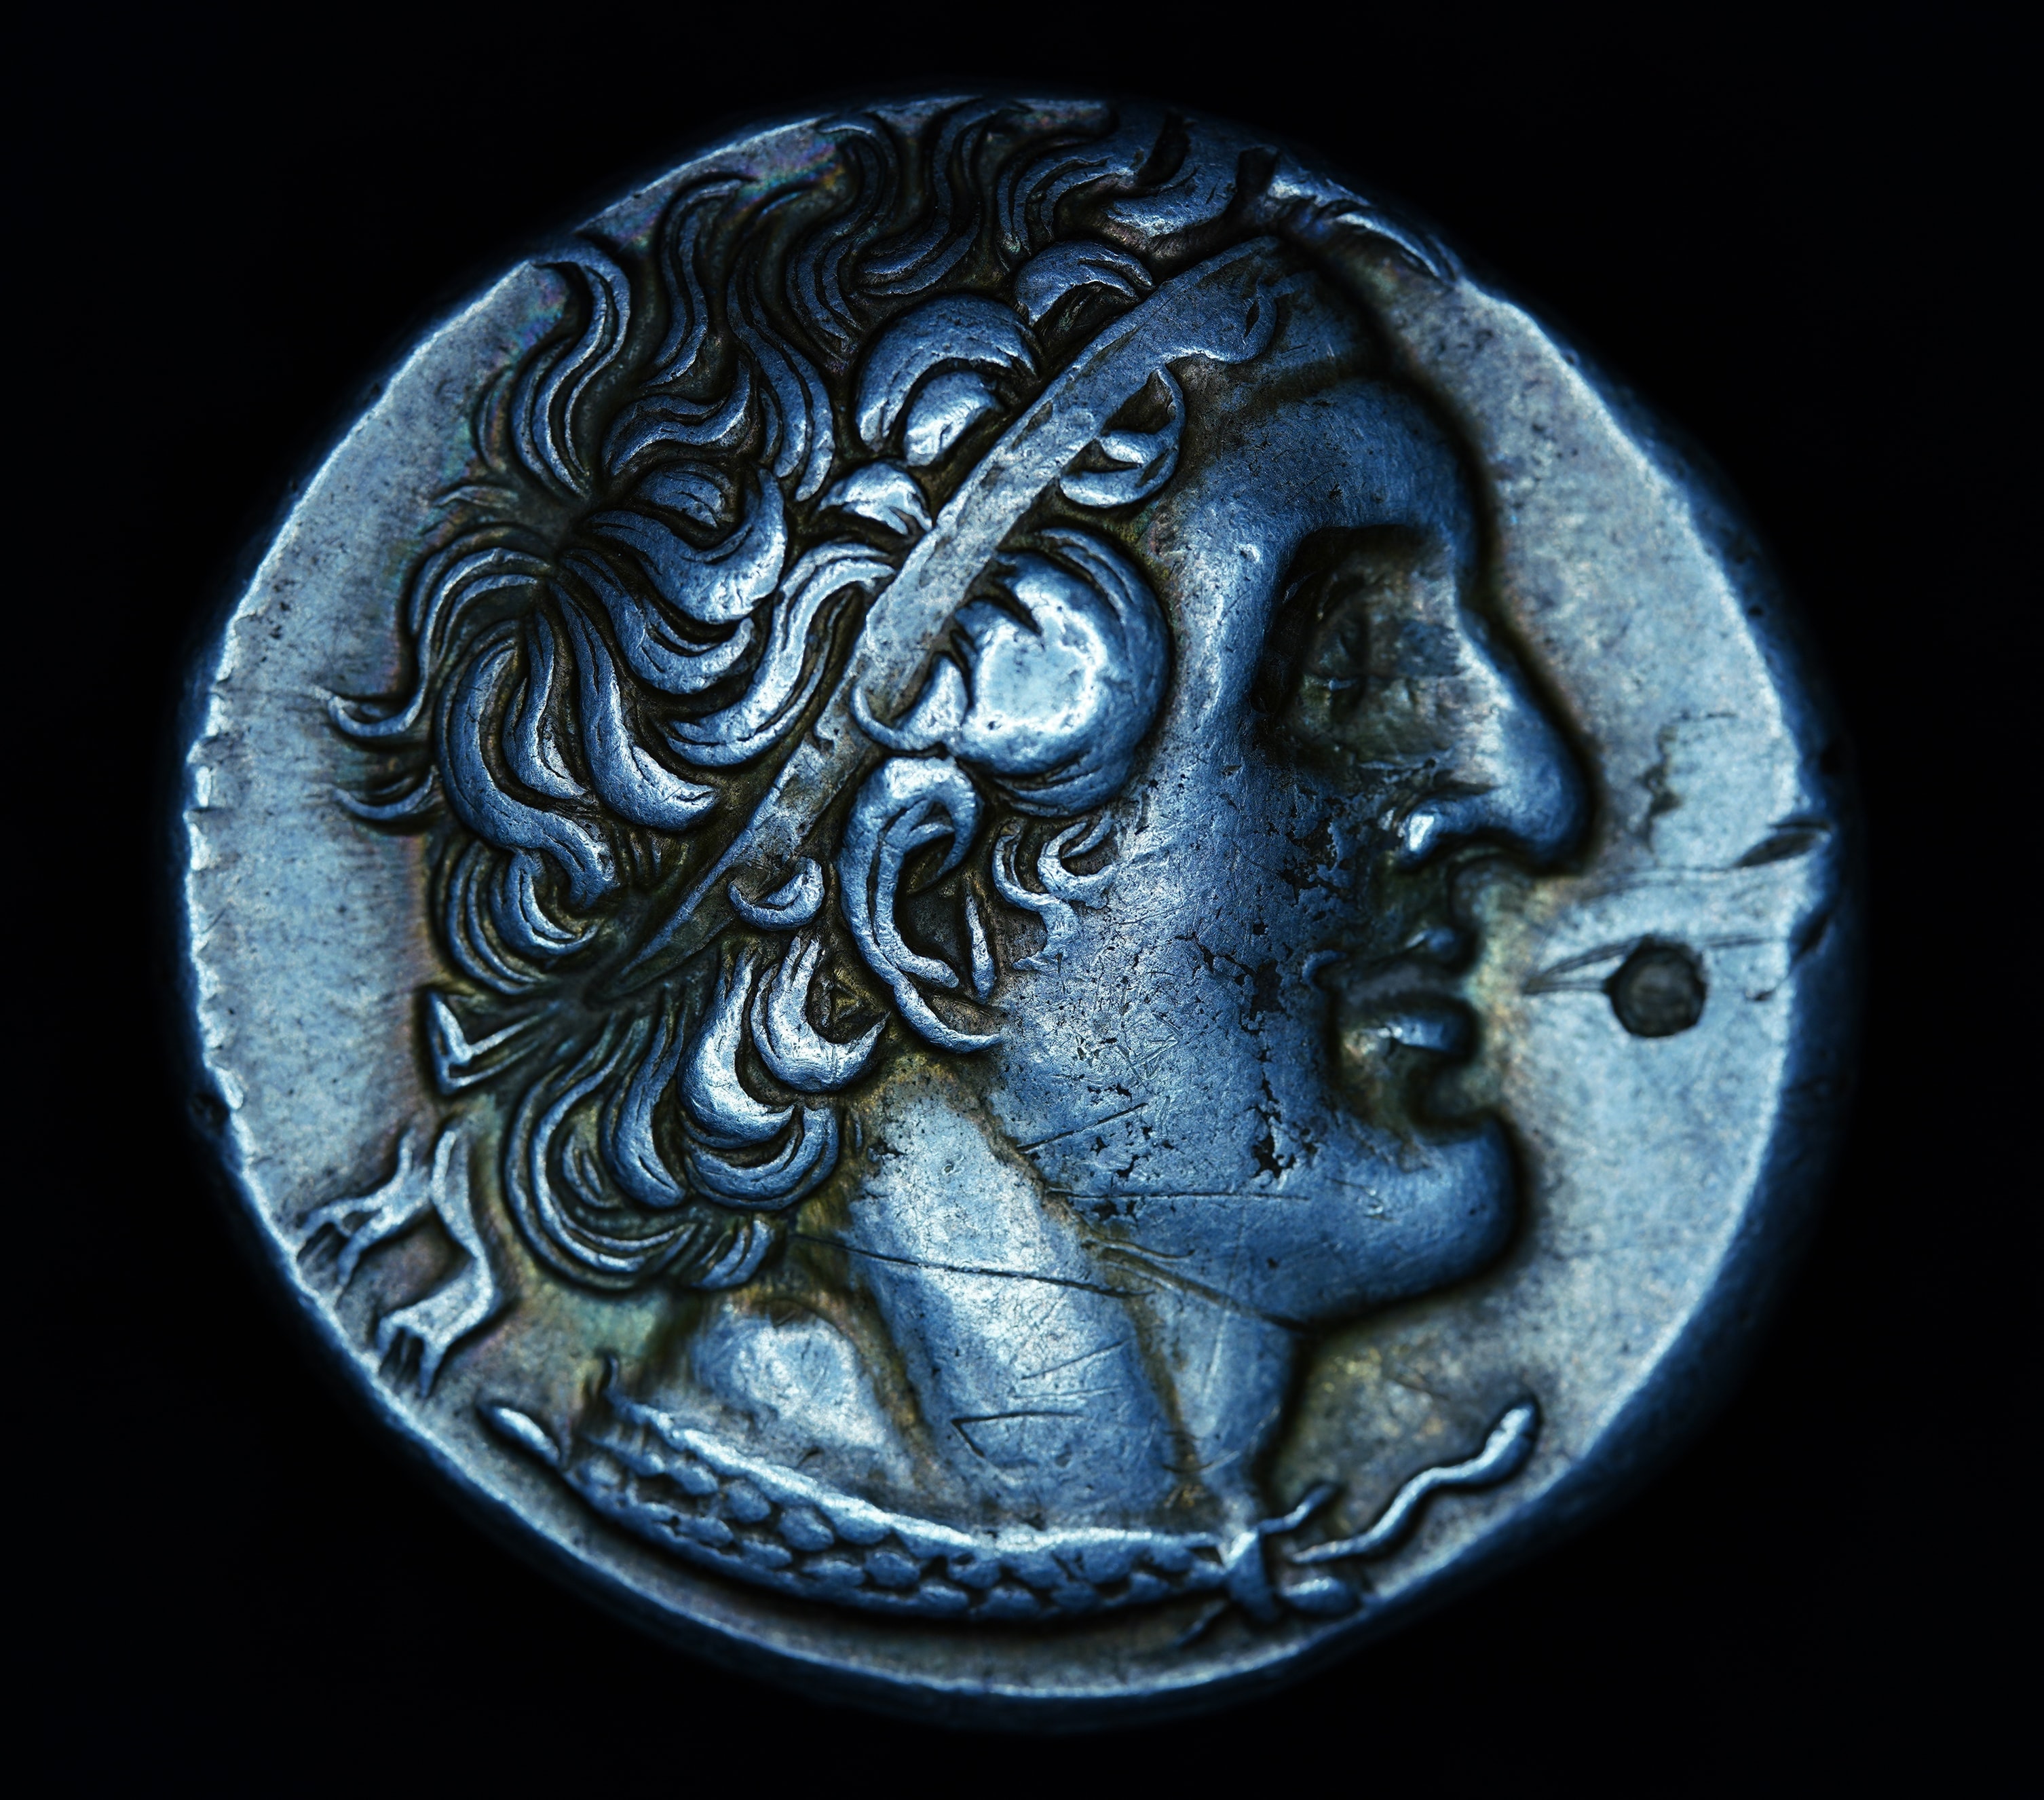
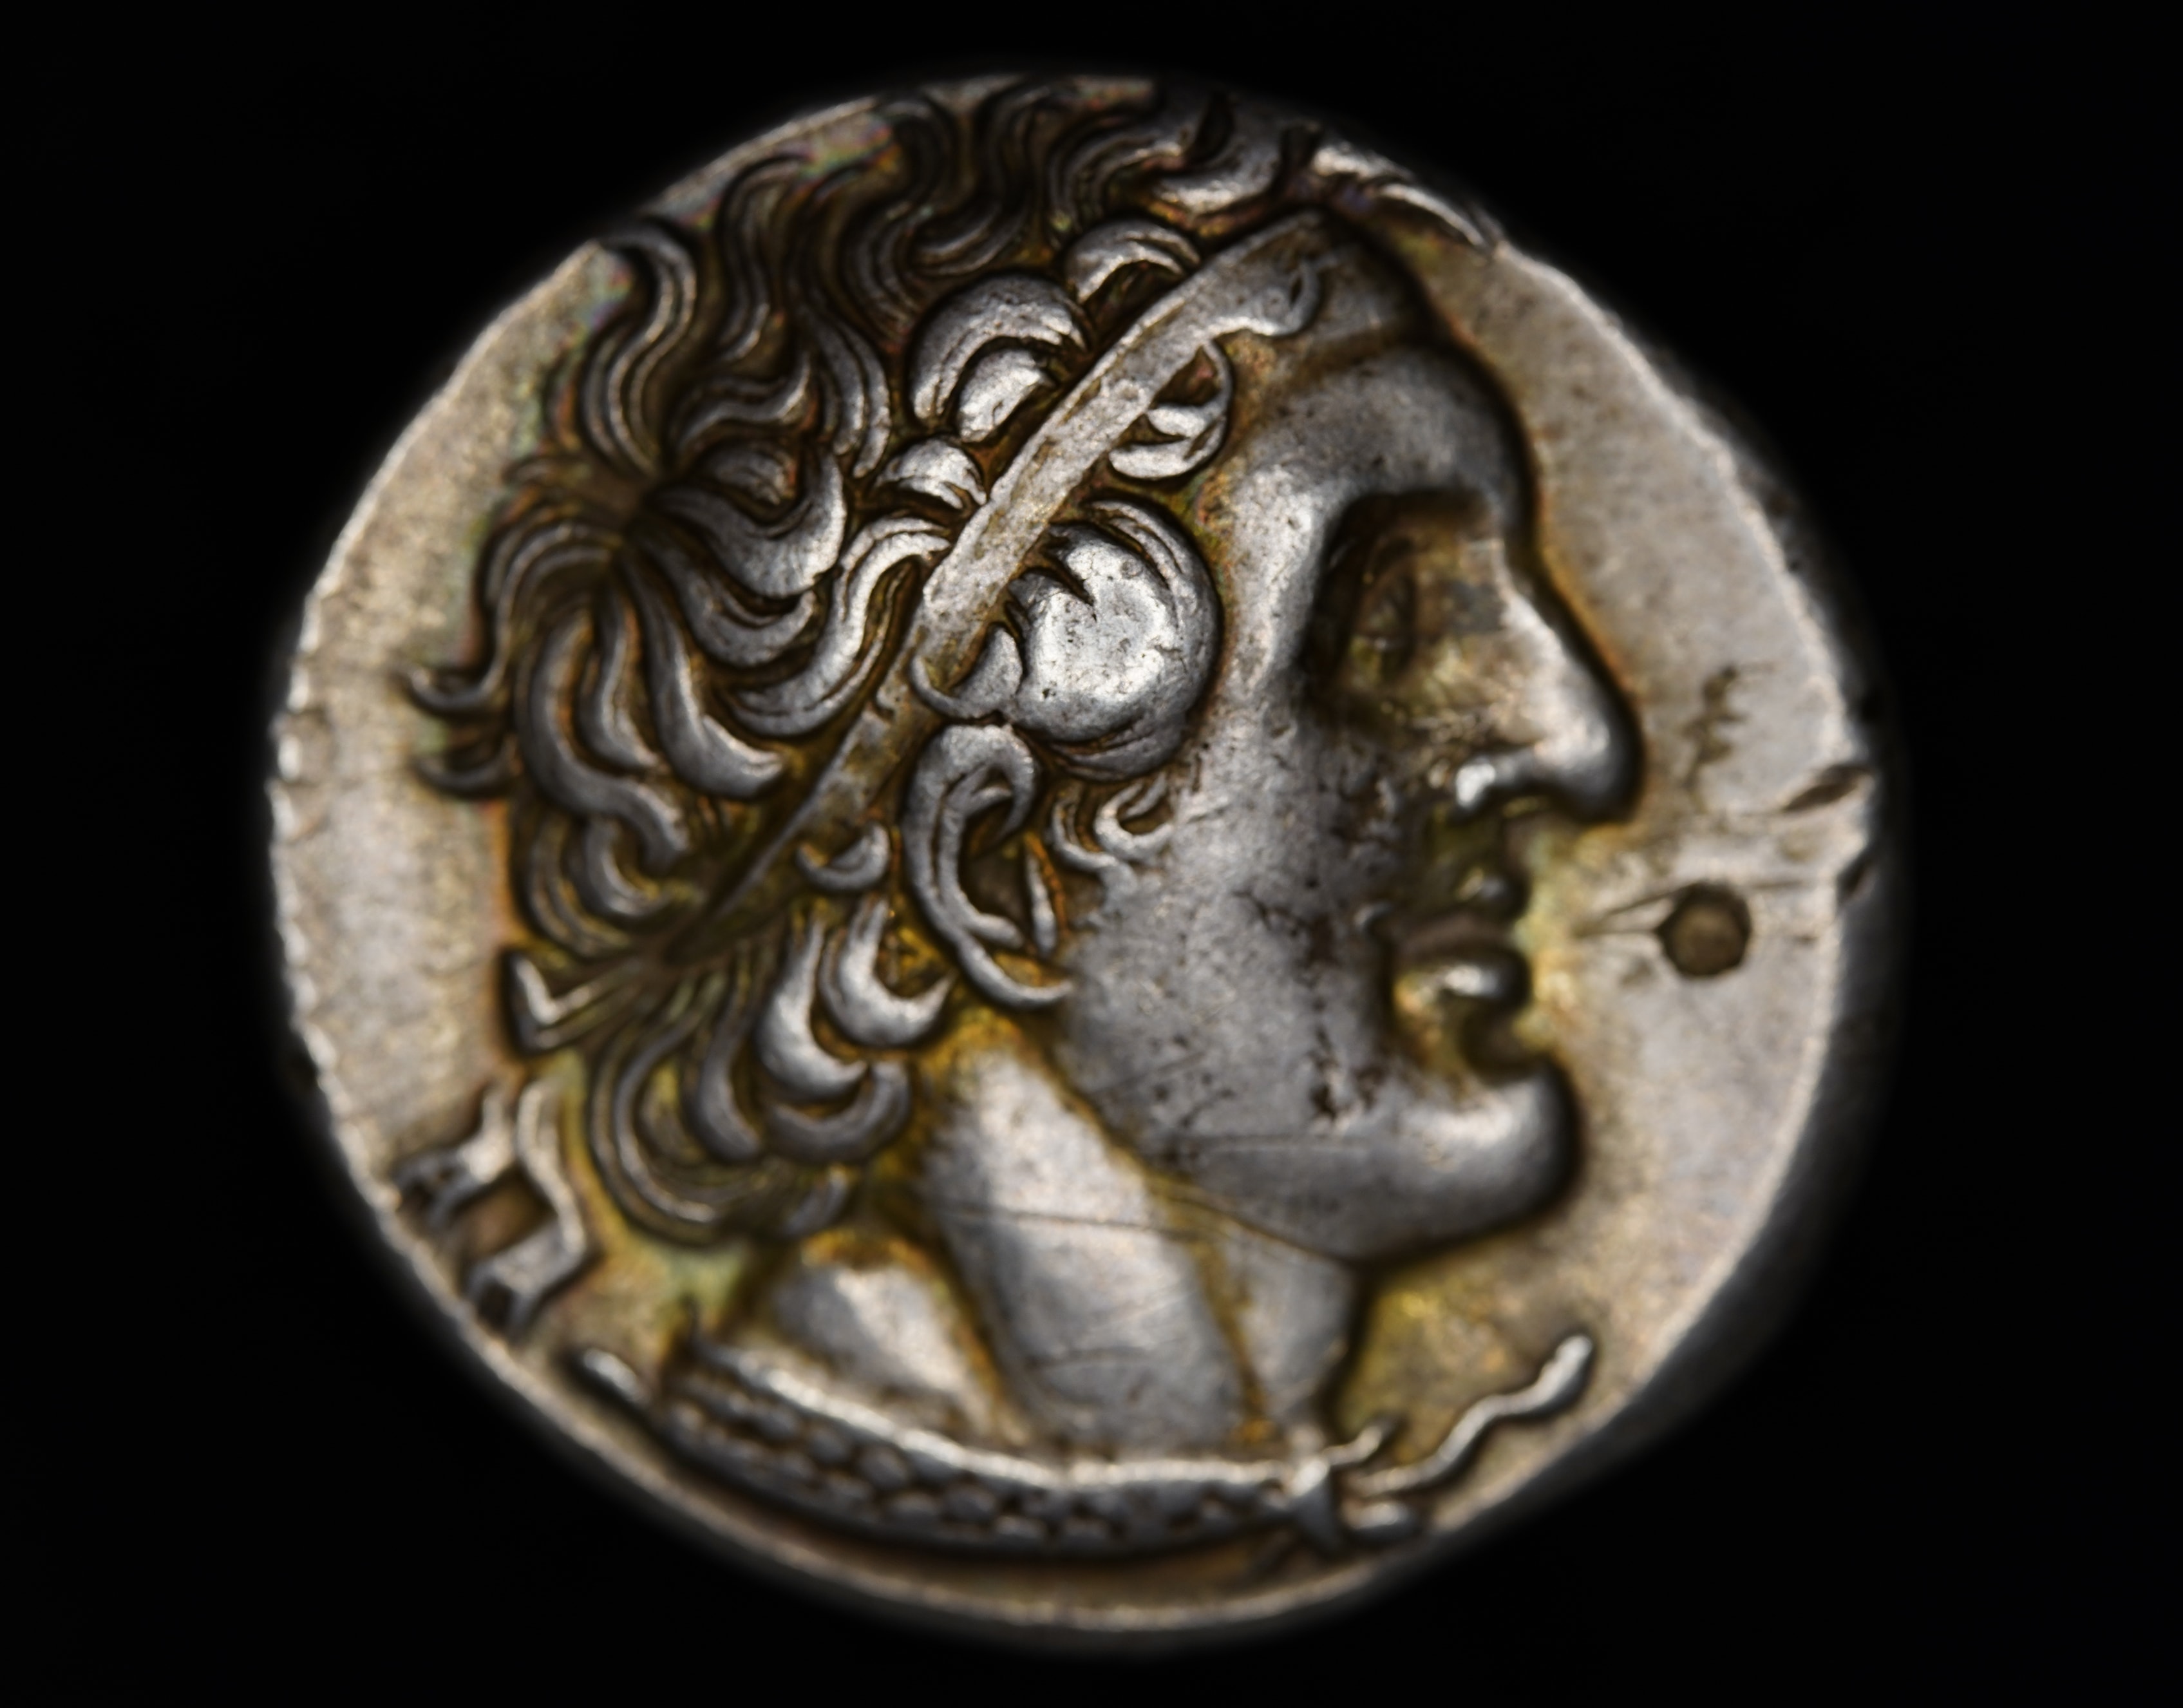
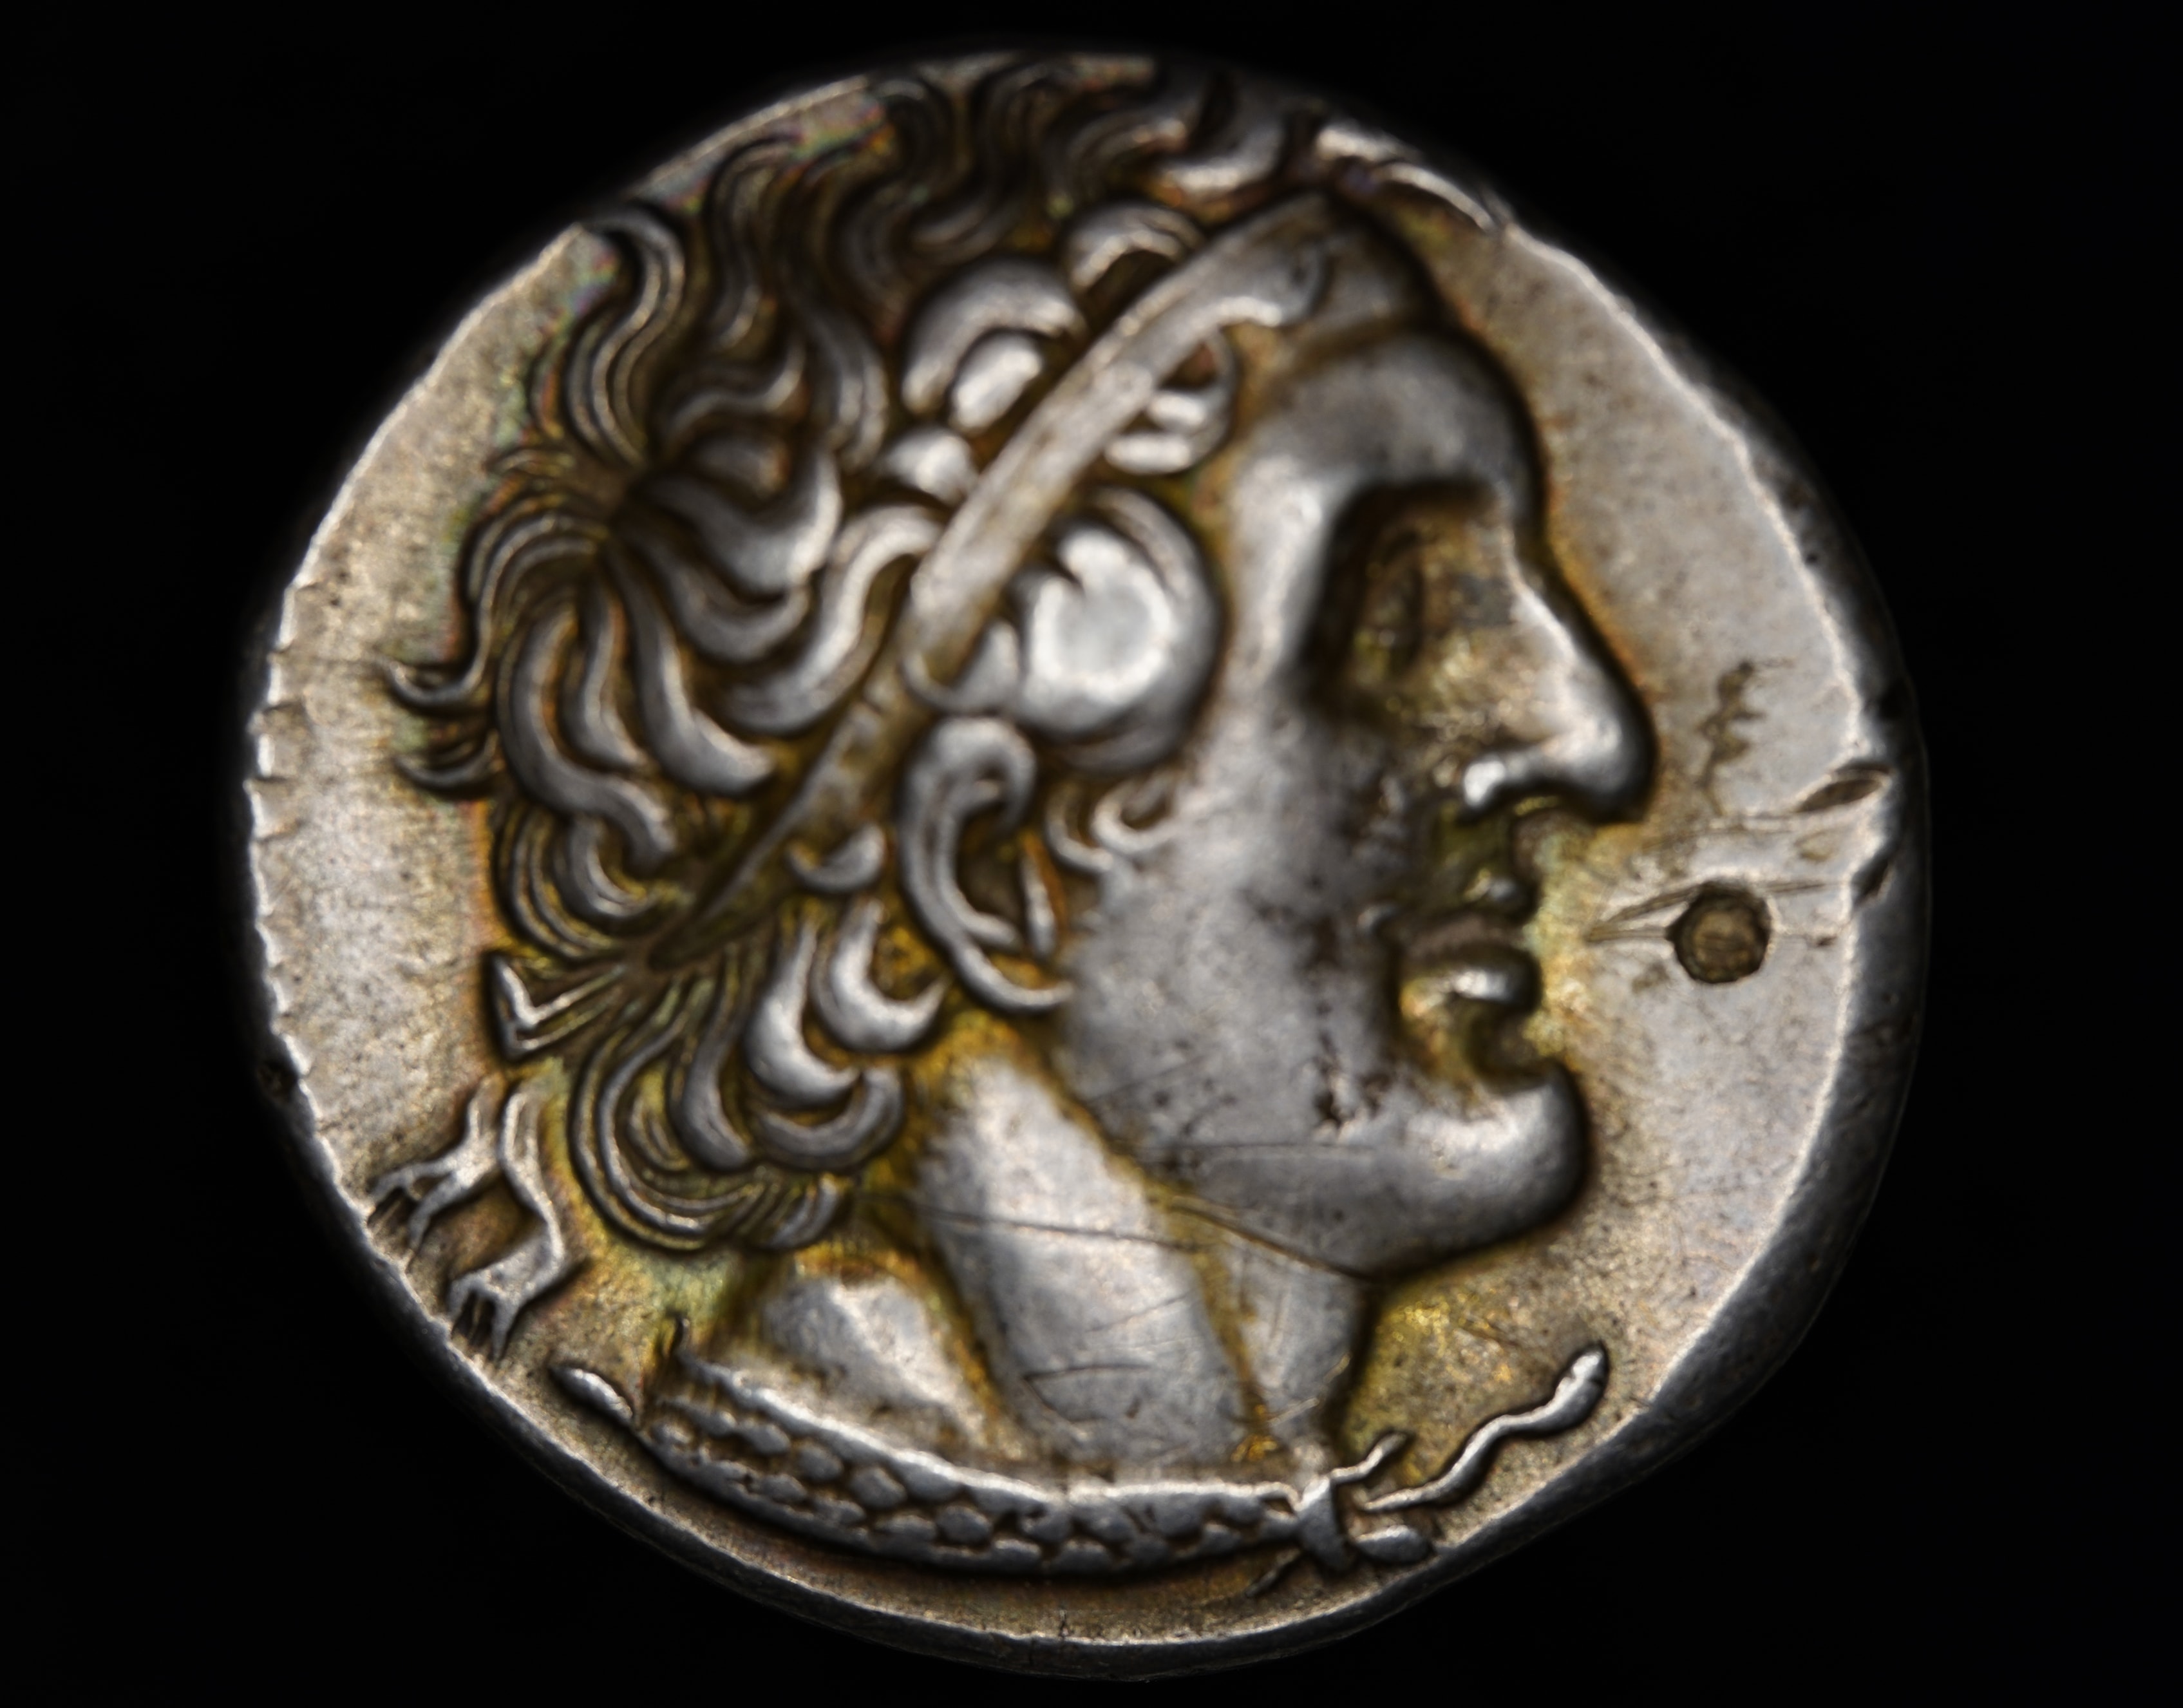
Below I will compare three different lighting arrangements: Flash only vs LED ring only vs Flash and LED ring combined. The purpose is to show how different methods of lighting can change how a coin appears, such as the toning, surface detail, or shape of a feature. It also shows that not all coins benefit from only one style of lighting – even though I photograph most coins with only an LED ring, this one benefited from having a flash act as a secondary light source.
In both comparisons below, the image on the left is being compared against the image taken with Flash and LED ring combined. The first comparison on the left shows Flash only vs the combined lighting, while the second comparison on the right shows LED ring only vs the combined lighting.
Flash only vs Flash + LED Ring. The flash is high-angled and positioned at about 12 o’clock. Its effect is not too harsh and provides good lighting and contrast at the top of the coin and showing the detail in the surfaces. However, it is not exposing the bottom half of the coin well and it also doesn’t accentuate the gold toning present on the coin. There is also strong directional lighting where it is clear that the light is coming from the top.
LED Ring only vs Flash + LED Ring. The coin is exposed well with only a few small spots that are overblown, e.g. where the light reflects off the high points of the relief. The contrast across the coin is excellent and the golden toning is reproduced well. Some of the surfaces are too reflective and glisten in the light, reducing detail, and the curved surfaces at the top of the helmet appear flat and lack character. Diffusing the light to reduce highlights may make the coin appear even flatter.
The image on the right in both comparisons is the arrangement that I went with for photographing that coin. It has both LED ring and a high-angled flash. The flash is set at a low power and the shutter speed of the camera is set relatively fast to ensure the LED ring doesn’t have too much influence on the lighting. The photo has the best of both worlds: great contrast, accentuated toning, even lighting, and a lot of detail and character in the surfaces. It is slightly underexposed and needs adjusting for white balance but is otherwise the most attractive photo of the three in my opinion.
Camera and Lens
Once I have the lighting setup correctly, I next make the fine adjustments to the camera and lens settings. This part is relatively brief for me as I use Sony’s memory recall function to save most of my settings so that they are ready every time I go to photograph a new coin. The main settings I am adjusting here include:
- ISO
- Shutter Speed
- Aperture
- Metering
- Magnification
- White Balance
ISO & Shutter Speed
Starting with ISO and shutter speed, I try to aim for the fastest shutter speed and lowest ISO possible given my lighting. In terms of whether to prioritise shutter speed over ISO or vice versa, I usually go for a balance between the two with some minimum and maximum thresholds. For example, I prefer to shoot with a shutter speed of at least 1/200 when using a constant light source such as an LED ring. If you shoot at slower speeds, it’s possible that small amounts of vibration present in the system – either external (e.g. a busy road outside your house) or internal (e.g. the camera’s shutter moving) – can result in decreased sharpness. When using a flash or strobe, this is less of an issue and you can shoot at slower speeds as the flash “freezes” any motion. When shooting with a flash you probably won’t want to exceed a 1/250s shutter speed as this would put you into “High Speed Sync” territory.
While many flashes can do HSS, I advise against it (as well as the flash manufacturer) for focus stacking as it draws a lot of power from the battery and can quickly heat up the flash when taking a large number of photos in quick succession. For ISO, I try to stick to below 600-800 and if possible in the 50-250 ISO range. This isn’t always possible, particularly if your light source is not very powerful, so I may decrease the shutter speed or lower the aperture before adjusting the ISO above 800.
Aperture
All lenses have an optimal aperture at which they are the sharpest, i.e. resolve the most detail. This is typically above the lowest aperture setting of the lens but well below the maximum. In the case of the Laowa 100mm f/2.8 2x macro lens, it is probably in the range of f/4 to f/8. You will want to shoot your focus stacks in this aperture range to ensure you’re getting the most detail out of your photos but it’s OK if you shoot 1 or 2 stops away from the optimal aperture. In my case, I almost always shoot at f/5.6 but I could also shoot at f/6.3 or f/8 without a noticeable difference in quality. Changing the aperture to f/8 will increase the depth of field and means I would need fewer photos for the focus stacking, speeding up the process, but lowering the available light.
Magnification
If you have a macro lens with variable magnification (most macro lenses) you can play around with the magnification to help balance your other settings. For example, a magnification of 0.5x would have a higher depth of field than a magnification of 1x and thus you can shoot fewer photos for your focus stack. To achieve the same depth of field at 1x you would need to increase the aperture, reducing available light and possibly nudging your lens into diffraction territory. However, a lower magnification would resolve less detail as the object (the coin) would take up less space on your sensor and thus have fewer available pixels representing that object. I personally shoot at which ever magnification is required to fit the coin perfectly in frame and therefore maximise the available pixels of the sensor to ensure I’m capturing the most detail.
Metering
Metering is not a super important setting to dial in but can help ensure you’re adequately exposing your image. On Sony cameras, there is a metering readout on the display that tells you how many stops of exposure you’re above or below a correctly exposed photo. If you’re under the correct exposure, your photo will be too dark, and if you’re over, it will be too bright. What determines this metering readout is the metering mode. This mode determines how the camera calculates correct exposure and there’s usually many options available. Some of the common ones include multi, centre, and spot.
- Multi metering divides the image into chunks and takes a light reading in each chunk to determine the proper exposure for the whole image
- Centre metering takes an average reading of the entire image but prioritises the readings in the centre of the frame
- Spot metering only takes readings in a spot of a specific size that you can manually place anywhere within your image.
I tend to use either Centre or Spot (Large) metering as when shooting coins with a black background, a large portion of the image should be completely black. You have to be careful with Spot metering that the spot itself isn’t too small, if it only takes readings from a small area of the coin you risk getting the exposure wrong if your entire coin is not lit evenly.
White Balance
I typically set White Balance to Auto and then depending on whether I’m using a warm (yellowish) or cool (blueish) light source, I choose the Auto White Balance (AWB) setting with an optional bias towards either warm or cool. I use AWB as Sony cameras don’t let you use the custom white balance reading when in Memory Recall mode. Instead, I take a photo of a “grey card” in the AWB mode and adjust for white balance during editing. A grey card is simply a reference of a specific colour of grey that allows you to set your white balance correctly. I will discuss in the post-processing page how I make these adjustments in Adobe Lightroom.
Use the arrows to swipe through the photos below.